Hello peeps! It’s my turn to write some words of wisdom!!! 😉 SO, I decided to share some tips n tricks I have picked up along with way on adding dimension to your images and then a tip that I have always used for dimension to your card.
My card uses Ellie Loves Lattes
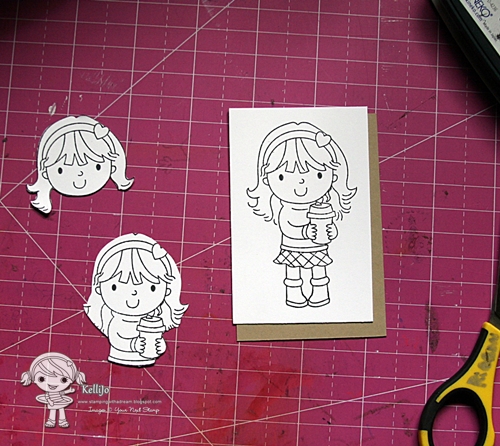
Stamp your image several times, 3 for my card here. This will depend on the depth of the image.
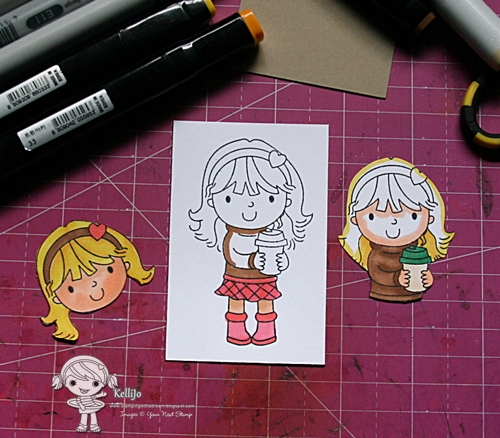
Color your images. I always outline the area to be covered in case I have oopsies in cutting. Make sure you color the EDGES of your cut image too! That pesky white side is ICKY!
Add your first colored image piece
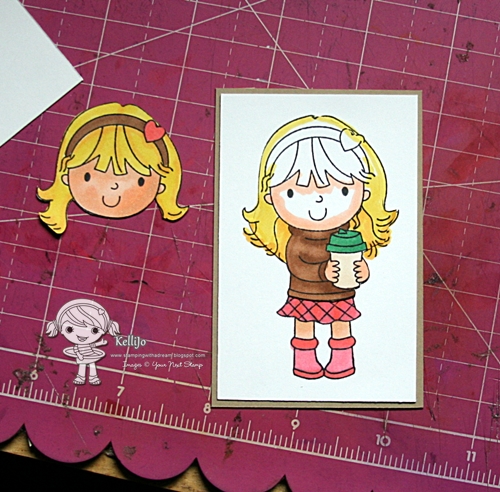
Now add your 3rd image piece, I gave Ellie’s hair some curl by running my fingernail down the ends.
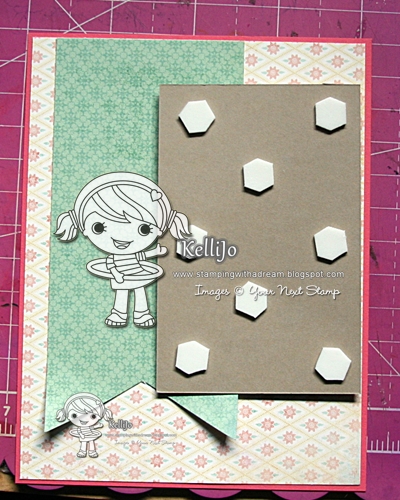
Here is my personal tip/pet peeve getter… It may look like over kill, but, I do NOT want to have my image sag in the middle, so I load up the back of my panels making sure that the center has attention too! You could probably get away with 1 in each corner and then 1 smack dab in the middle…. but I prefer this method!
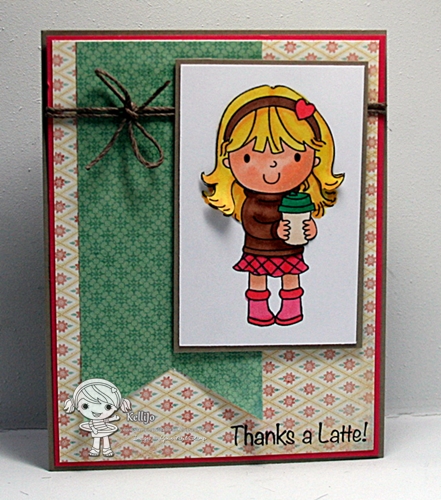
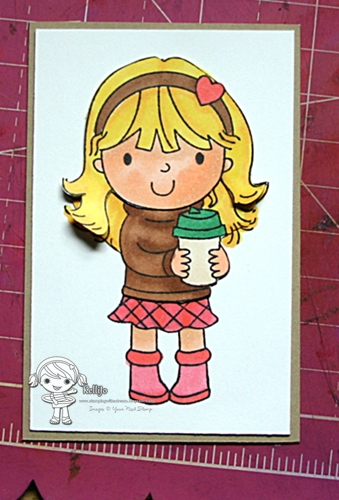
Complete your card by adding the image, some twine and give those fish tails some curl too! 🙂
Well that’s it for me! I hope you enjoyed this tutorial and found some great tips to use! 🙂
kj


Thanks Kelli! I love adding pop dots and dimension to my projects!
Very sweet…thanks for the step by step pictures!
I am loving your tutorials. They are wonderful.
Great tutorial. Thanks for sharing and darling image.
Gorgeous card, and awesome tutorial. I love doing this to create added dimensions to my images. 😀