Posted by: YNS on Wednesday, September 10, 2014 at 4:00 am
Good morning everyone and happy Wednesday!
Deborah here and today I would like to share with you how to create texture on your digi stamps when coloring with alcohol markers. As you know, YNS has some pretty adorable digis and many that are bears. I think these bears are just too cute and I have a hard time NOT texturizing their fur when coloring it in.
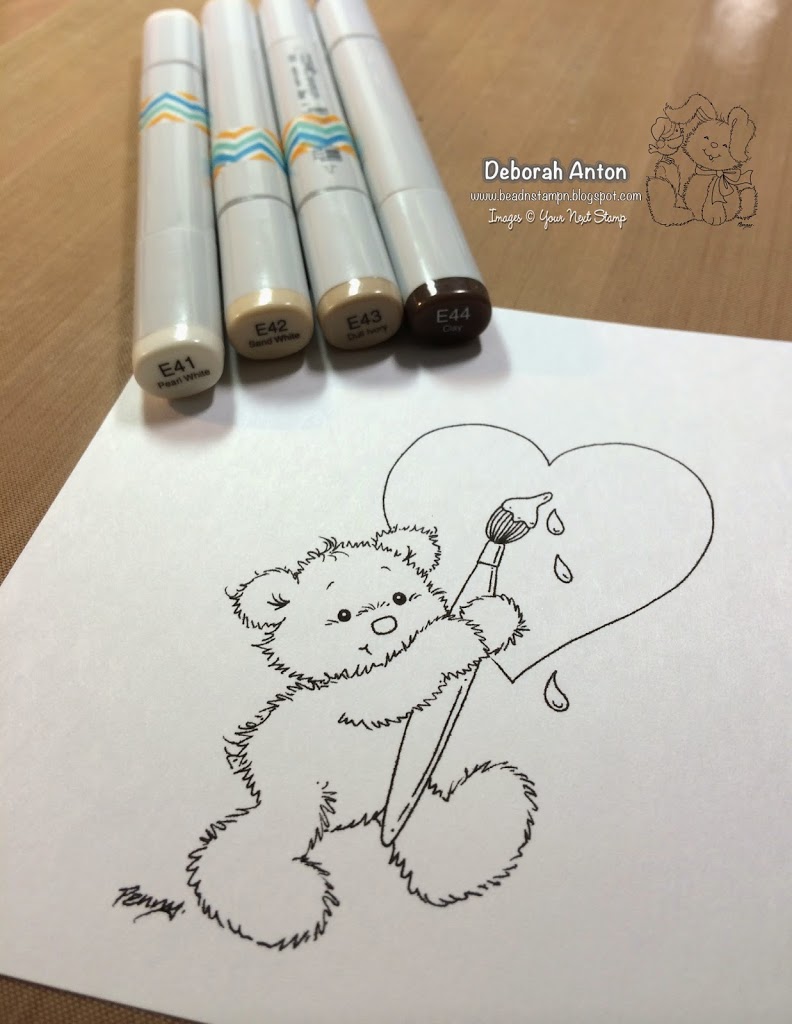
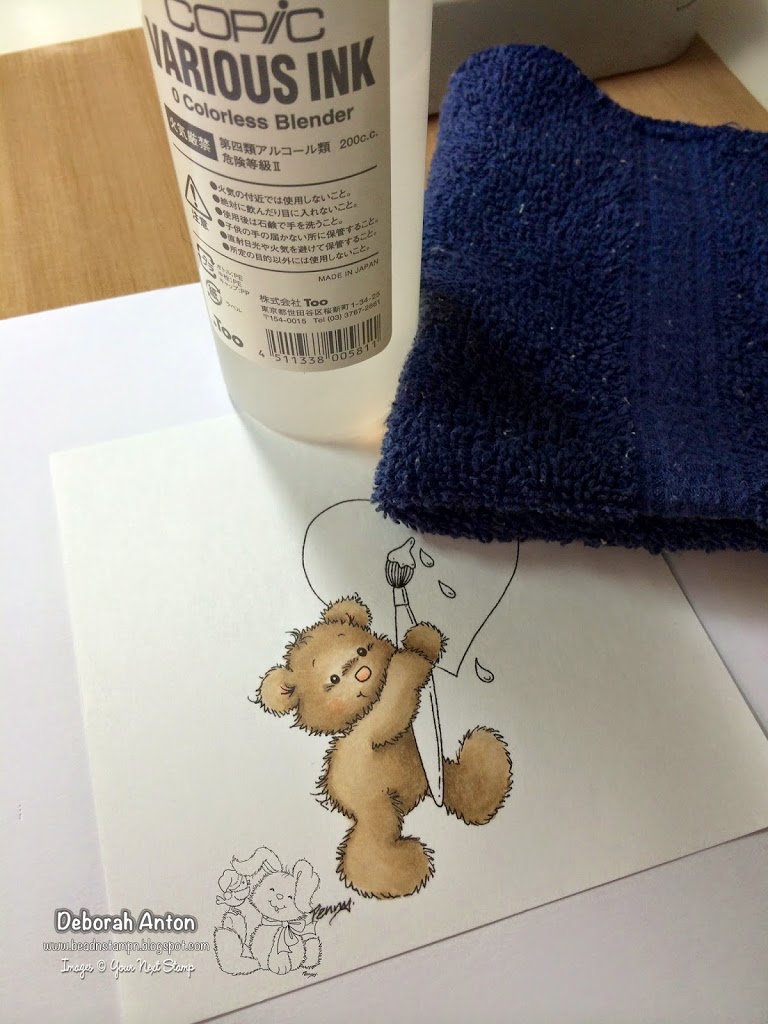
To start, I printed the image Love Painting, which is a new release here at YNS, on some Neenah cardstock and gave it a quick shot of heat from my heat gun. TIP: Start with coloring the image you plan on giving some texture to only! That way the rest of the image won’t get disturbed by your technique. Now, choose your color collection you plan on coloring him in with and lets get started!
I am using Copics and have chosen E41, E42, E43, and E44 for my color collection.
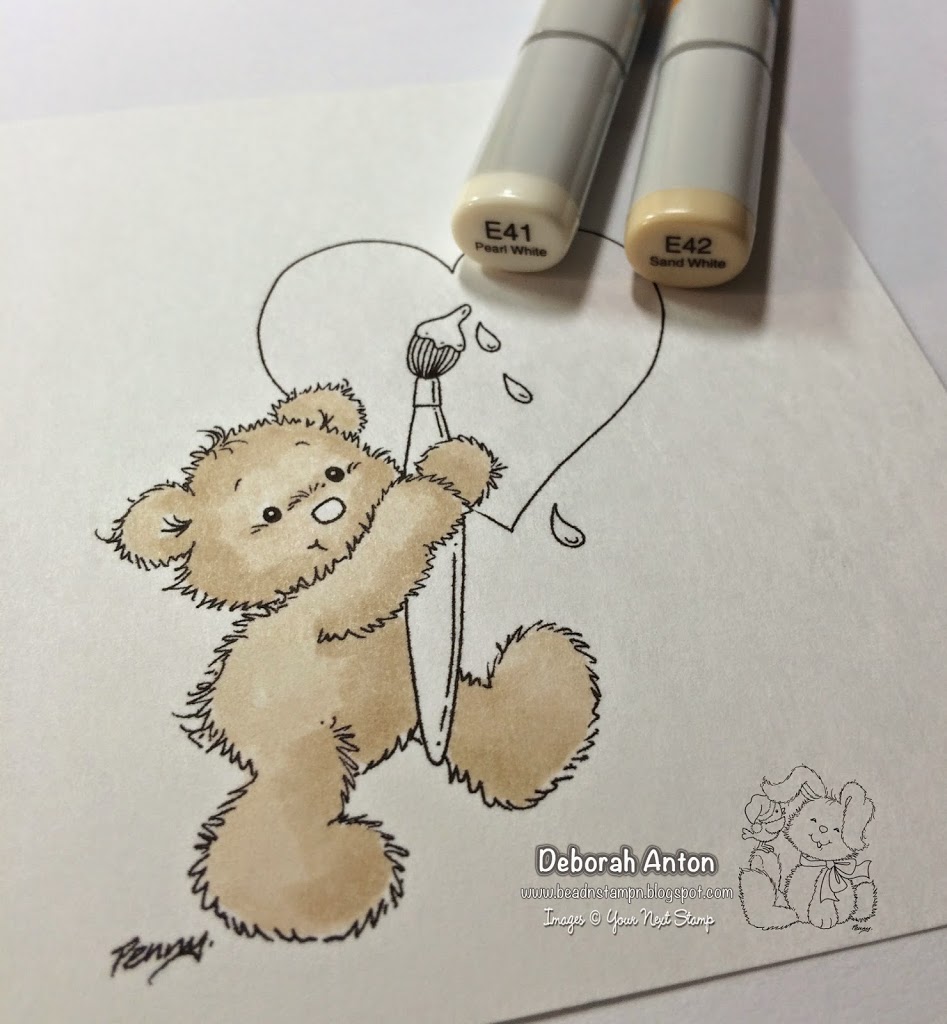
I started by coloring my entire image in E41. You may have other ways you color your images and that is perfectly fine! You can do what suits you best and not follow my steps. The end result is what matters! 🙂
I then added some shading with E42 in the areas I wanted a little more depth and then went back over with E41.
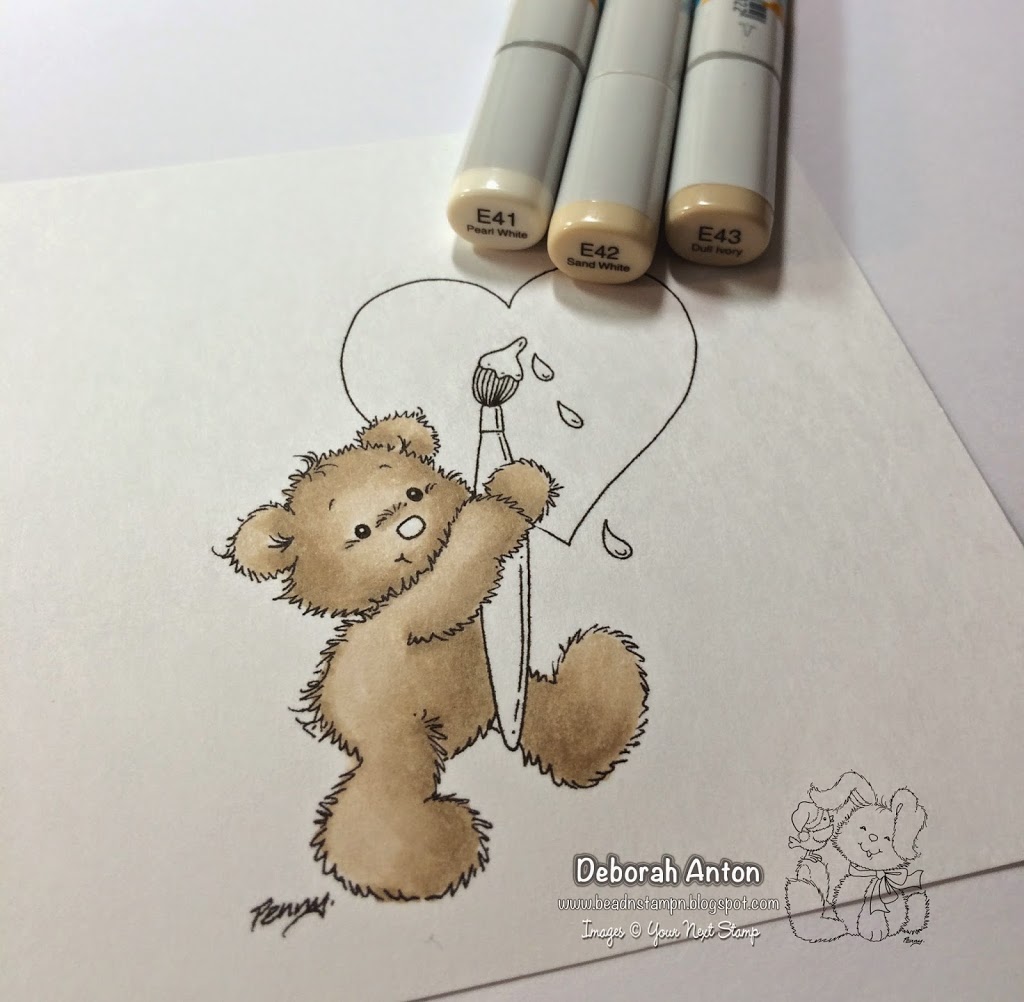
I then used E43 to darken the shaded areas and continued to blend with E42 and E41 if needed.
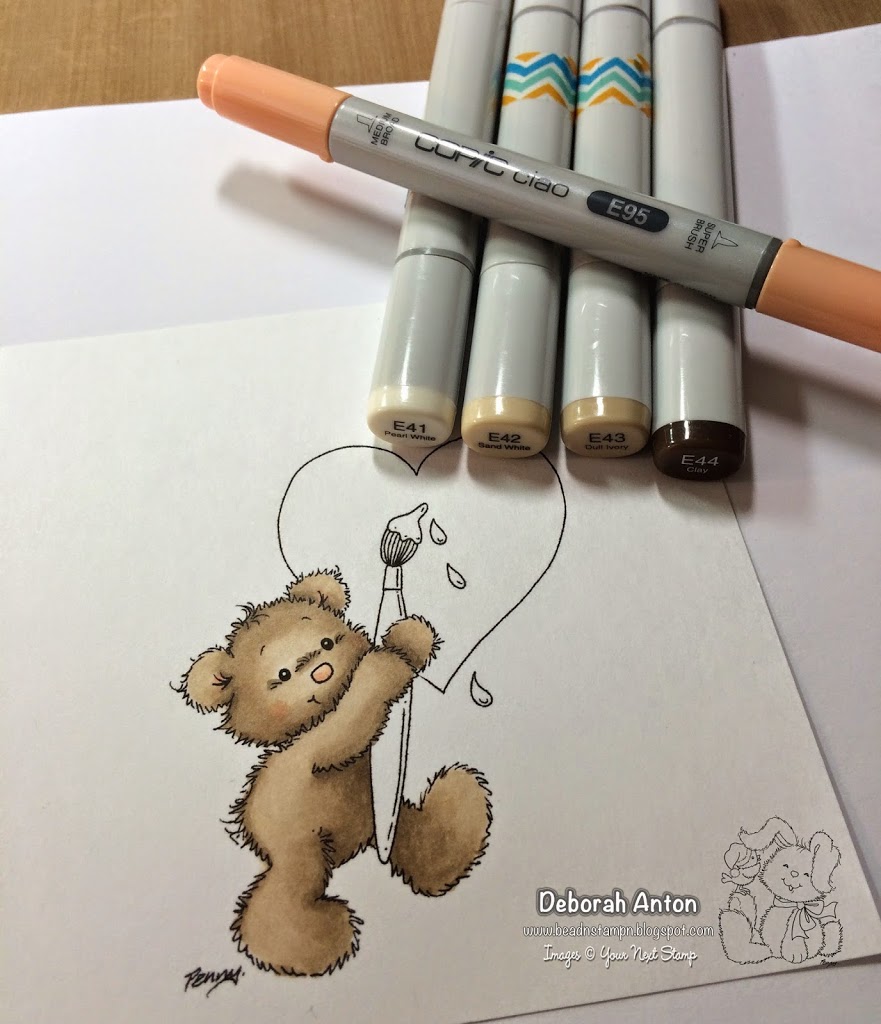
For some shadows I used E44 in the areas I wanted some cast shadows. I also used E95 for the nose, cheeks, and inside of the ears for some pink tones. At this point, I continued to fix any hard areas by blending the colors more or adding more color.
Now comes the fun part to see your texture on this cutie!
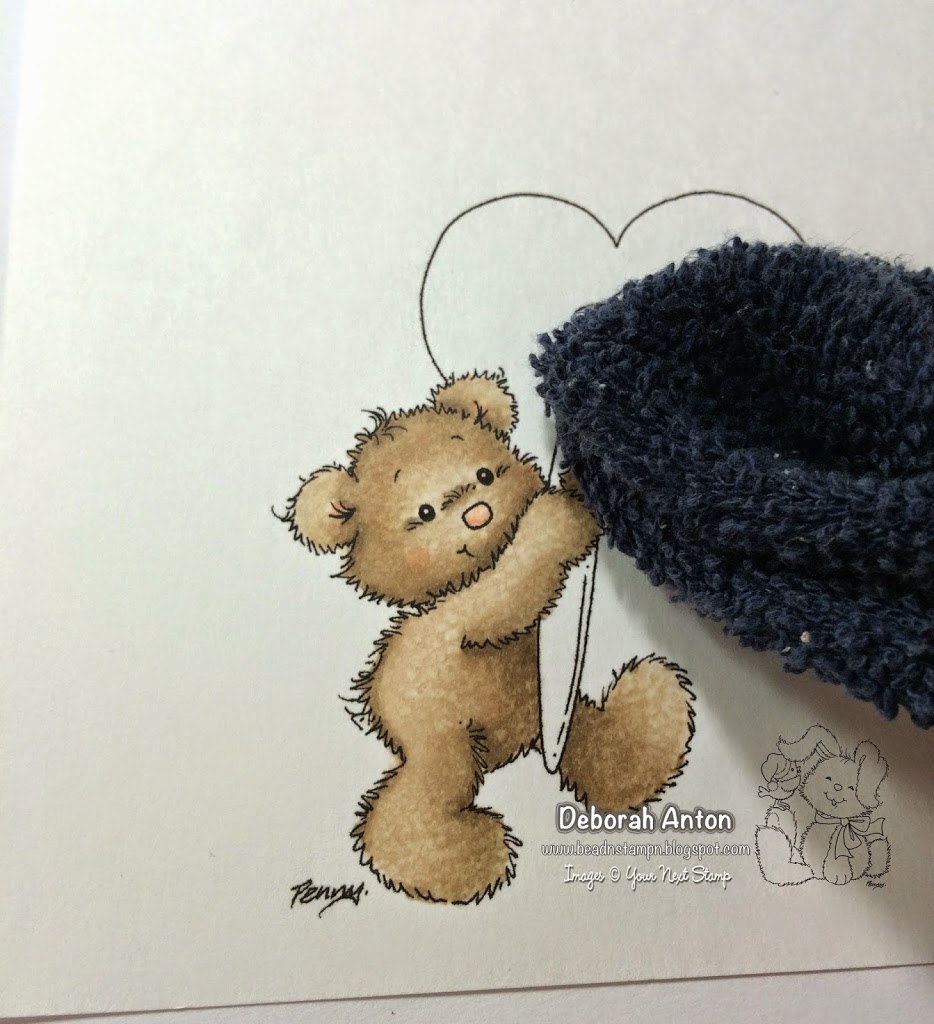
You will need a washcloth and some colorless blender solution. Add a little bit of solution to your cloth and start patting. Soft light pats work best so that you may add more texture where needed and for a more natural look.
As you can see here, my light tapping began to give the fur a bit of texture and I continued that until I achieved the look I wanted. And the finished product:
Isn’t he cute?! Now that my technique is complete, I can go ahead and color the rest of the image and not worry about getting any colorless solution on the remainder.
Now your turn!! Grab some of these adorable images before they are no longer available and try this technique. Thank you for stopping by today and hope I was able to help you achieve this technique with ease! Hope you have a fabulous day and don’t forget to check out the other fun new releases in the YNS Store!
Posted by: YNS on Wednesday, June 18, 2014 at 4:00 am
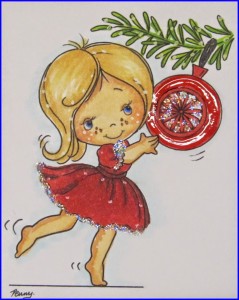
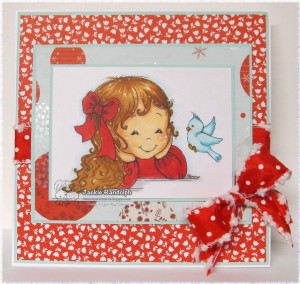
Hello everyone, Jackie here with you today to share one of my favorite trick & tips I use for adding highlights to my colored digital images. Today I am sharing two adorable images from YNS digital stamp section Belinda and Cardinal and Pretty Bauble
Although there is so many products out to add highlights to your images, my favorite go to is my Inkssential Opaque White Pen.
This pen is great for using on cheeks and some areas on the image where I want to
give a bit of high-lighting
This is especially works well on Christmas and Winter cards. As it gives a bit of snow feel to your image
Posted by: YNS on Wednesday, June 4, 2014 at 4:00 am
Happy Wednesday friends! Deborah here and I have a video tutorial on how to convert your fun Your Next Stamp digi’s so that you can enjoy the no line coloring technique. This really gives your image a softer look without the harsh lines of the digi. Come take a look!
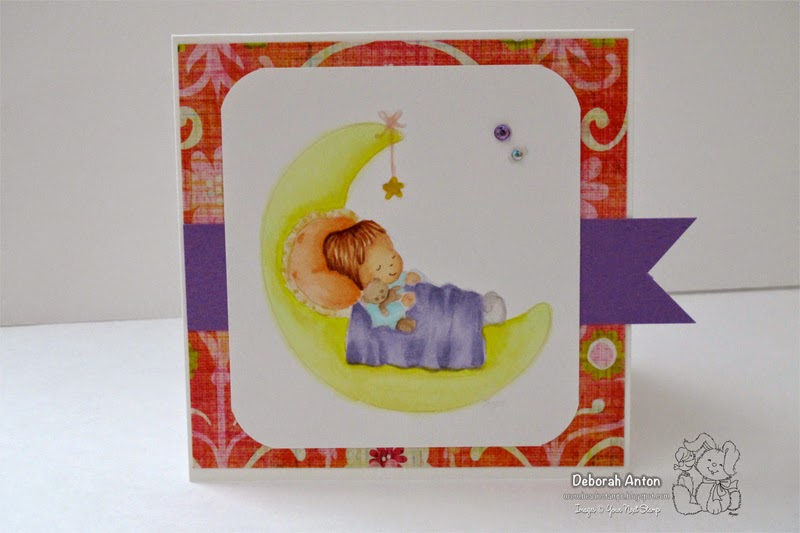
Here’s my finished card featuring the YNS digi stamp Sleeping on the Moon using the no line coloring technique.
I hope I was able to help in a little trick with your digi’s today and to perhaps try something new. Thanks for stopping by and have a great day!
Posted by: YNS on Monday, April 21, 2014 at 4:00 am
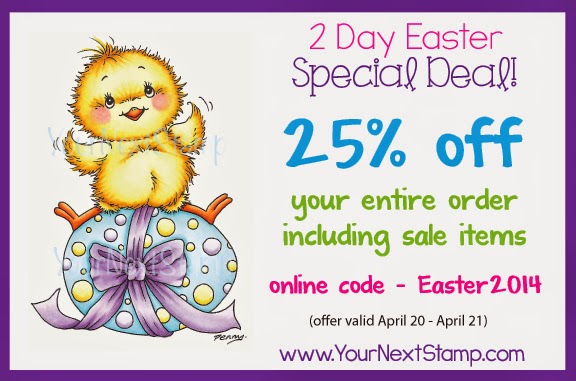
Hello and happy Monday, YNS fans! This is Thanh and I hope you had a great weekend with your families and friends! Just a quick reminder that there’s currently an Easter promotion at the YNS Store right now and you can get 25% off your entire purchase.
I hope that you’ve been enjoying our Series of playing with YNS dies so far. Today I’m going to show you a great way to use your dies as stencils. Looking around at projects in blogland, stencils are hot right now! As someone who was unsure of stencils, I figured I would save a few dollars and create my own to see how I enjoyed the medium. I’ll show you exactly what I’ve done in the past:
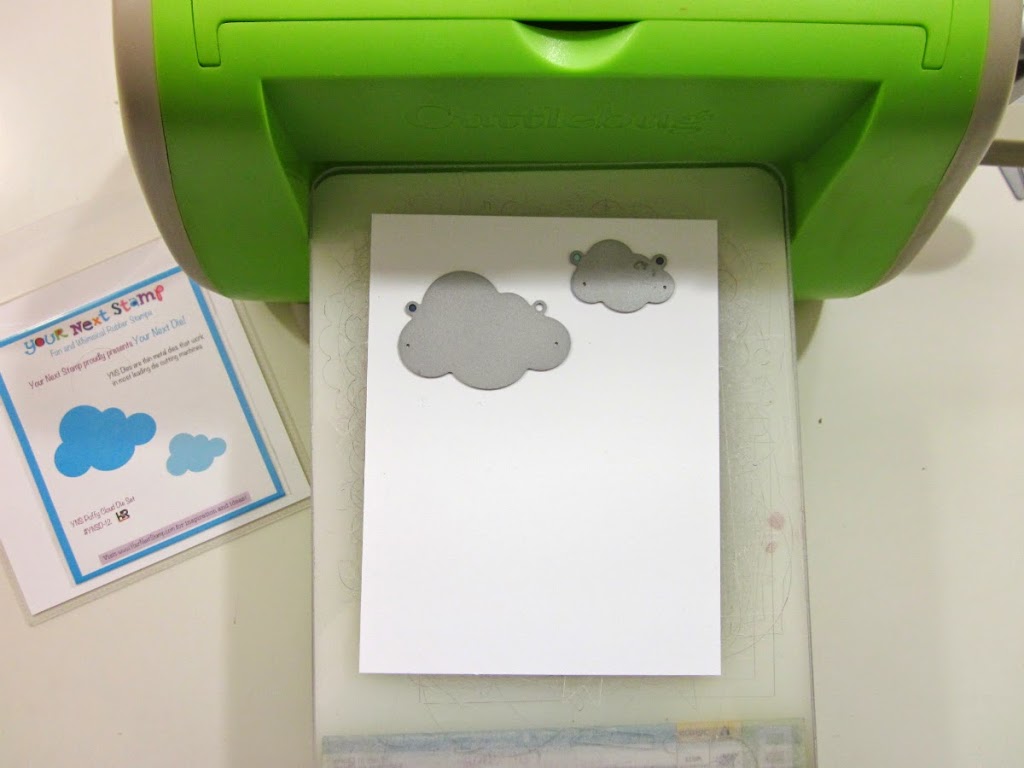
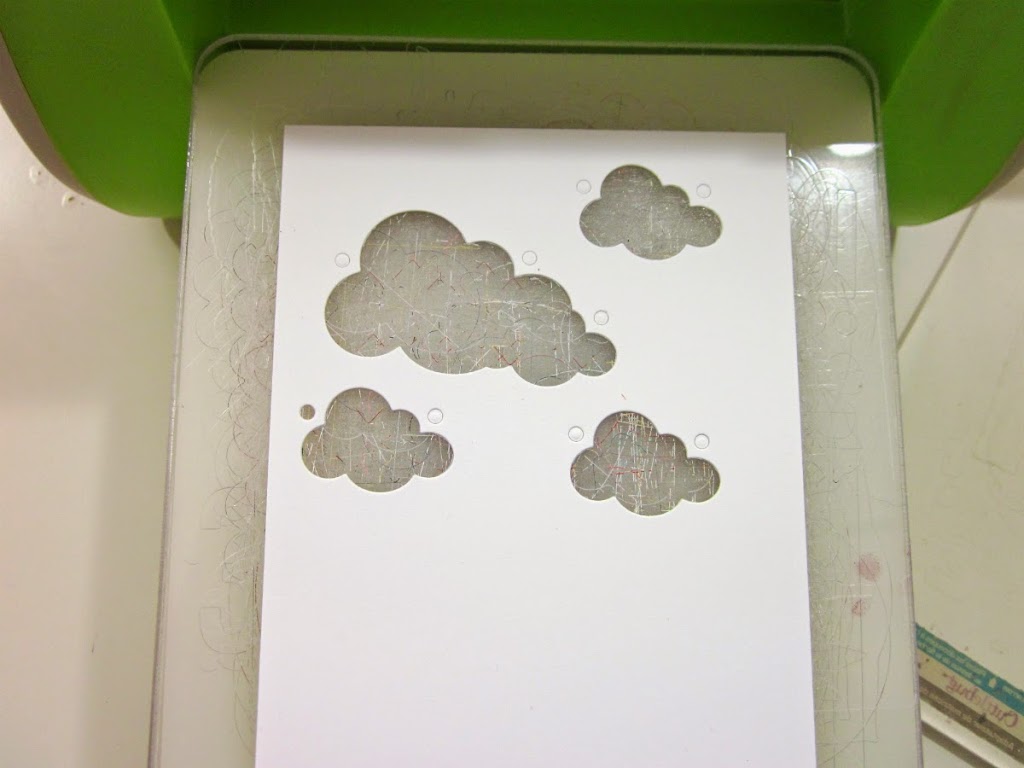
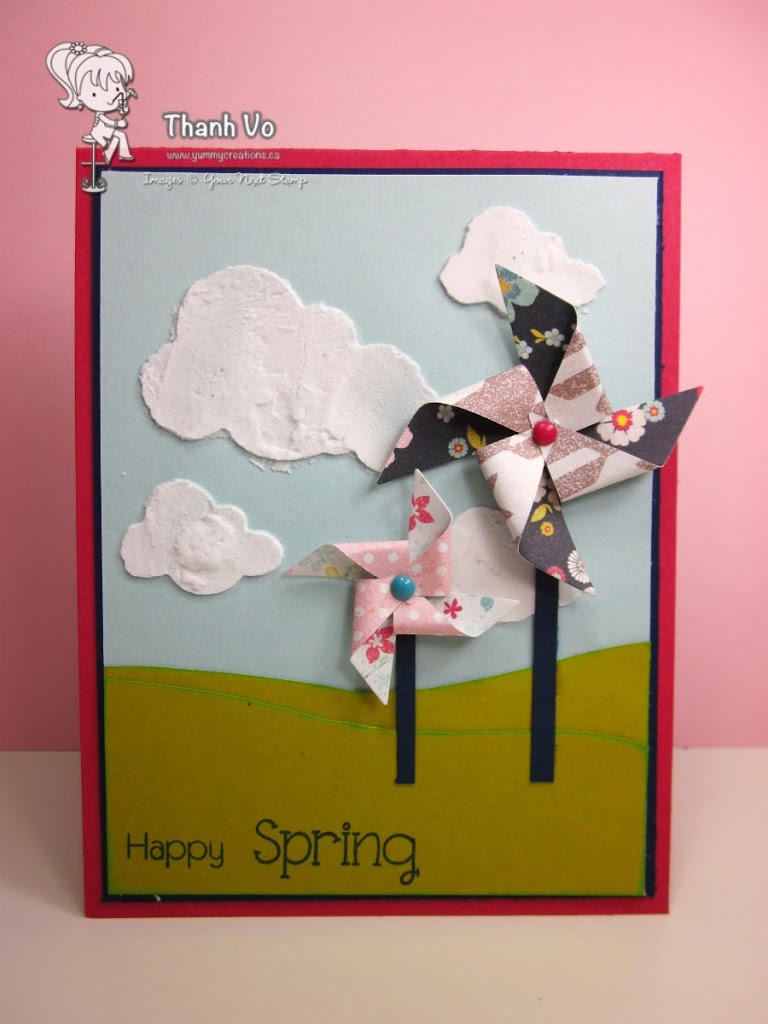
Gather up your favourite die(s) and cut away your favourite shapes. In this case, I wanted to make a spring scene and wanted puffy clouds as my background. To create a stencil, I will use the negative space instead of the usual positive space (the cut out cloud).
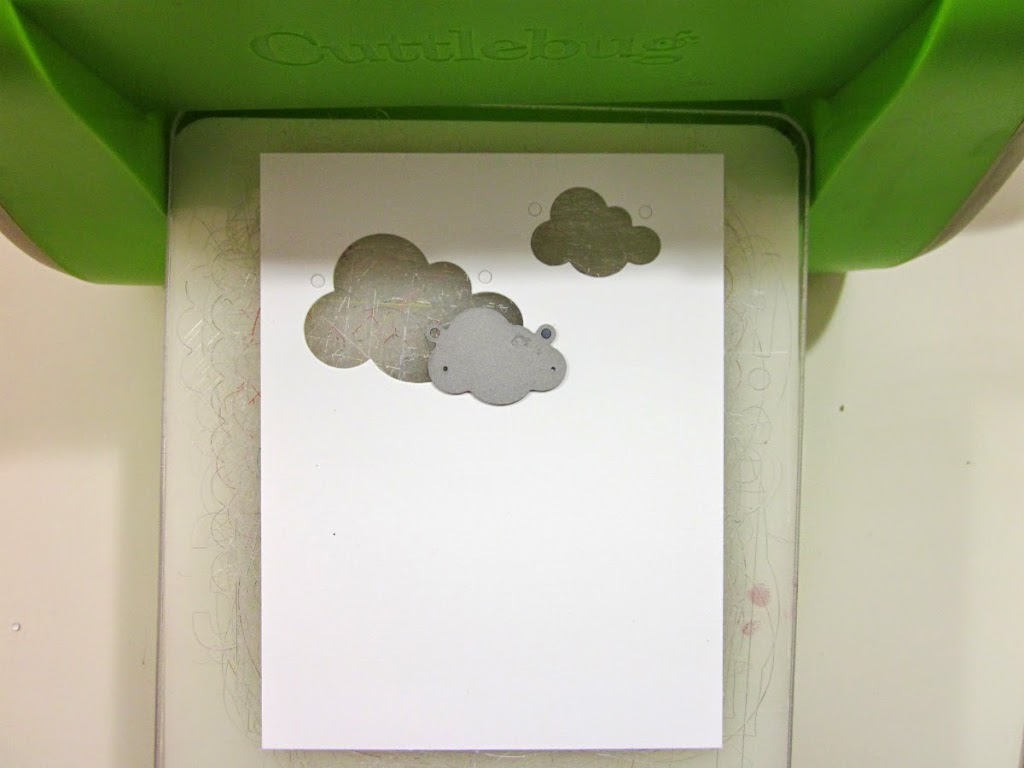
I continued to build my stencil by creating multiple clouds in the sky. I put the small puffy cloud overlapping the large one because I wanted to build a bigger cloud.
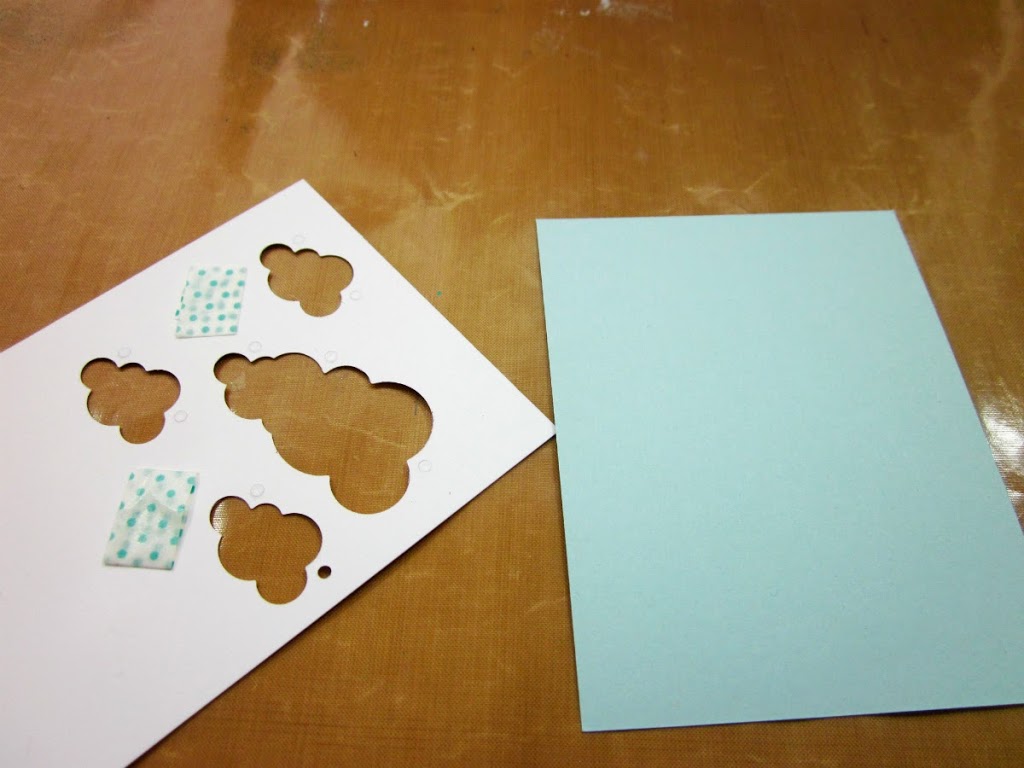
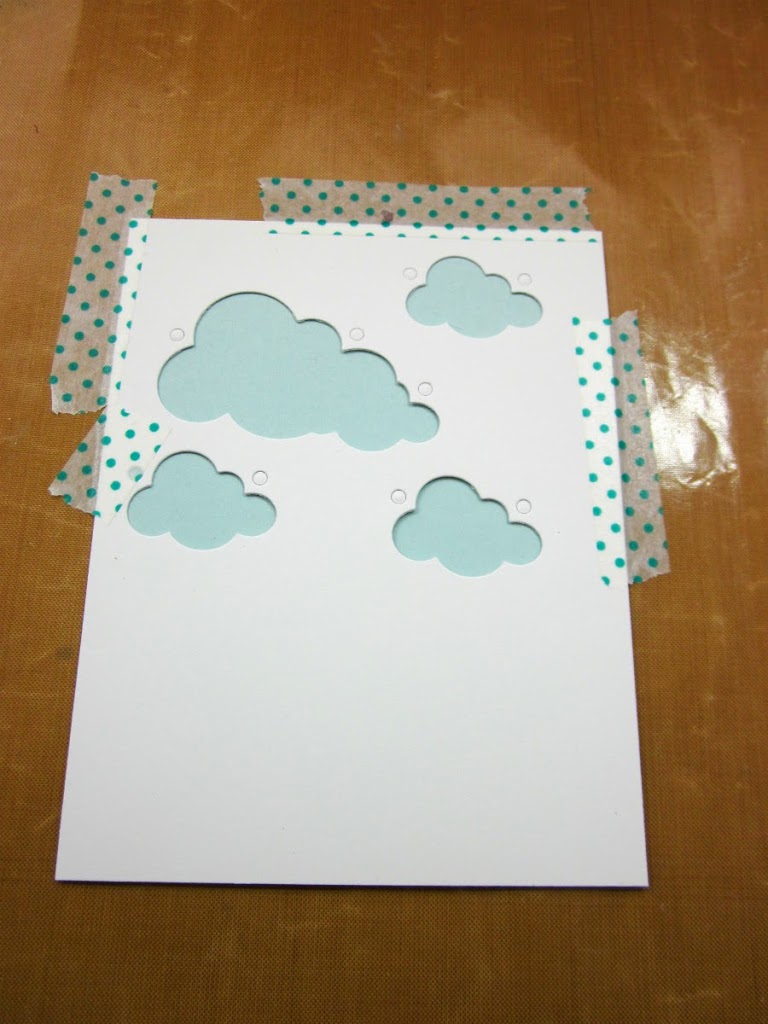
The next step is to ensure that your stencil is adhered to your background as well as to a craft mat or something that you’re not worried about getting dirty. I simply used washi tape so that I could easily peel it back without fuss.
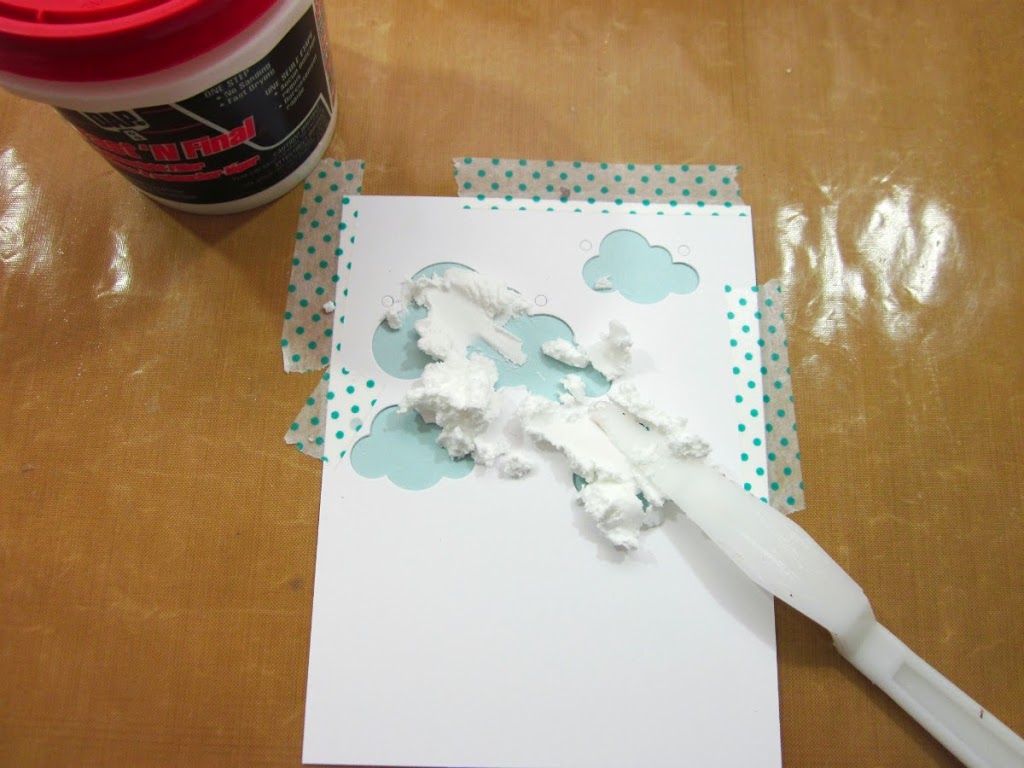
As I mentioned above, I wasn’t sure about the stenciling hype and the embossing paste medium so I have not purchased embossing paste yet! What I use is called spackle and it’s what you’d use to fill holes in your wall! This particular brand is called “Fast ‘N Final – Lightweight filler.” I saw the original tutorial by Maggie here.
Grab a palette knife and spread the spackle evenly across the stencil.
After a few minutes of leaving it to try, I slowly peeled the stencil away from the background. Make sure you do this slowly!
Here is the finished embossing paste clouds… I left my clouds uneven so that they were puffier. Below is my completed project using YNS Pinwheel dies as well as the Happy Day Sentiments. Keeping it really CAS.
If this technique is new to you, I hope that I’ve inspired you to use your dies and make stencils from them! If you give it a try, please link up. Any questions, please drop them below and I’ll get back to you. Thanks for stopping in today.
Posted by: YNS on Wednesday, February 26, 2014 at 5:00 am
Hello Your Next Stamp blogger friends!!
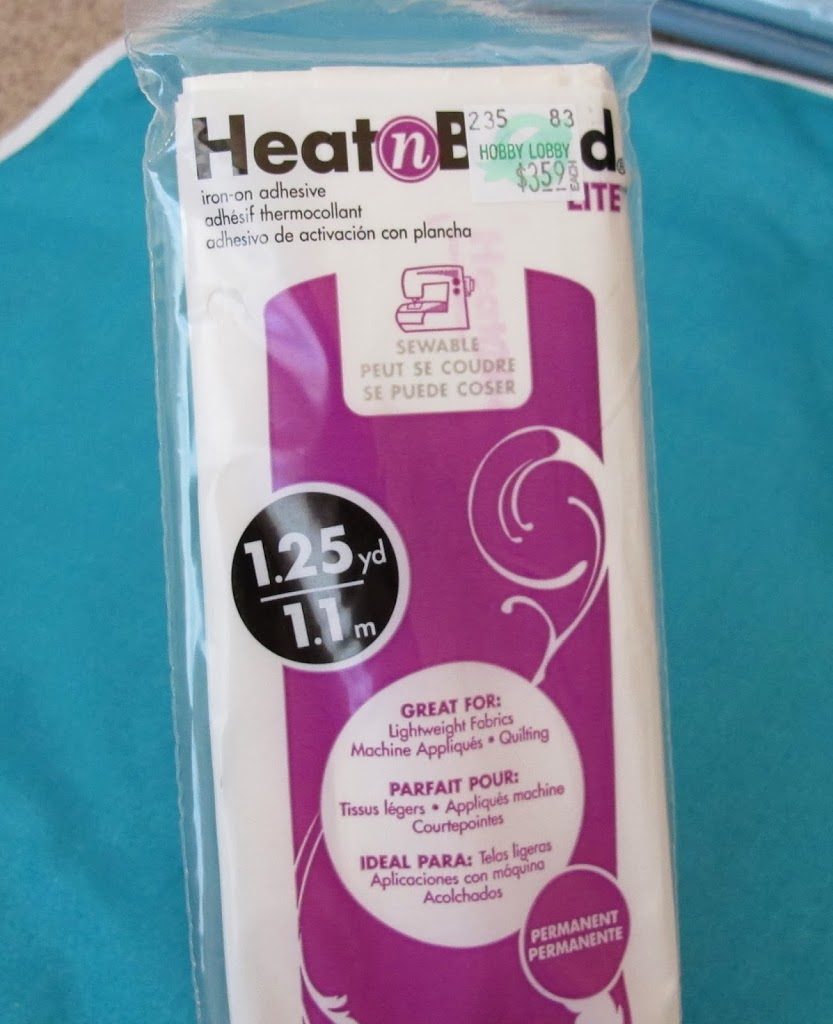
Deborah here and I wanted to share with you today some tricks on how to use your digi stamps on fabric. How fun is that? There are a few steps to take on this technique, but if you bear with me and perhaps grab a cup of tea or coffee, I promise you will have fun! There is also another medium that can be used to achieve this look, but I am going to show you how to print on fabric with your printer and Copic markers to color the image using freezer paper and some Heat Bond iron on adhesive. So lets get started!
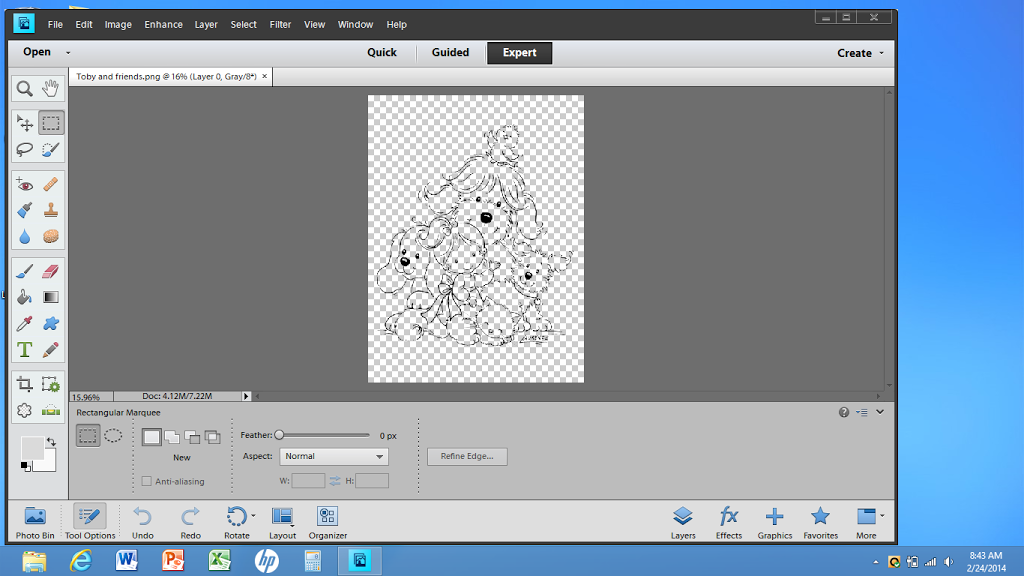
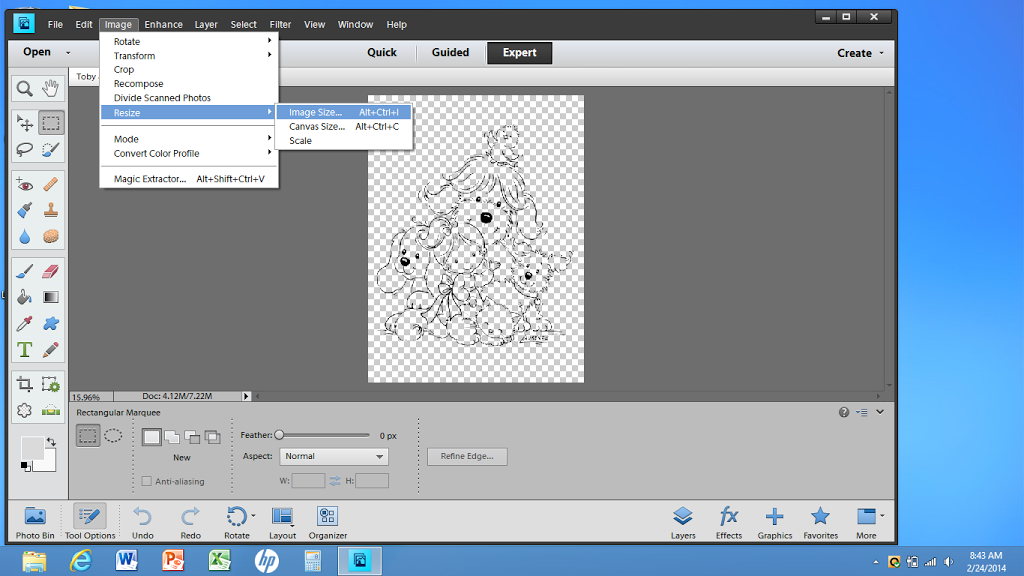
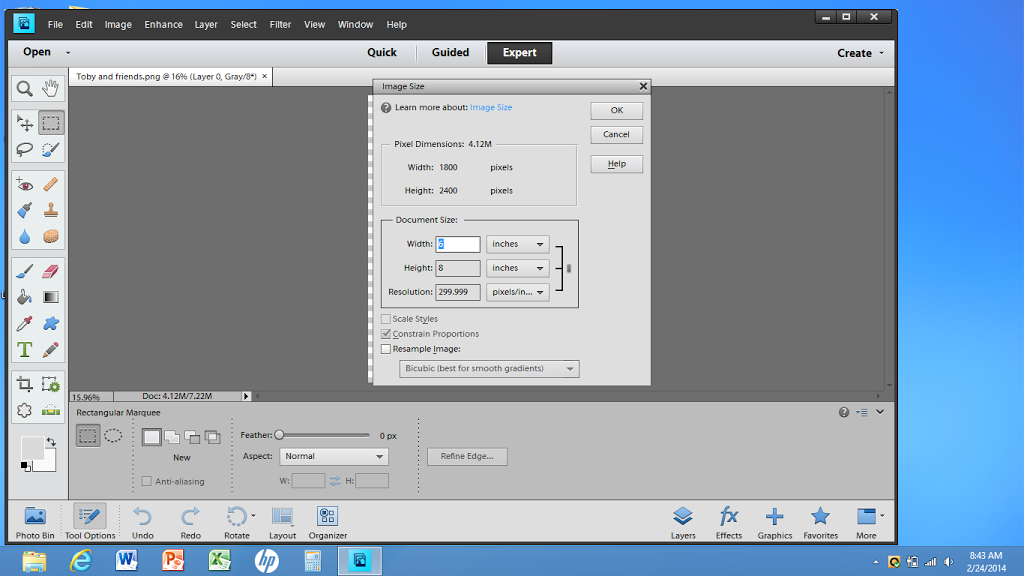
The first step is to choose what image you would like to work with. I know, that is the most difficult step because YNS has so many adorable images! 😉 Once you have chosen the image, you will want to resize the image in your favorite photo editing program (I am using Photoshop Elements) to fit the project you are using this on.
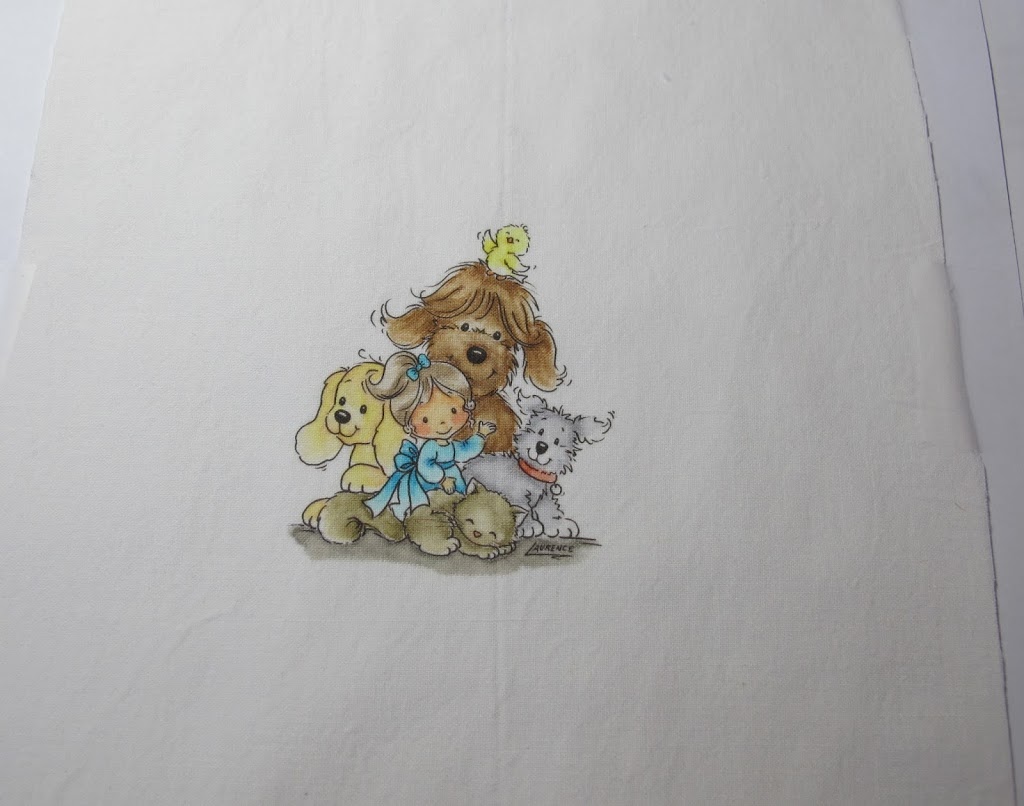
I am using Toby and Friends and as you can see here, I scaled it back 50%.
Once I have adjusted the size for my project, I went to the print screen to ensure I had it set to the area in which I wanted the image printed to. In this case, I wanted it in the middle. Allow me to show you the steps to prepare your fabric for the printing process.
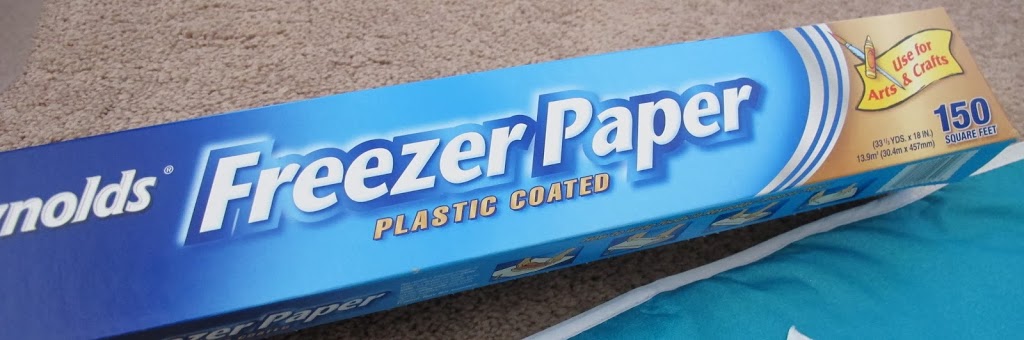
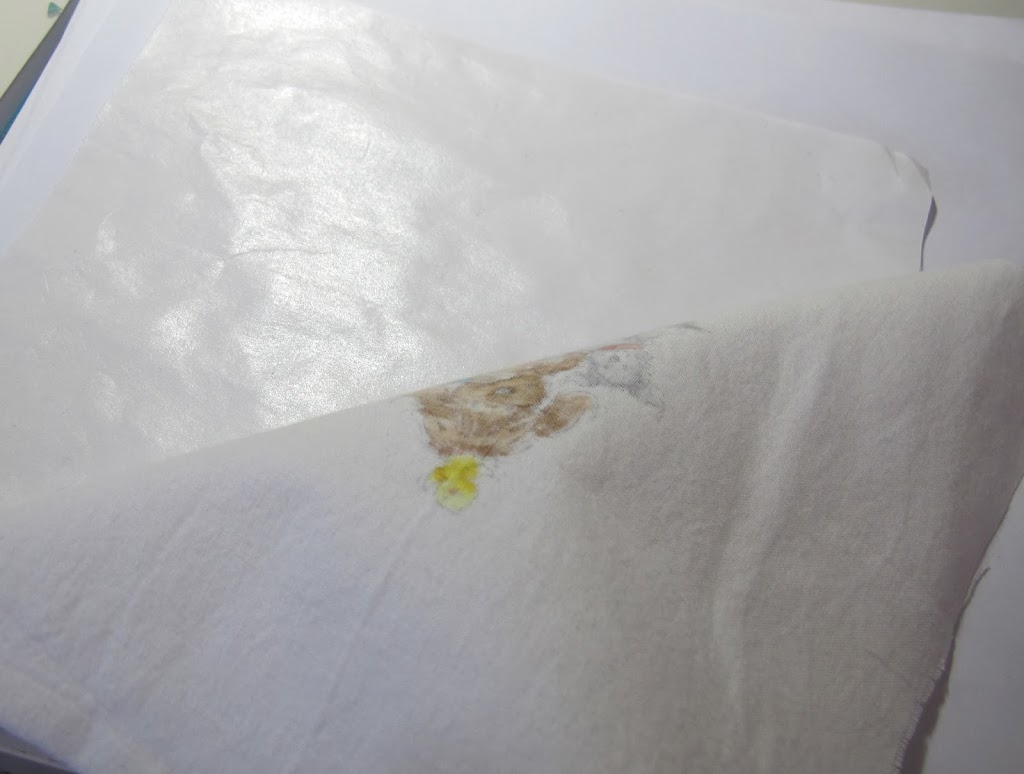
I mentioned that we would be using Freezer Paper. This is paper that is coated on one side and not the other. It is used for wrapping items to be frozen and perfect for arts and crafts projects where you don’t want something to soak through onto your work surface. Look! It even says for use of arts and crafts! 🙂
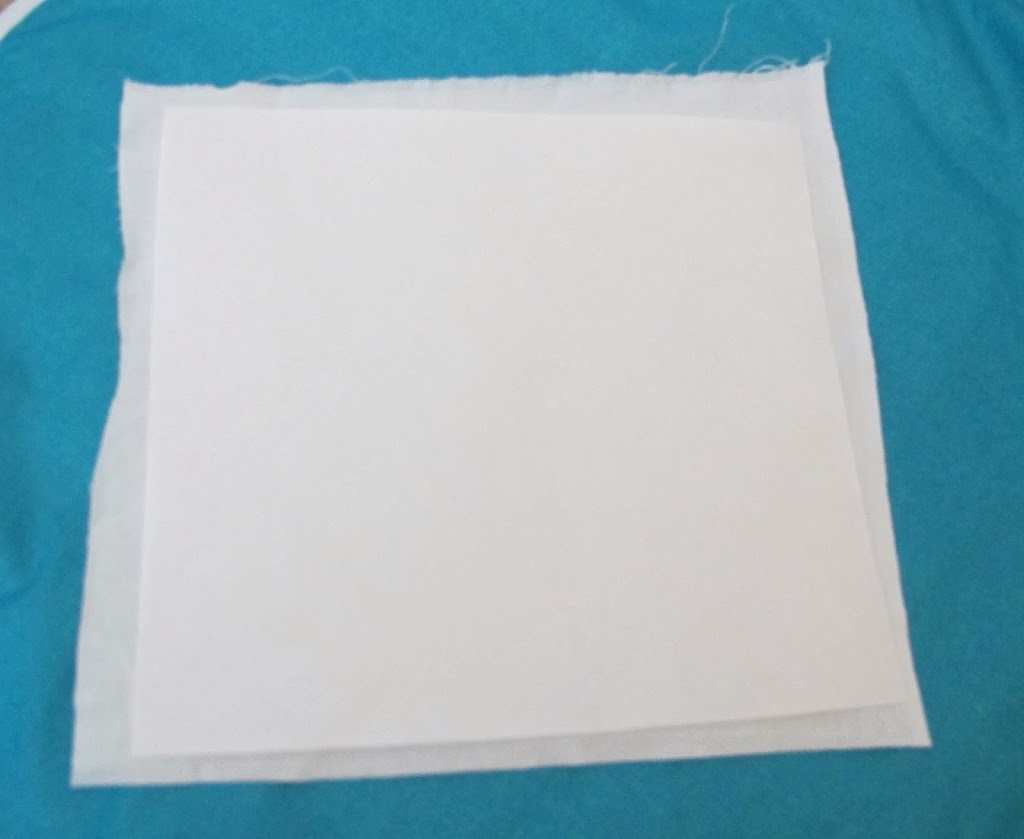
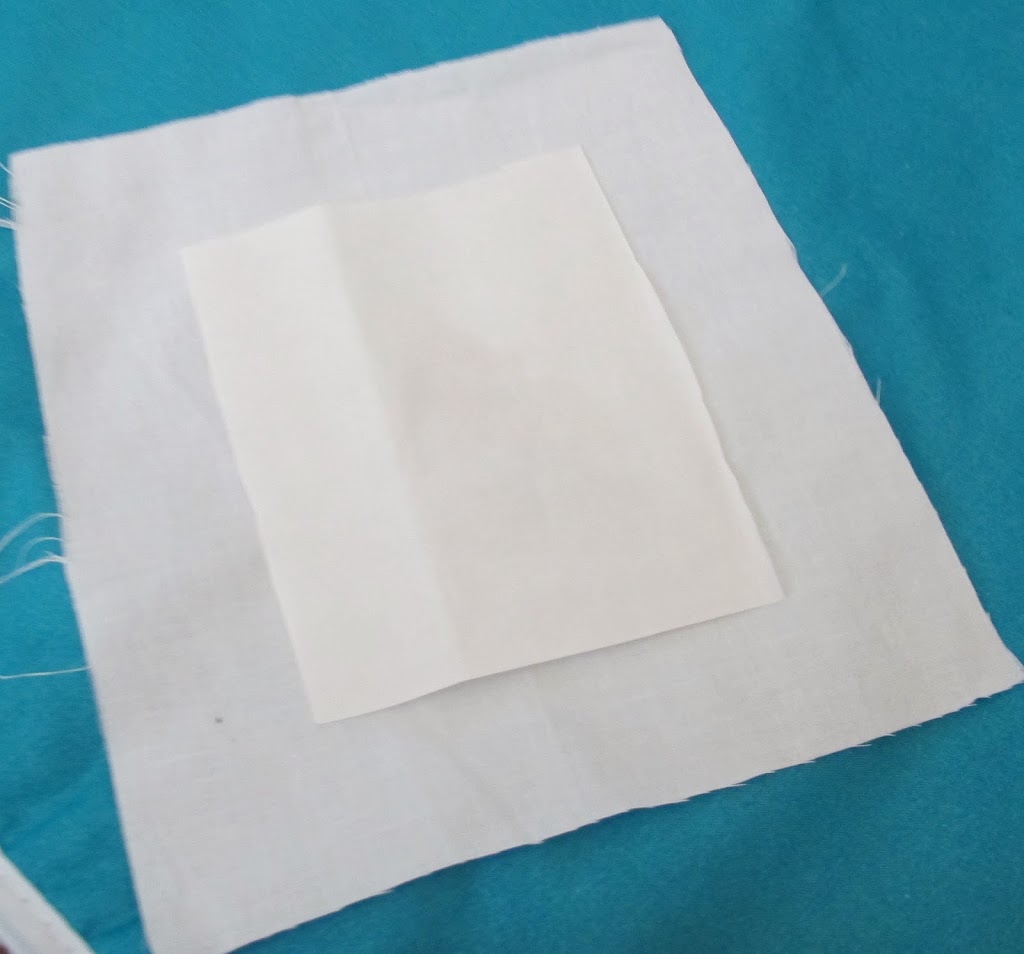
Cut your fabric to the size you want to print on. I cut mine to an 8″x8″ square just to be sure I was covered. Then, cut your freezer paper just smaller than your selected size of fabric.
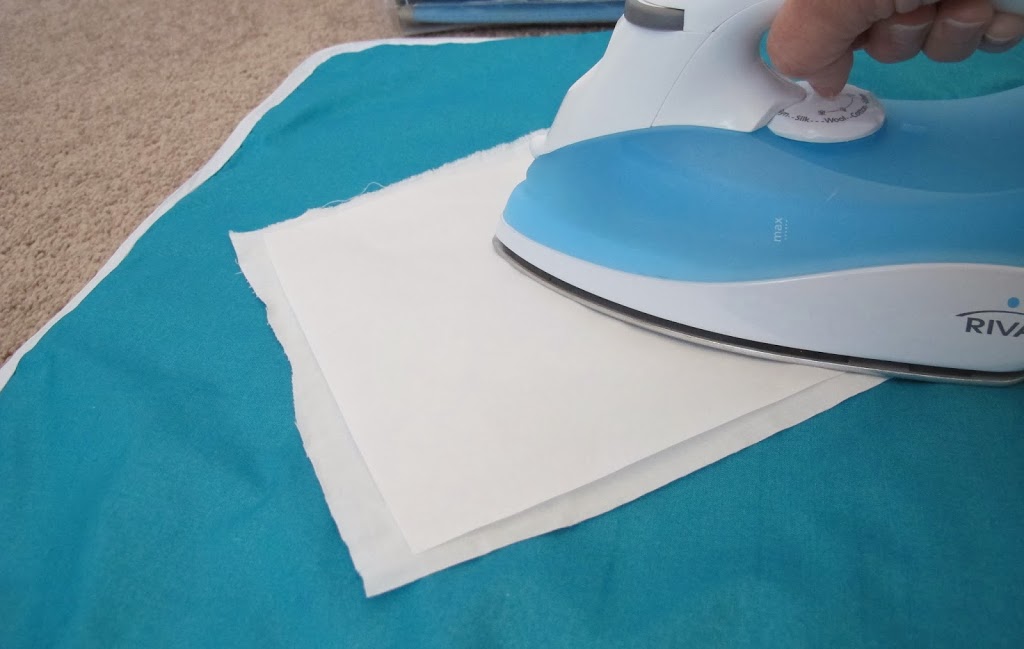
Place the coated side of the paper to the underside of the fabric (the side you don’t want printed on) and iron.
Iron both sides to ensure a good marriage and no wrinkles on the fabric. Because I made my space an 8×8, I took my fabric and taped it to a sheet of printer paper so that I could feed it through, making sure the fabric was in the center. Depending on the size you are wanting to print, you could make the fabric and freezer paper 8 1/2″ x 11″ so that it would feed like a normal piece of paper. The choice is yours!
Load your paper into the printer and hit print! I kept my printer settings normal and it worked perfectly.
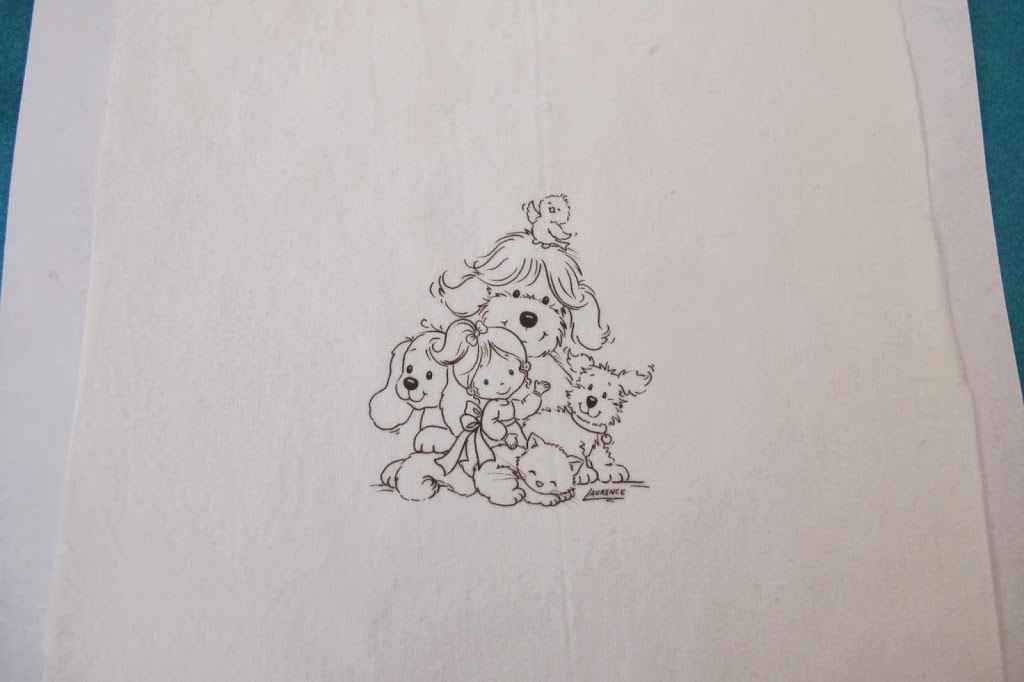
Now it’s time to color! Ok… so it is terrible that I did not stop to take pictures of me coloring? I get into a mode and forget! I am sorry for that, but I will explain. When you are coloring with Copics on fabric, it will bleed because of course the fabric is porous. The key is to use the lightest of strokes (and I do mean light) and begin away from the lines. The color will naturally spread and if it spreads too much and over the line, you can do a couple of things. One, is that I found you can use your blender to “push” back the color. Two, if you can catch it before it spreads, or you used your blender and want it to stop, I used my heat gun to quickly dry the alcohol and stop the ink from spreading. You can also use your iron if you want. Here is my finished image:
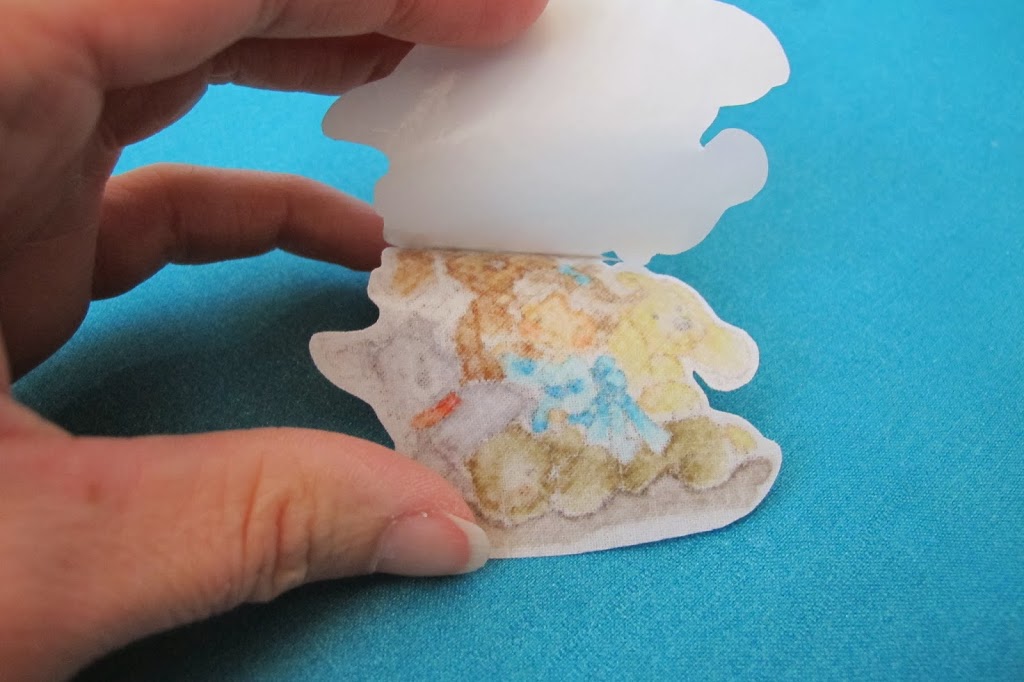
Fun, right? 🙂 Peel away the freezer paper from the fabric.
Cut a piece of the Heat Bond to the size you desire for the cut out. From this point, you can decide whether or not you want to run it though your die cut machine for a decorative look or just fussy cut like I did. Either way, be sure to have enough coverage area you will need to adhere it to your project.
Place the shiny side of the Heat Bond to the underside of the fabric and iron on front and back until you get a good bond between the two.
I fussy cut mine and then peeled back the paper from the Heat Bond leaving me the adhesive on the back.
I ironed on the image to a small muslin bag and decorated the bag using some ribbon which I rouched through my sewing machine, some jute cording, and a button. I filled it with some dog treats and it is ready for giving to mans best friend!
Thanks so much for taking a peek at my tutorial and hope you have fun doing your own fabric creation! Have a great week! Deborah
Posted by: YNS on Wednesday, February 12, 2014 at 6:00 am
Hello everyone, Brianna here from Happy Scrapper. Today I will be showing you all how to mat your digital stamp and adding faux stitching using your Silhouette Cameo software.
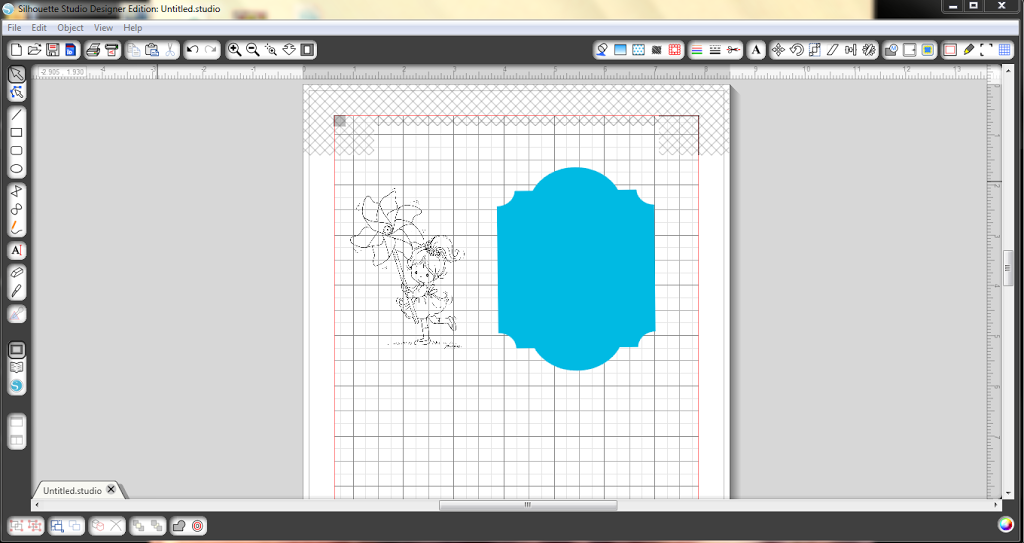
Step 1: Go to file button in your Silhouette program ( I am using the Designer Edition) and scroll to the merge button, go to where you would have your digi’s and mat saved, and bring them into the program. I will be showing you how to change the color of mat later on in my steps, I am just keeping it blue so its easier for you to follow along and see what I am doing! Also you will want to make sure you have your registrations marks turned on and print paper settings set correctly.
Step 2: At this point, I like to bring my digi over and layer it on top of my mat, so I can size it accordingly, so I can begin with the faux stitching.
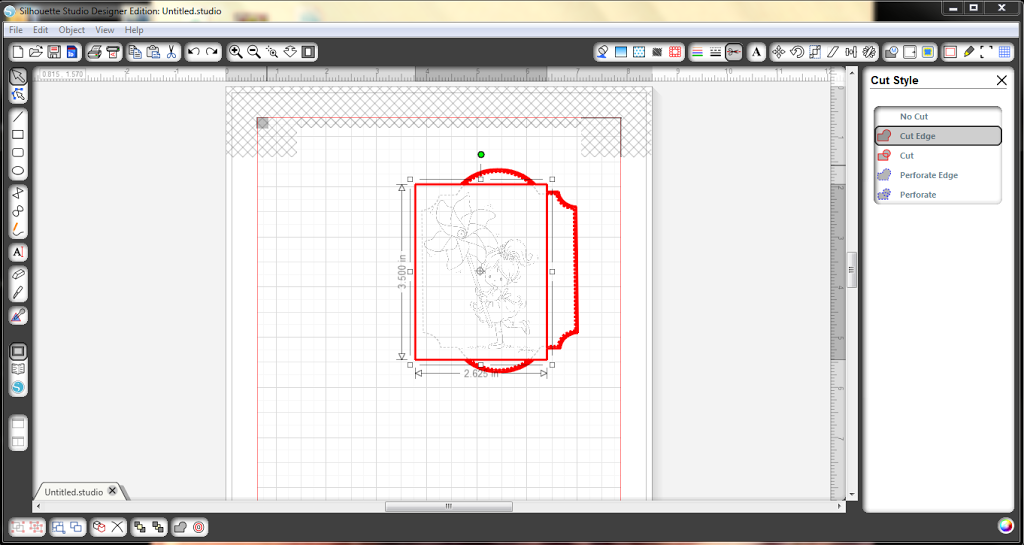
Step 3: You can now see I have my digi layered on my mat. I am now going to go up to the offset button in my Silhouette, it’s in second group from the right at the top, middle button. You can now see how the box appeared on the right, that says offset. At this point, you want to select the “Internal Offset” option. Now that you have that selected, you will go to the guide where it says “Offset Distance”, I just guide it, until I get to the point I like. In this case, I choose a really minimal offset at 0.040. Right now the line is solid, in the next step I will show you how to switch it to stitching.
Step 4: Okay, now comes the time to change our line from a solid to a stitched and from red to black. Going back to the top of our tool bar in our program, we will be working in the 5th box from the right. We will be working with both the Line Style & Line Color. First lets start with Line Style, this will be the middle button in that group. You can choose any style you like, I am going to just choose the smallest stitch, which is the second option. You probably can’t tell that well from my photo, but right now our stitch marks are red and I want mine to be black. So now we want to choose the button right next to the “Line Style” one, with the, red, green and blue lines on it. When you are in here you will have many different colors to choose from but for today we are going to be using black.
Here is a better picture with mat turned transparent, which leads me to step 5, we are almost done:)
Step 5: We will now be working in last group of boxes from left, up on our tool bar. You will want to select the little paint pail, this will bring up the box on the right that says “Fill Color”, make sure your mat is selected and choose the button, that has the little hash marks going through it, this will then turn your mat transparent.
You still with me!?!?
Last two steps, I am just going to show you what to look out for before you print and cut your image, so it cuts properly. Most digital images have a box around them and you need to make sure to hide that, by turning off your cut lines around your image. This is how it would look, if you didn’t have those cut lines turned off.
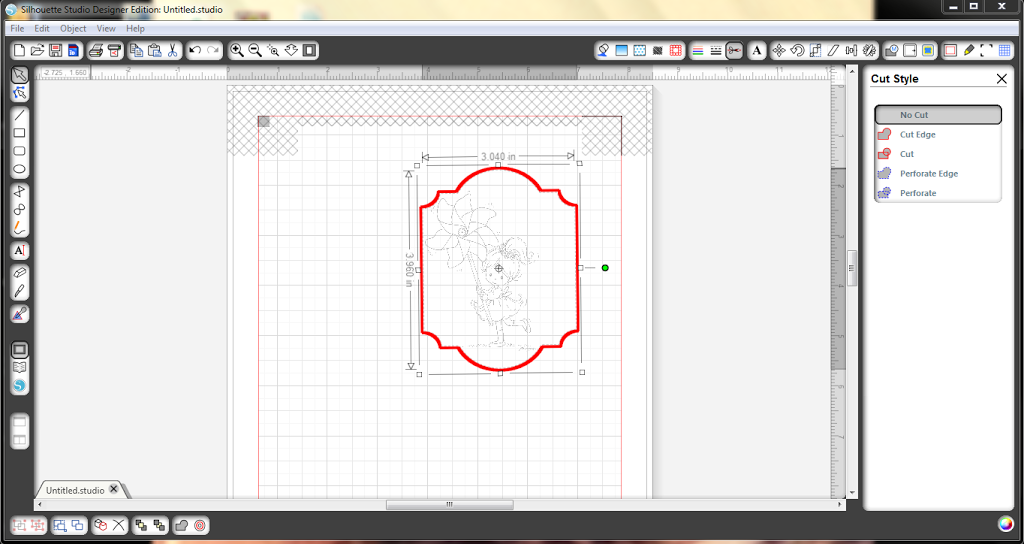
Step 6: Turning cut lines off around your digital image, you need to go to top tool bar and go to the scissors button. Select you digi. and select the “No Cut” button that will turn off your cut lines for around your digi.
You will also need to do this for the stitching, either wise its going to cut little perforations into you project.
Here is what your final outcome should look like before you print and cut.
Right now, just the cut line is turned on for the mat only, and that’s what you want.
I promise you, this is super easy peasy and you will all have the hang of it, in NO time and it adds such a wonderful touch to your projects, and if your ocd like me, you wont have to worry about any crooked lines using this method!!
Here is my final creation using this method…..
See how cute it looks! I hope you all enjoyed my tutorial and I hope you all found it valuable.
Posted by: YNS on Tuesday, January 21, 2014 at 5:00 am
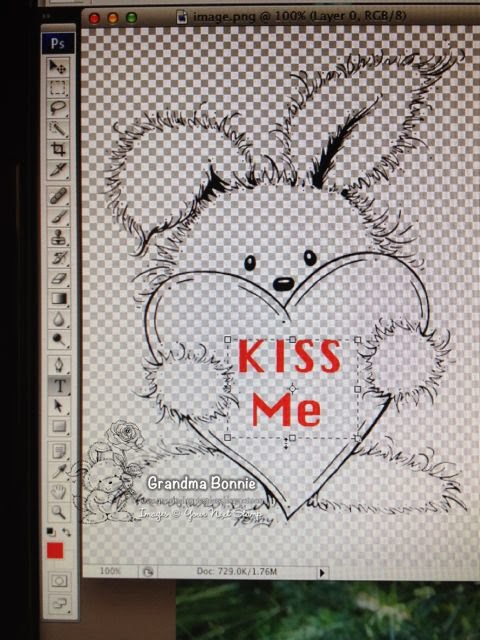
Hello! Bonnie here and I want to share with you some Tips and Tricks for using Digital Stamps, as you noticed two weeks ago, Angel from the Digital Design team shared this digital stamp called Cuddles and did some paper piecing. This week I’d like to show you how to add a text box to your digital images. I use the program PhotoShop…there are many editing programs out there and some that are even free. For this post I will tell you how I used my PhotoShop. (see at the image below)
1. Open up your image
2. Select “T” for text, using your mouse make a box (don’t worry where you make the box you will be able to move it where you want it later)
3. On the top toolbar select a font you’d like to use. I used Silom. Your font is probably black, you can change that by selecting the color box at the bottom left (in my picture it is red because i selected red) A color box will pop up and you can select another color. If you have already typed your word, you will have to highlight it and pick the color again. To make your word larger you can select the text size at on the top tool bar. Your size will depend on your image and your size preference and font you decided to use. If you make your font large and it’s not fitting inside of your box, you can use the squares on the corners to make your box larger (or smaller).
4. Once you are happy with your text you can select the top arrow button on the side toolbar. It will make the “text box” border disappear. Now you can drag your word where ever you want on your image.
5. Take note.. DO NOT SAVE this image unless you have a copy of the original. What I like to do, is once I like what I have made I will “SAVE AS” and then save it as a .jpg file…some people like a png (transparent background).
6. Let’s say you messed up along the way, what I have found to do is I can select edit and it will let me take a step backwards. Or let’s say you want to start over completely…just delete this and start again.
7. Once you are happy, you can “SAVE AS” and print off your digi’s like you normally do.
PS. There might be an easier way to accomplish this task, I am just giving you the way I learned how to do it. :0)
For those of you wanting a youtube video, I found this one, it only shows how to add the text box not the font color:
https://www.youtube.com/watch?v=F3i1MOngavs
Ok and i found this video with even more detail!
https://www.youtube.com/watch?v=DIpX3HtjGSA
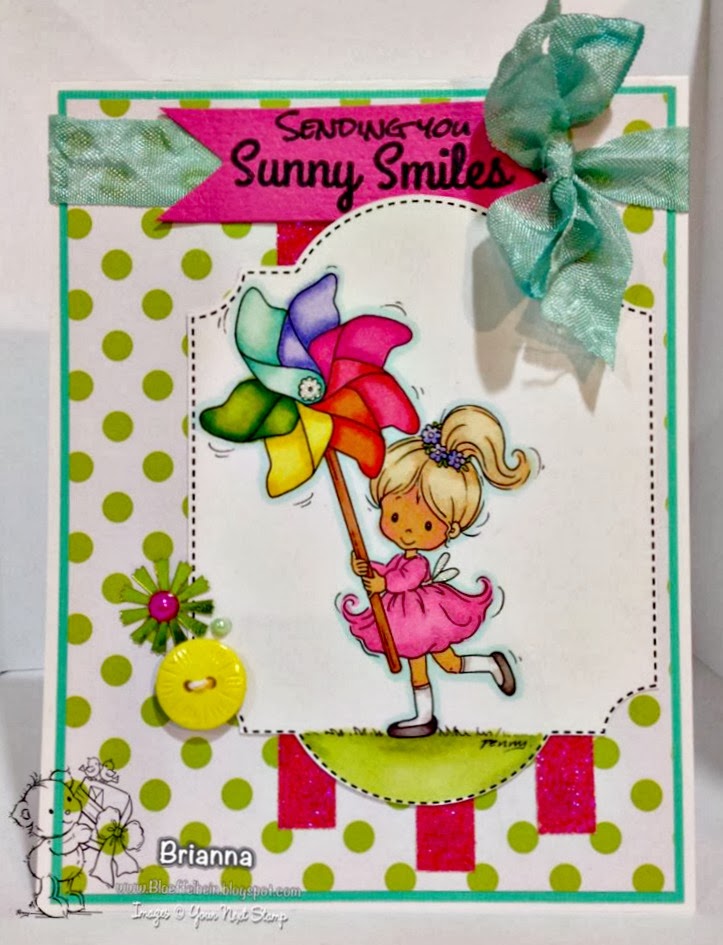
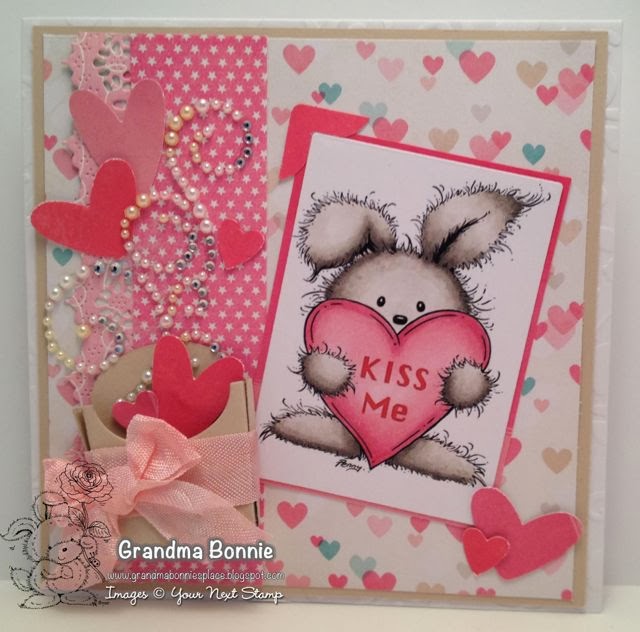
Now for the fun…I took a look at this cute bunny and said, Cuddles, you would make an awesome Valentines, Save the Date or Easter card…I am thinking maybe you could figure out some more ideas..if you do please share them by leaving a link in the comments here or entering our challenge this month! I’d be super excited to see what you come up with!! Here are my samples using these ideas:
“Kiss Me” Cuddles also using the Your Next Stamp Fry Box Die found here.
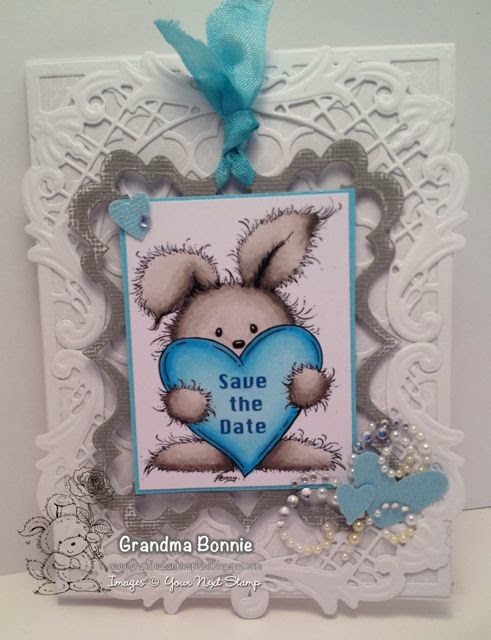
“Save the Date” Cuddles also using the Your Next Stamp Photo frame found here.
*Take note*, I would actually add the date to the heart as well!
“Happy Easter” Cuddles again using the Your Next Stamp Photo Frame found here.
Posted by: YNS on Wednesday, January 8, 2014 at 5:00 am
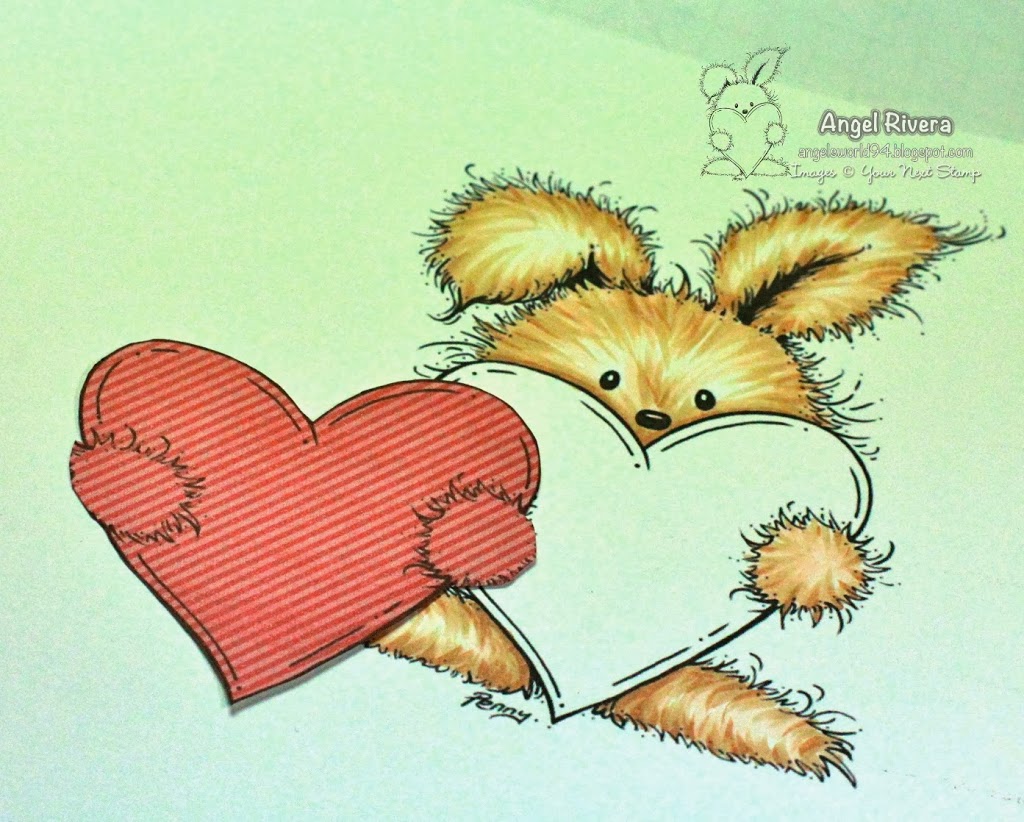
Hello! Welcome to our Tips and Tricks with Digis post! I wanted to show you how I paper piece using digis. First I adhere my designer paper to a standard size piece of cardstock with re-positionable tape then print my image. Yes, I used painter’s tape – use what you got, right?! 😉
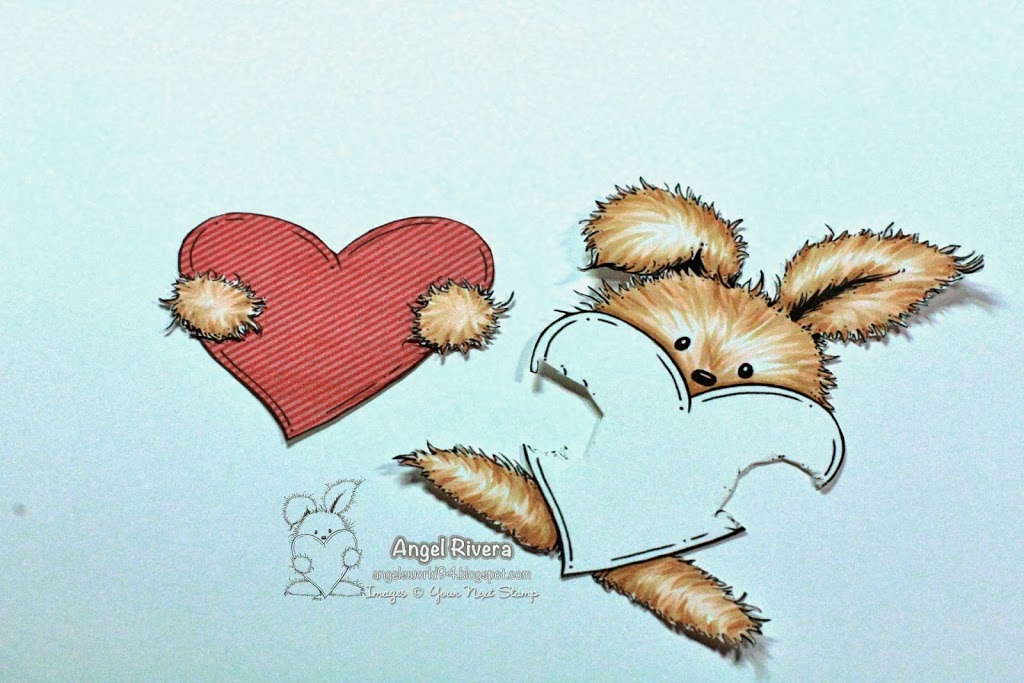
Then I colored this sweet image, Cuddles, using copics E00, E31 and E33. I cut out the dp heart, leaving his little feet so that the colored feet can be adhered to them for more realistic dimension.
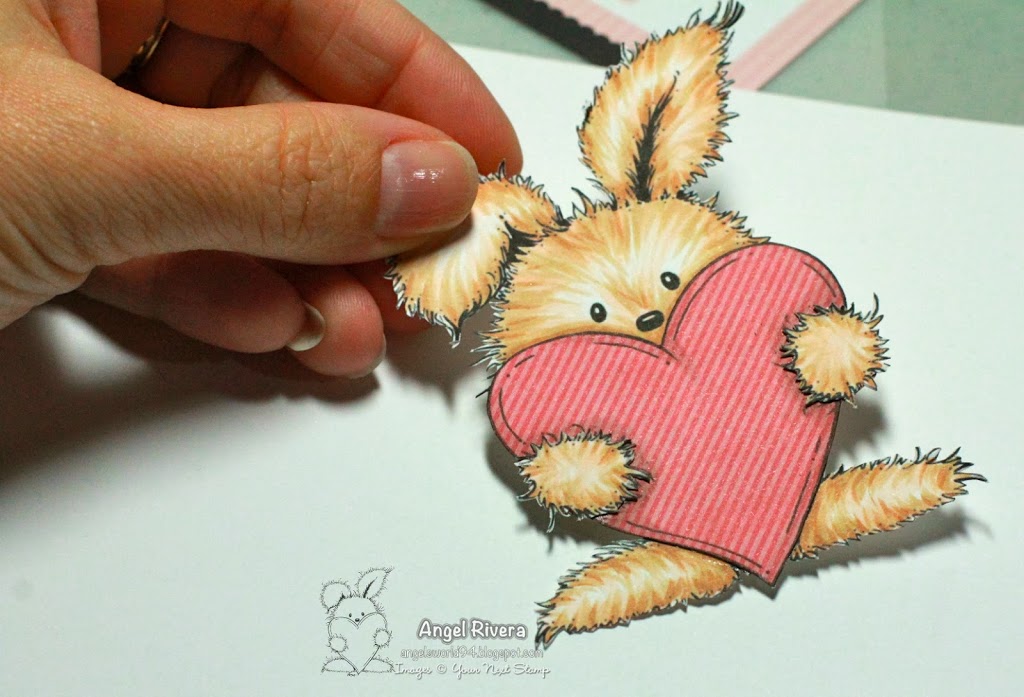
Here you can see that I fussy cut the sweet bunny and added his little feet over the dp. Again, it gives the image a more realistic feel.
Here it is all adhered together. Isn’t he ADORBS!?? LOL…
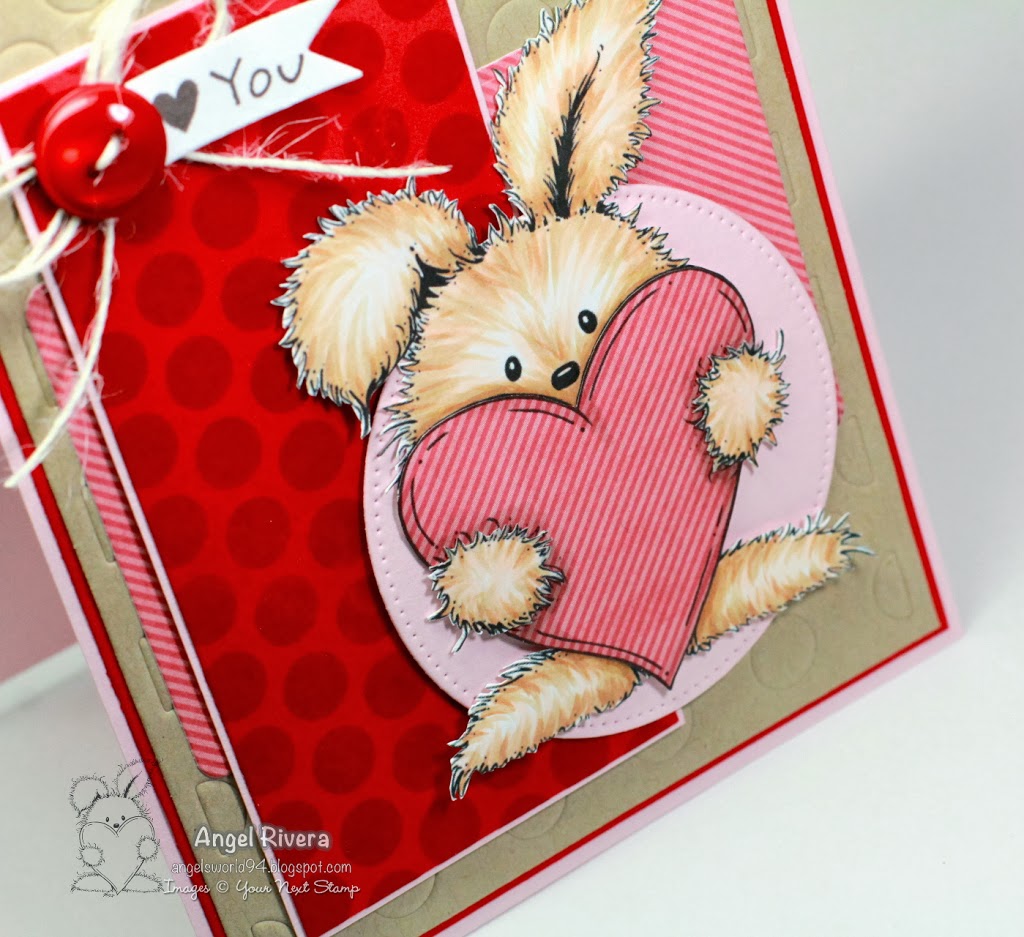
For a little more dimension, I used my W3 copic to shade around his hand and the outer edges.
And here’s my finished card! A few die-namics and sweet sentiment complete my card. One more tip ~ I like to use the same designer paper that I pieced with somewhere else on my card. It makes for a nice, cohesive look.
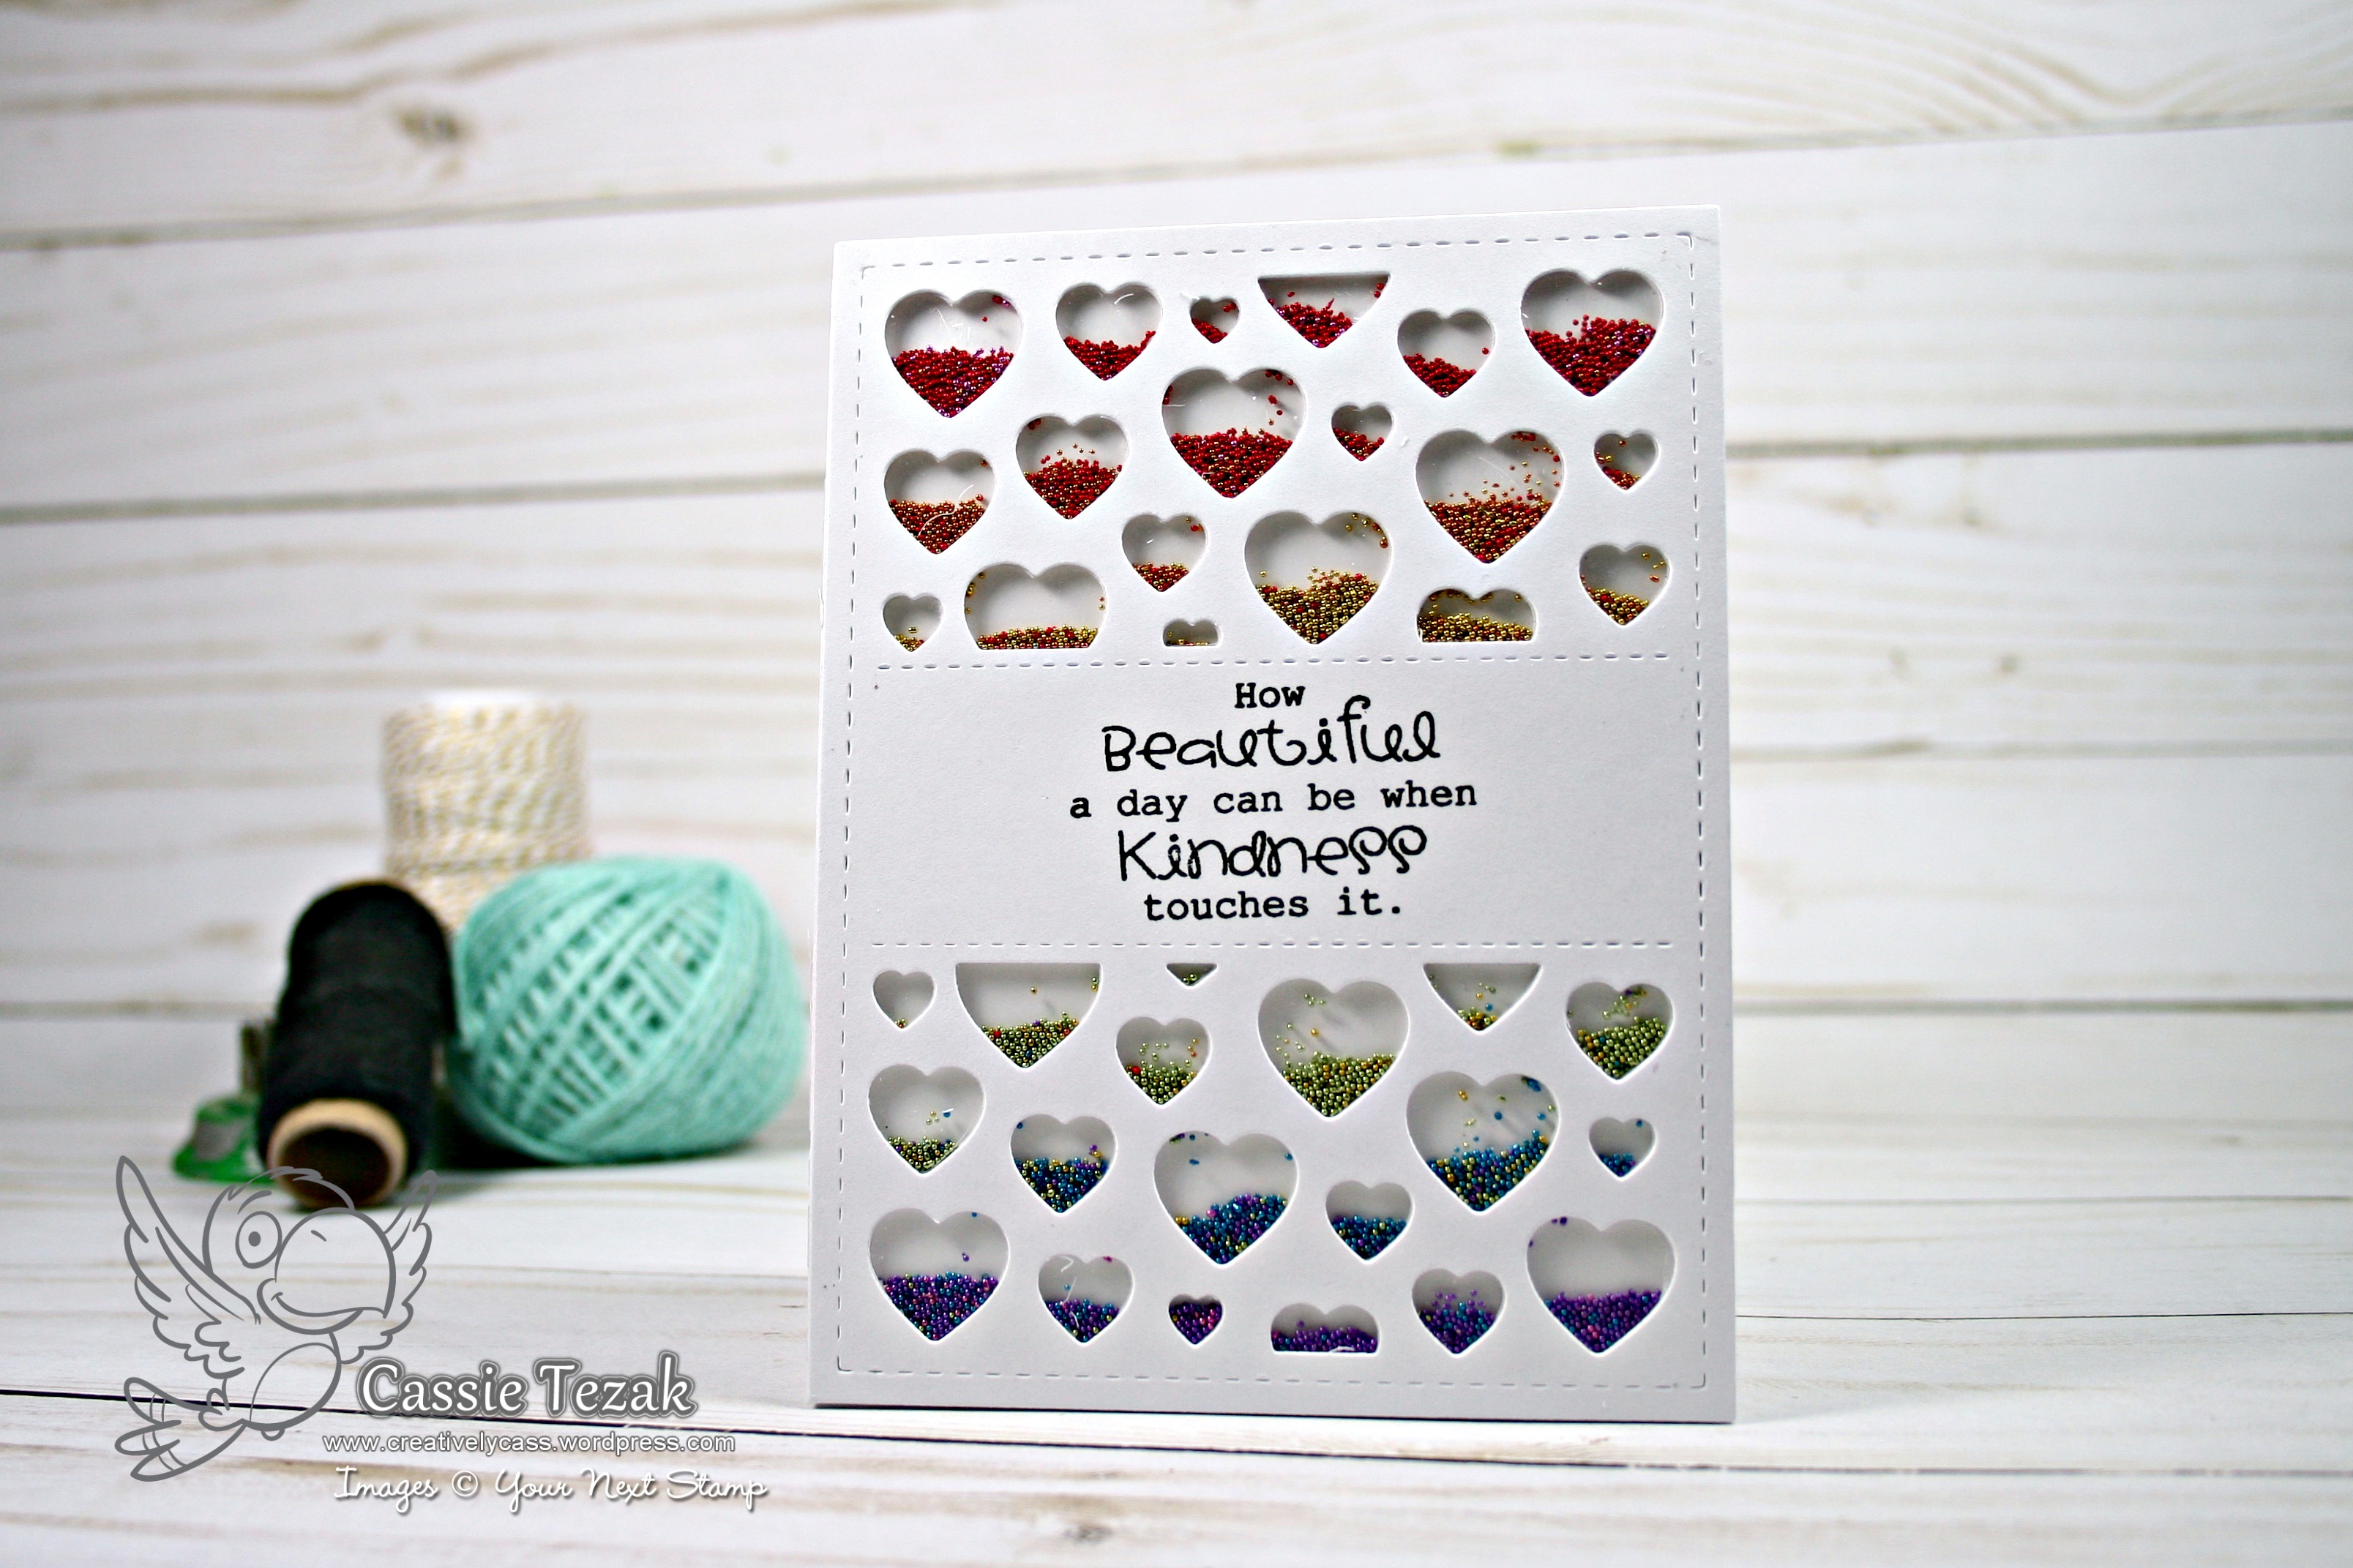 YNS Supplies: Heart Panel Die | Heartfelt Sentiments