Hi everyone!
I just found this tutorial in our archives and I wanted to share it with all of you!
This fabulous hair coloring tutorial Cabio made for all of you! Enjoy!
Here is a hair tutorial to share with you. Today’s sample is Cupcake Cutie Fhiona from YNS. I will be using the same three tones again. Since Fhiona’s hair area is much bigger than some other stamps, so I tend to use more brushing for this images.
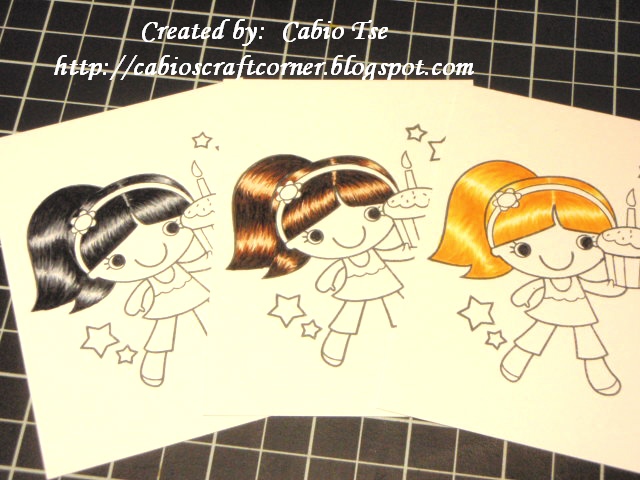
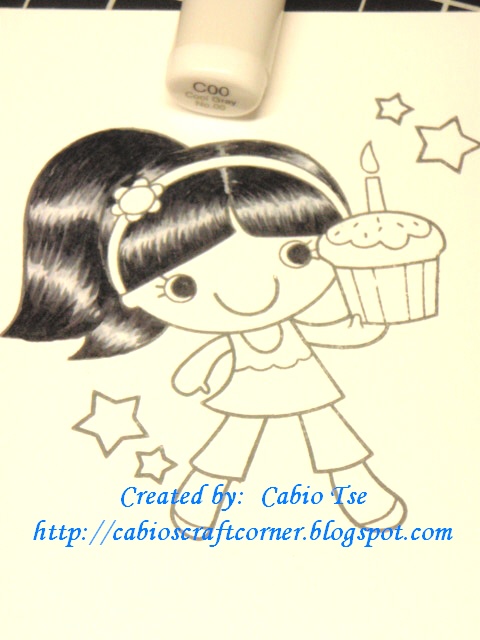
Black Hair – 100, C8, C5, C00
First, let’s see the finished black hair sample
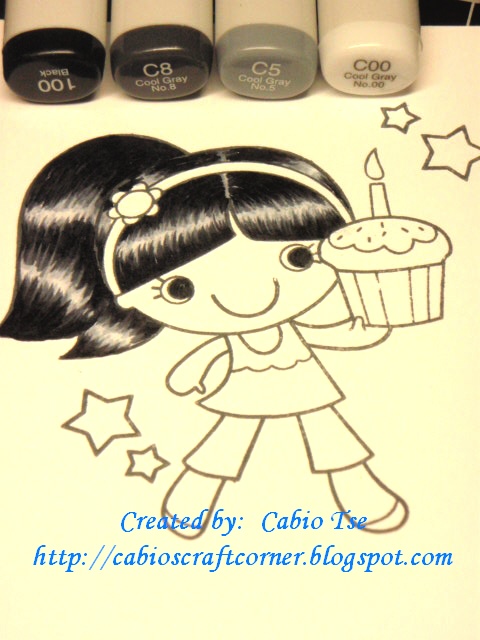
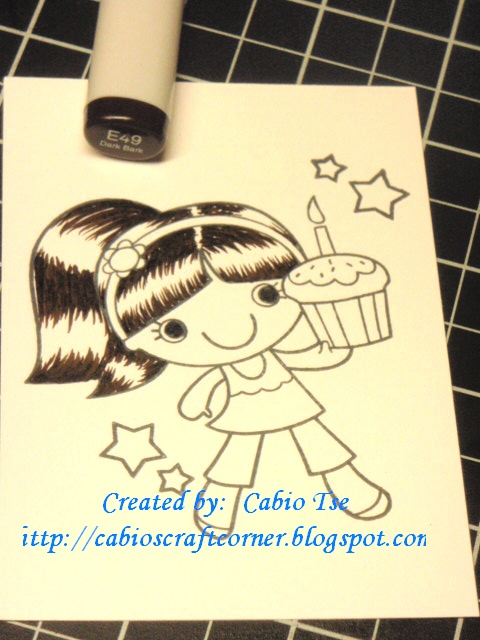
Step #1 – The first marker is #100. You use the 100 to make a gap (space line) as her hair part to separate between the left and right section of the hair. (the part by her hair-band). When coloring her pony tail, use a little curve stroke to brush the marker from the top and brush it toward to the left side where her pony tail hanging. But remember to leave some space in between to fill shadowing later with some lighter markers.
Step #2 – Use #C8 to brush over the black but make the brush line longer than the 100 yet to leave some space for shadowing later.
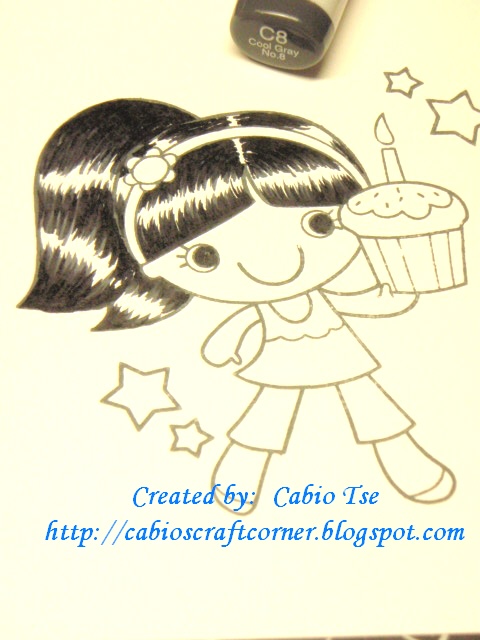
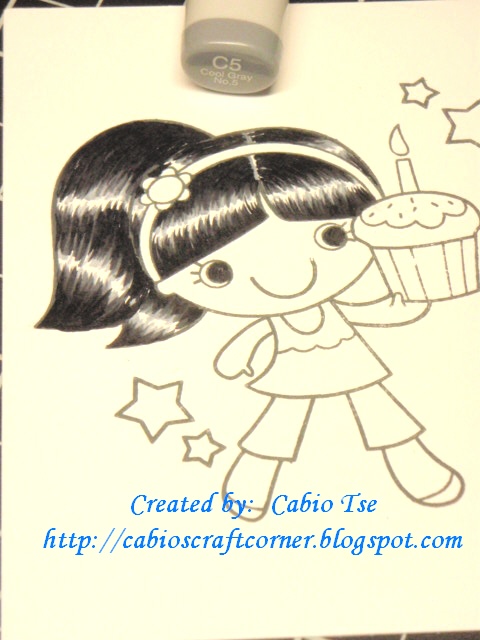
Step #3 – Use #C5 to start brushing little lines from the edges of each last stroke of #C8, but still to leave a little space for the last light marker to shadow. For the middle part line, draw a very narrow straight lines lightly (See left pic below)
Step #4 – Use #C00 to brush over the part line and then also to fill up shadowing by brushing the rest of empty space.
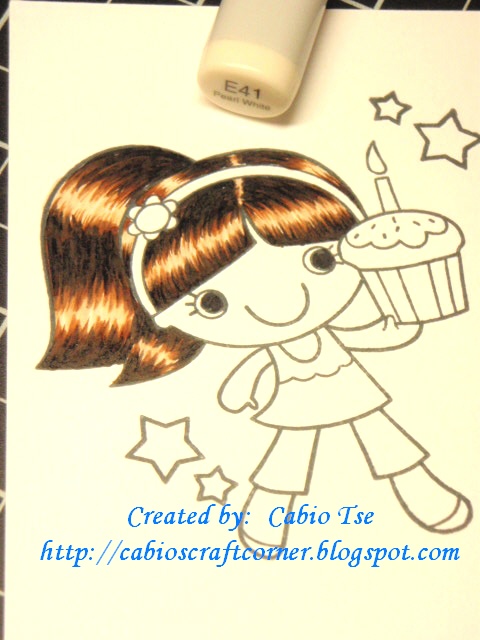
Brown Hair – E49, E37, E41 (These are my favorite brown hair combo)
Step #1 – you basically use the same stroke, but just using E49 to start. (See left pic below)
Step #2 – to use E37 brushing/blending in a curve motion, so that your pony tail and hair looks like it’s moving from the wind….well…at least I am hoping that the result will look a bit like that :o)
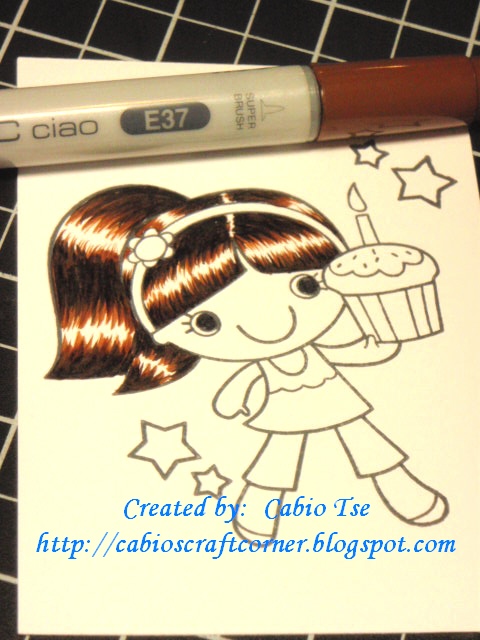
Step #3 – Instead of using the circle motion to fill up the empty space, I like to do mine by brushing little lines, I find that it looks more natural that way, but you can just use whatever way that works for you and as you wish :o)
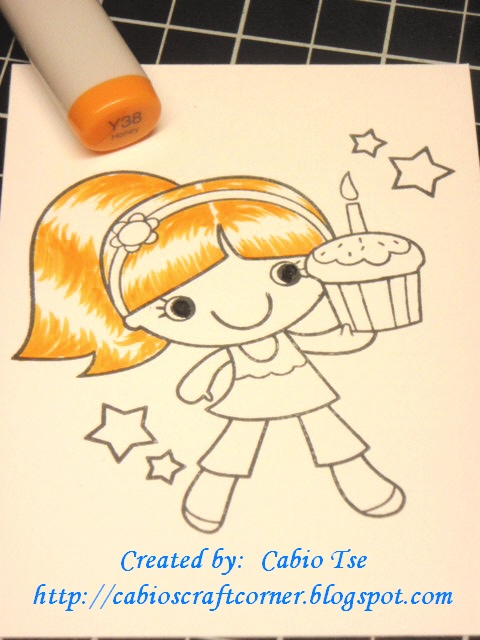
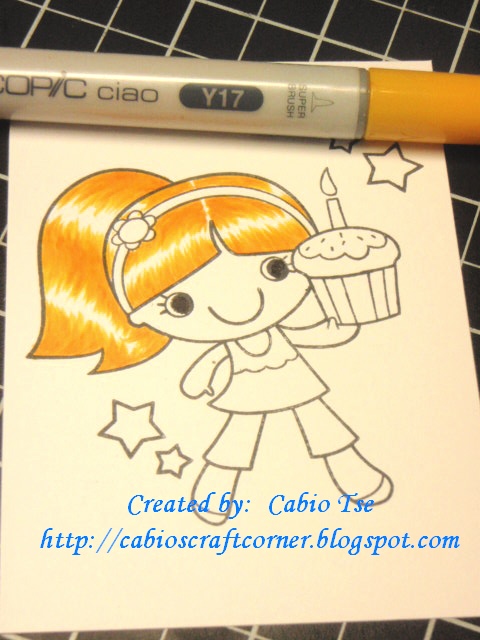
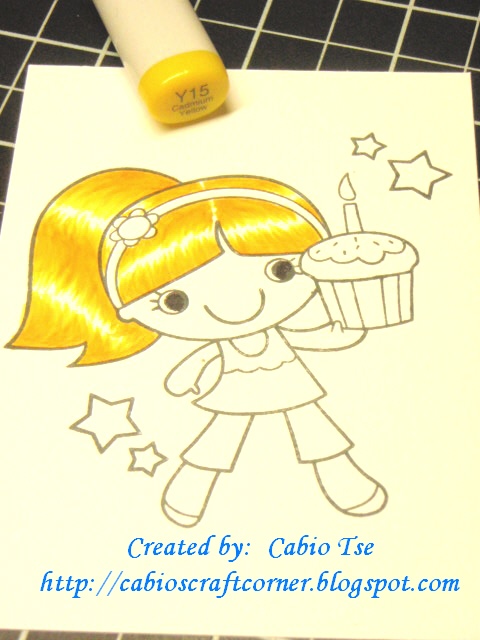
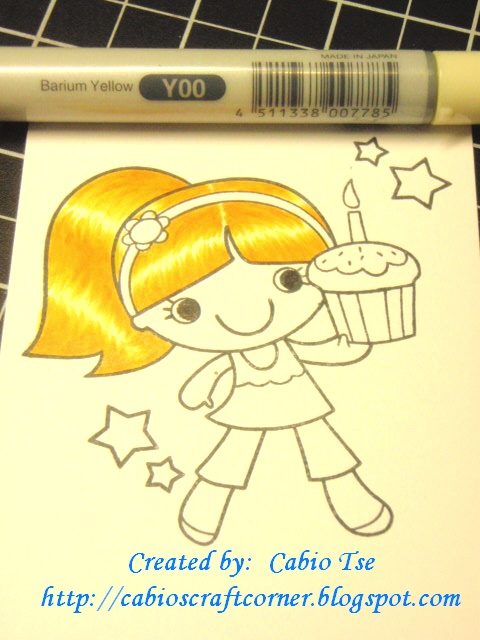
Yellow Hair – Y38, Y17, Y15, Y00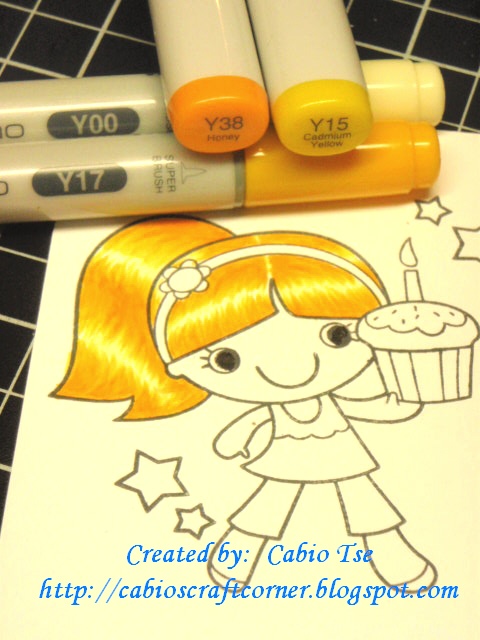
OK, I think you already have an idea, so I am just going to post the pictures to show you the marker #s.
Step #1 – see left pic below, Step #2 – see right pic below
Step #3 – see left pic below, Step #4 – see right pic below
Cabio


Great hair coloring tutorial!! Thanks for sharing!
Hugs,
Jo
xox
Great tutorial. I love the three different looks and shine. Wonderful, thanks.
Adorable!!!TFS
Have a wonderful day,
Migdalia