Hi All,
This is Sheila from SheLoveShoes blog.
I’m here today with a little tip for colouring or filling in backgrounds when using digital stamps.
After printing my digi on to card stock, I always print the same image again onto regular copy paper at the same size as the one I intend to colour. I will then colour in the card stock image using Copic Markers. I will then die cut the image using any die and I will keep it in place while I proceed to fill in the background.
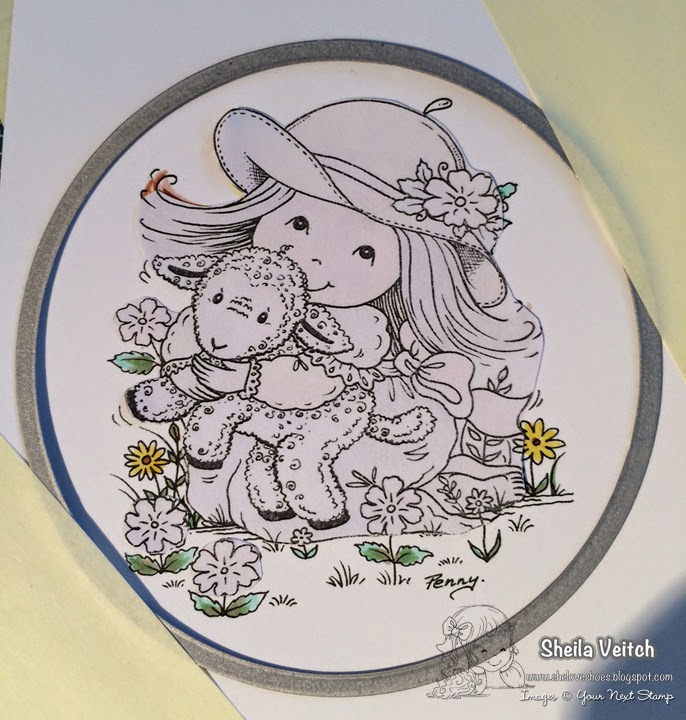
The photo above shows the die cut image, how I cut around the secondary image to make a mask and adhered the mask with removable adhesive to protect the coloured image.

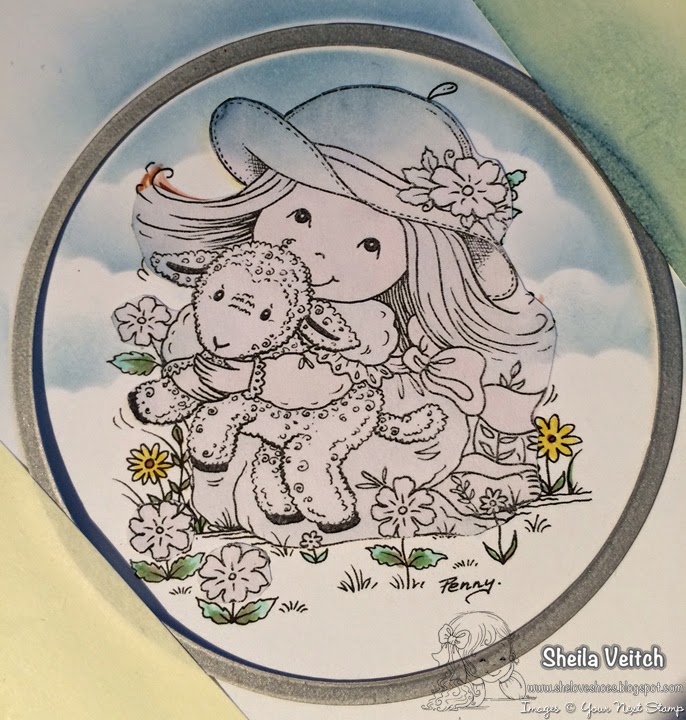
I then used Tim Holts Soft Sky distress ink, sponge applicator and a cloud like shape to create the clouds in the background. You can see the result below.
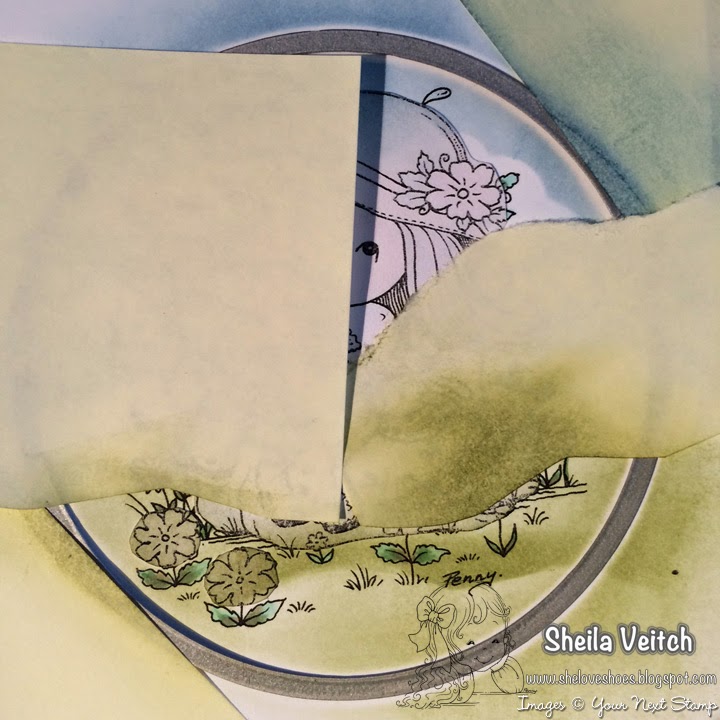
To make the grass, I tare a couple of sticky notes to resemble the small hills and valleys of a meadow and adhered them to the image again. I used Tim Holts Peeled Paint distress ink to make the grass colour.
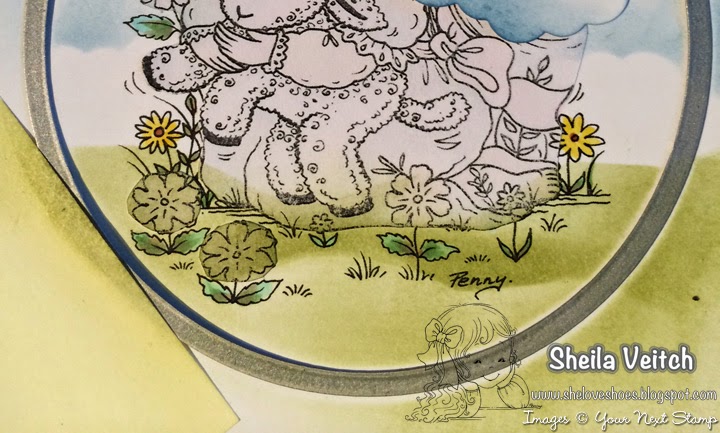
Heres the finished image coloured in.
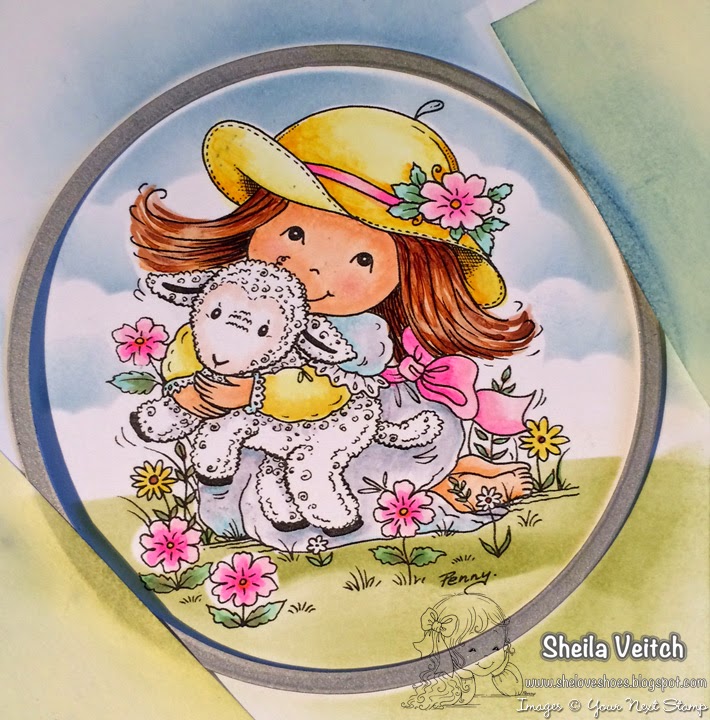
By leaving the die in place, it also acts as a mask and creates a nice white frame on the finished piece.


Fabulous tutorial! TFS! I really need to use this technique more!
Great tutorial. I love learning about how others do their backgrounds. I don’t do it often, but this is one I need to try.
wonderful tutorial…so detailed.
Sheila, i loved your tutorial..thank you!