Posted by: Julie Elak on Tuesday, August 1, 2017 at 12:00 am
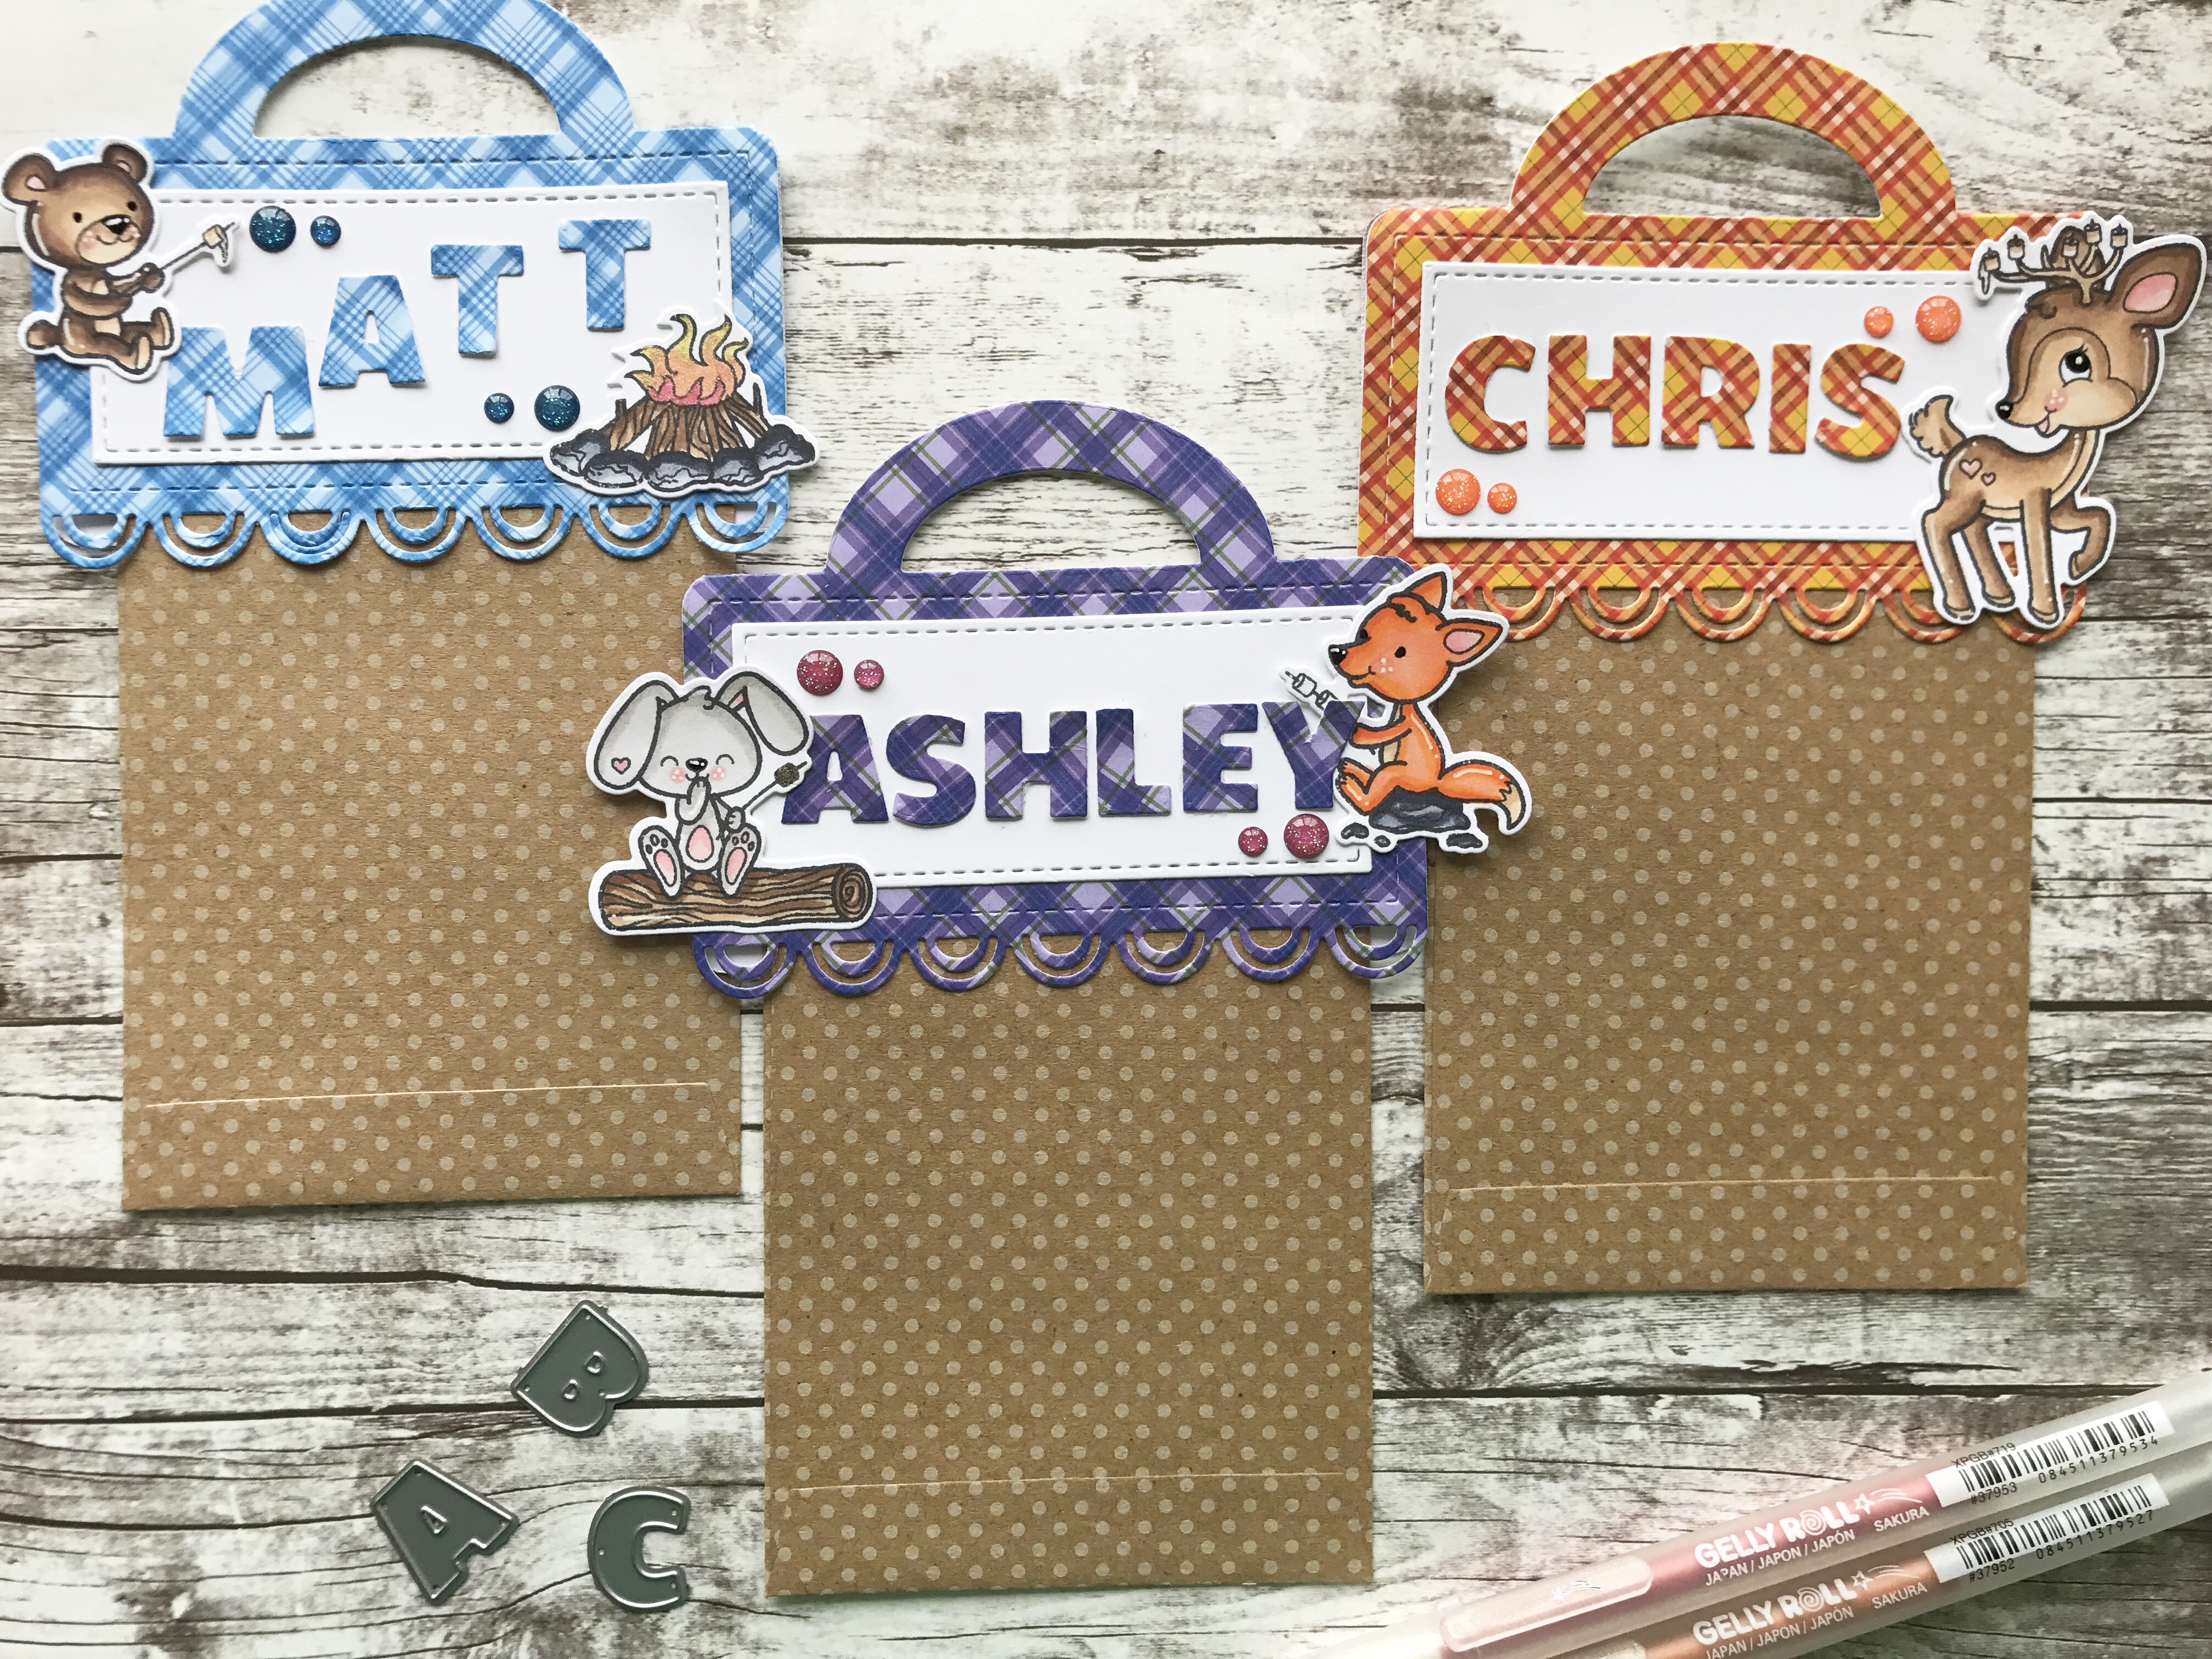
Ashley Abelson is kicking off August with a Stamp Create Repeat video that will have you packaging up your summer treats in style.
What better way to package up s’mores supplies than with the S’mores Fun stamp and die sets! Ashley colors up each of the stamps in the set to decorate a trio of toppers.
Click here to check out the video on the YNS You Tube channel or click below on the video directly.
Posted by: Julie Elak on Tuesday, July 25, 2017 at 9:00 am
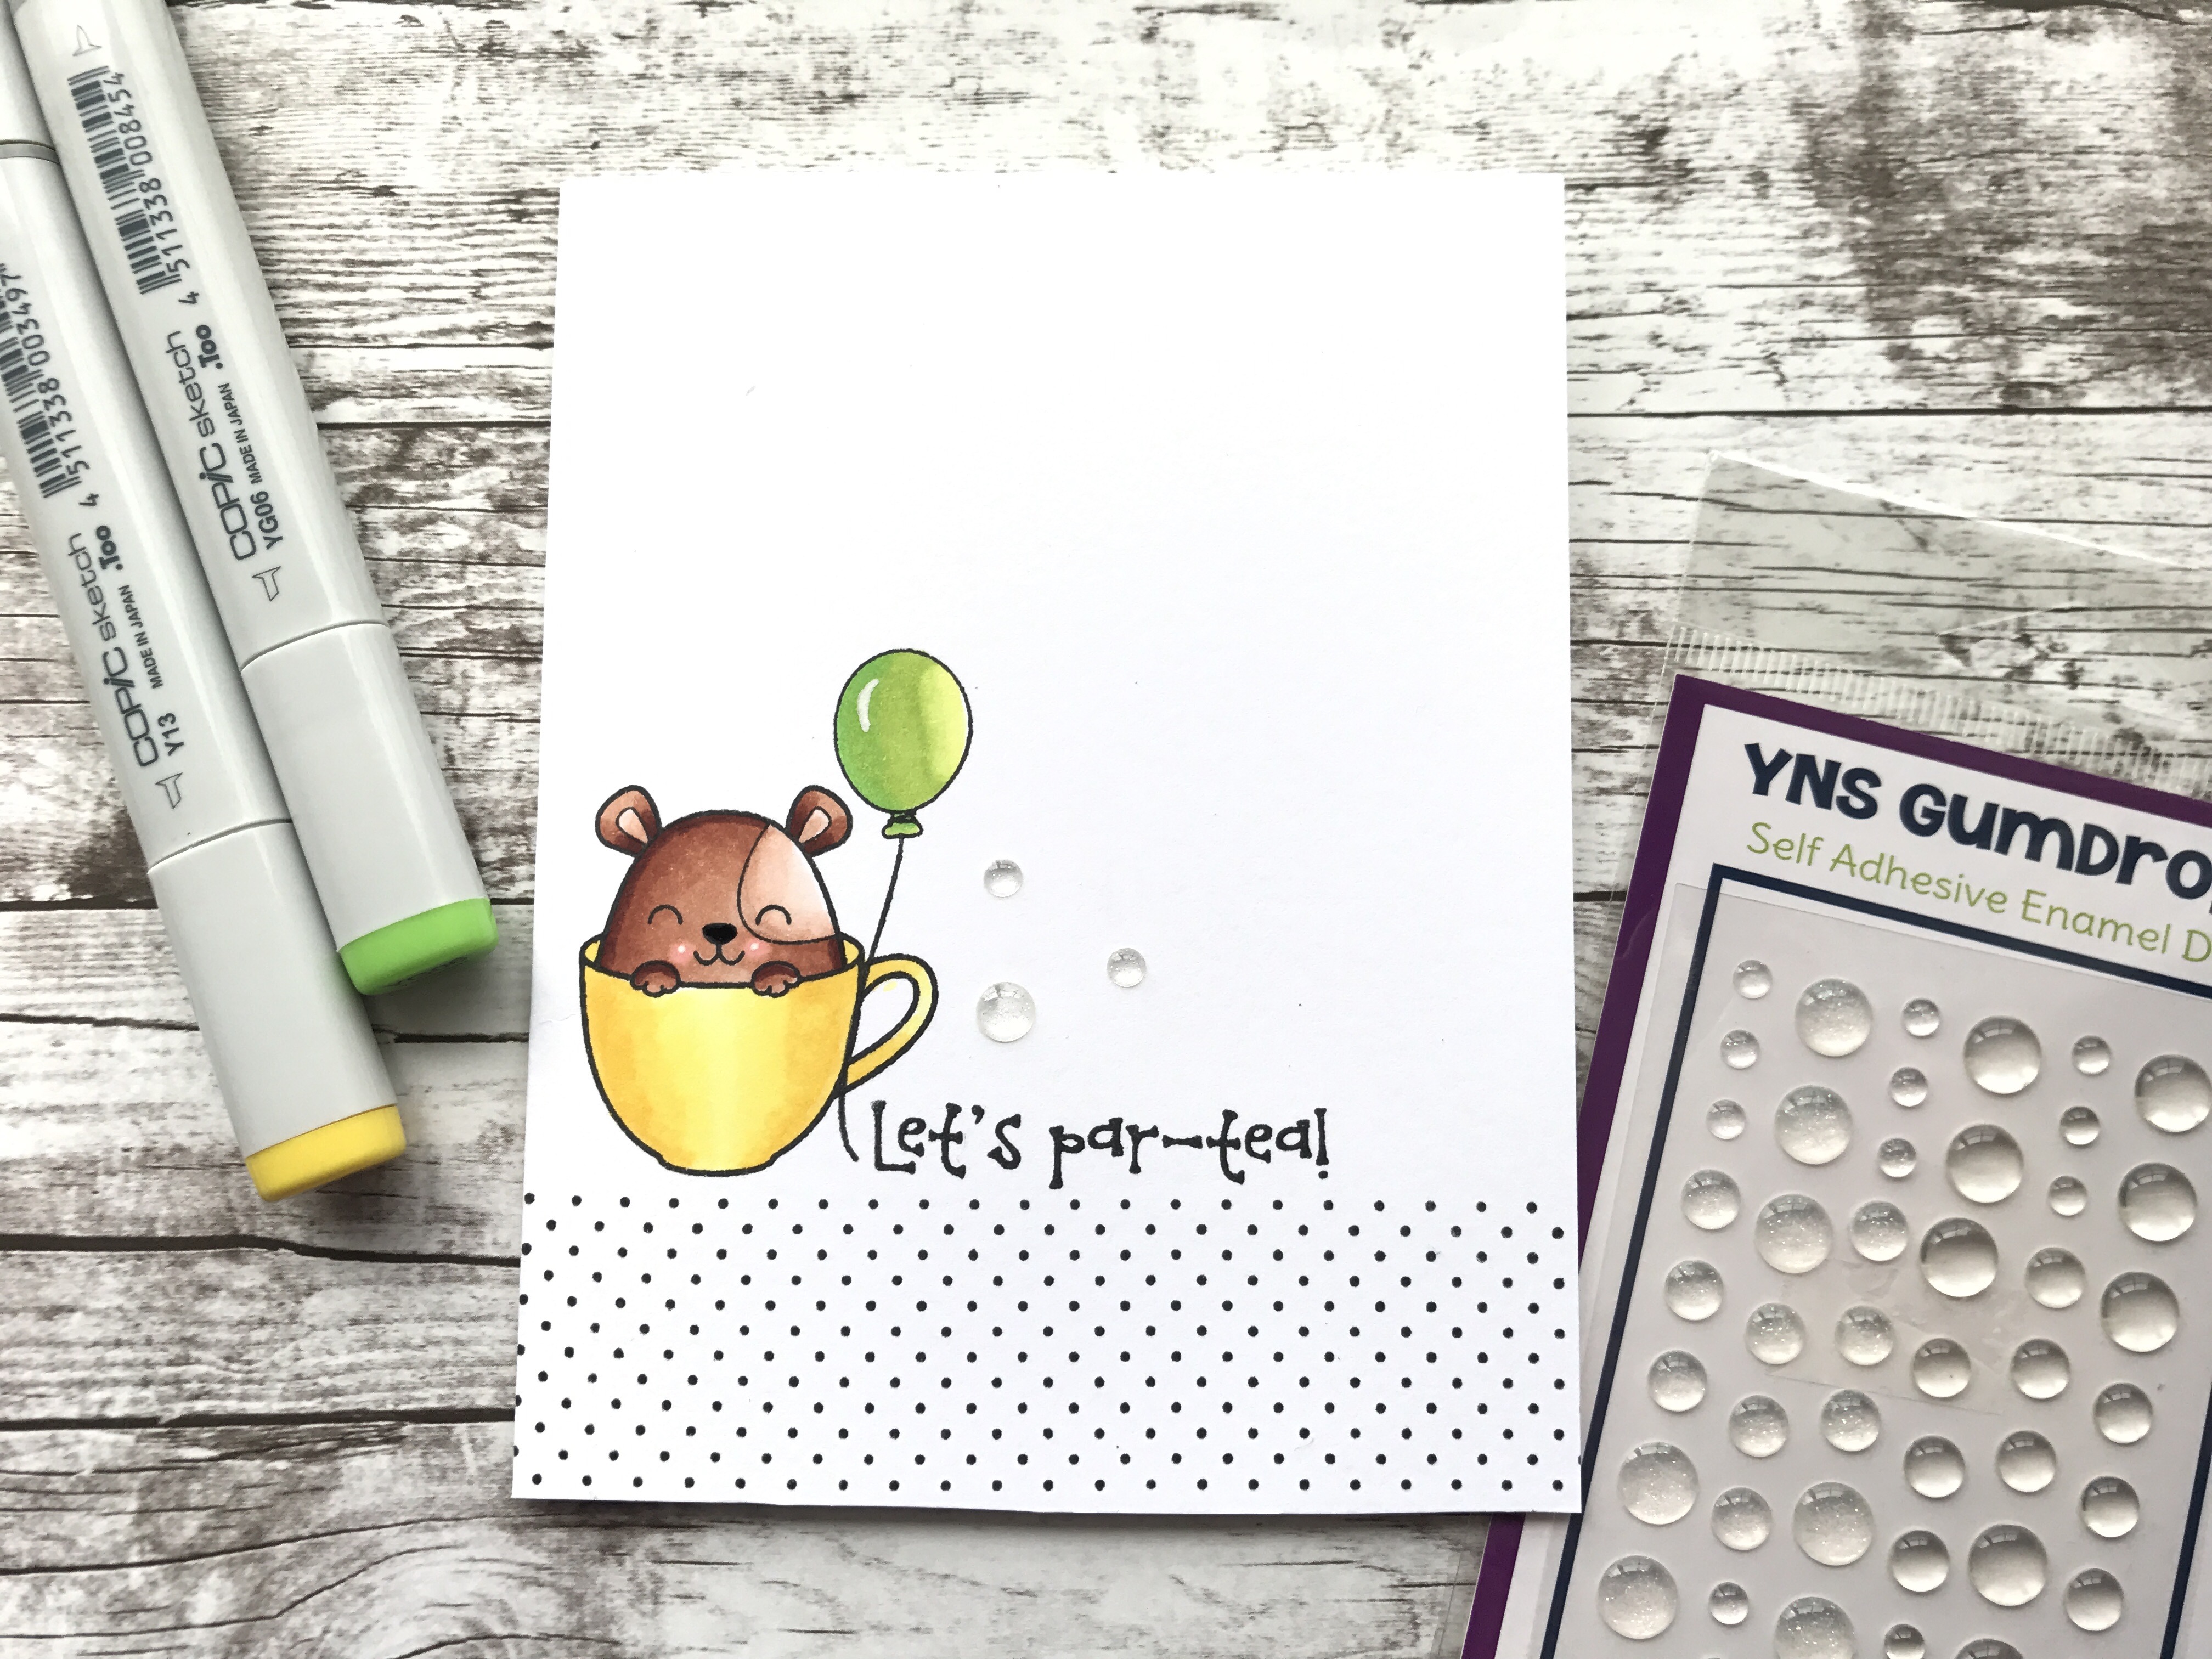
Ashley Abelson’s Stamp Create Repeat video this week is going Clean And Simple in celebration of CASology’s 5th Anniversary. Your Next Stamp has sponsored the CASology challenge in the past and when Melissa asked if we wanted to join in the anniversary fun of course we said YES!
Get ready to hop and soak in the CAS creations. Plus, there are prizes! The first stop on the hop is the CASology blog, so head on over there to get started.
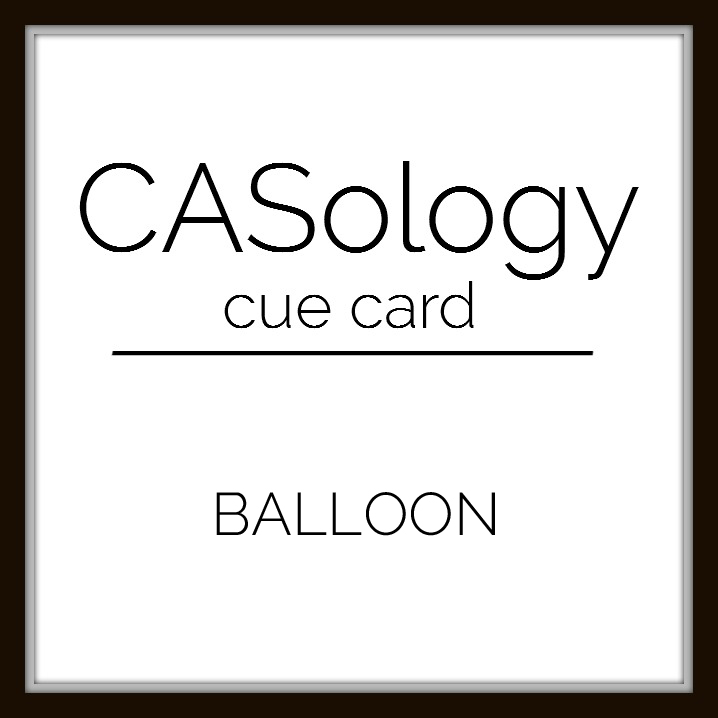
The theme for the anniversary challenge is:
Ashley combines a few stamps sets to create a CAS card featuring a balloon.
Click here to check out the video on the YNS You Tube channel or click below on the video directly.
To be eligible for the sponsor prizes, participants must comment on all stops included on the hop list by July 31st at noon CDT. Winners will be selected randomly using random.org.
To be eligible for the CASology prize, participants must comment on all stops included on the hop + link up a BALLOON themed card to the gallery. Winner will be selected randomly using random.org.
Posted by: Julie Elak on Tuesday, June 27, 2017 at 12:00 am
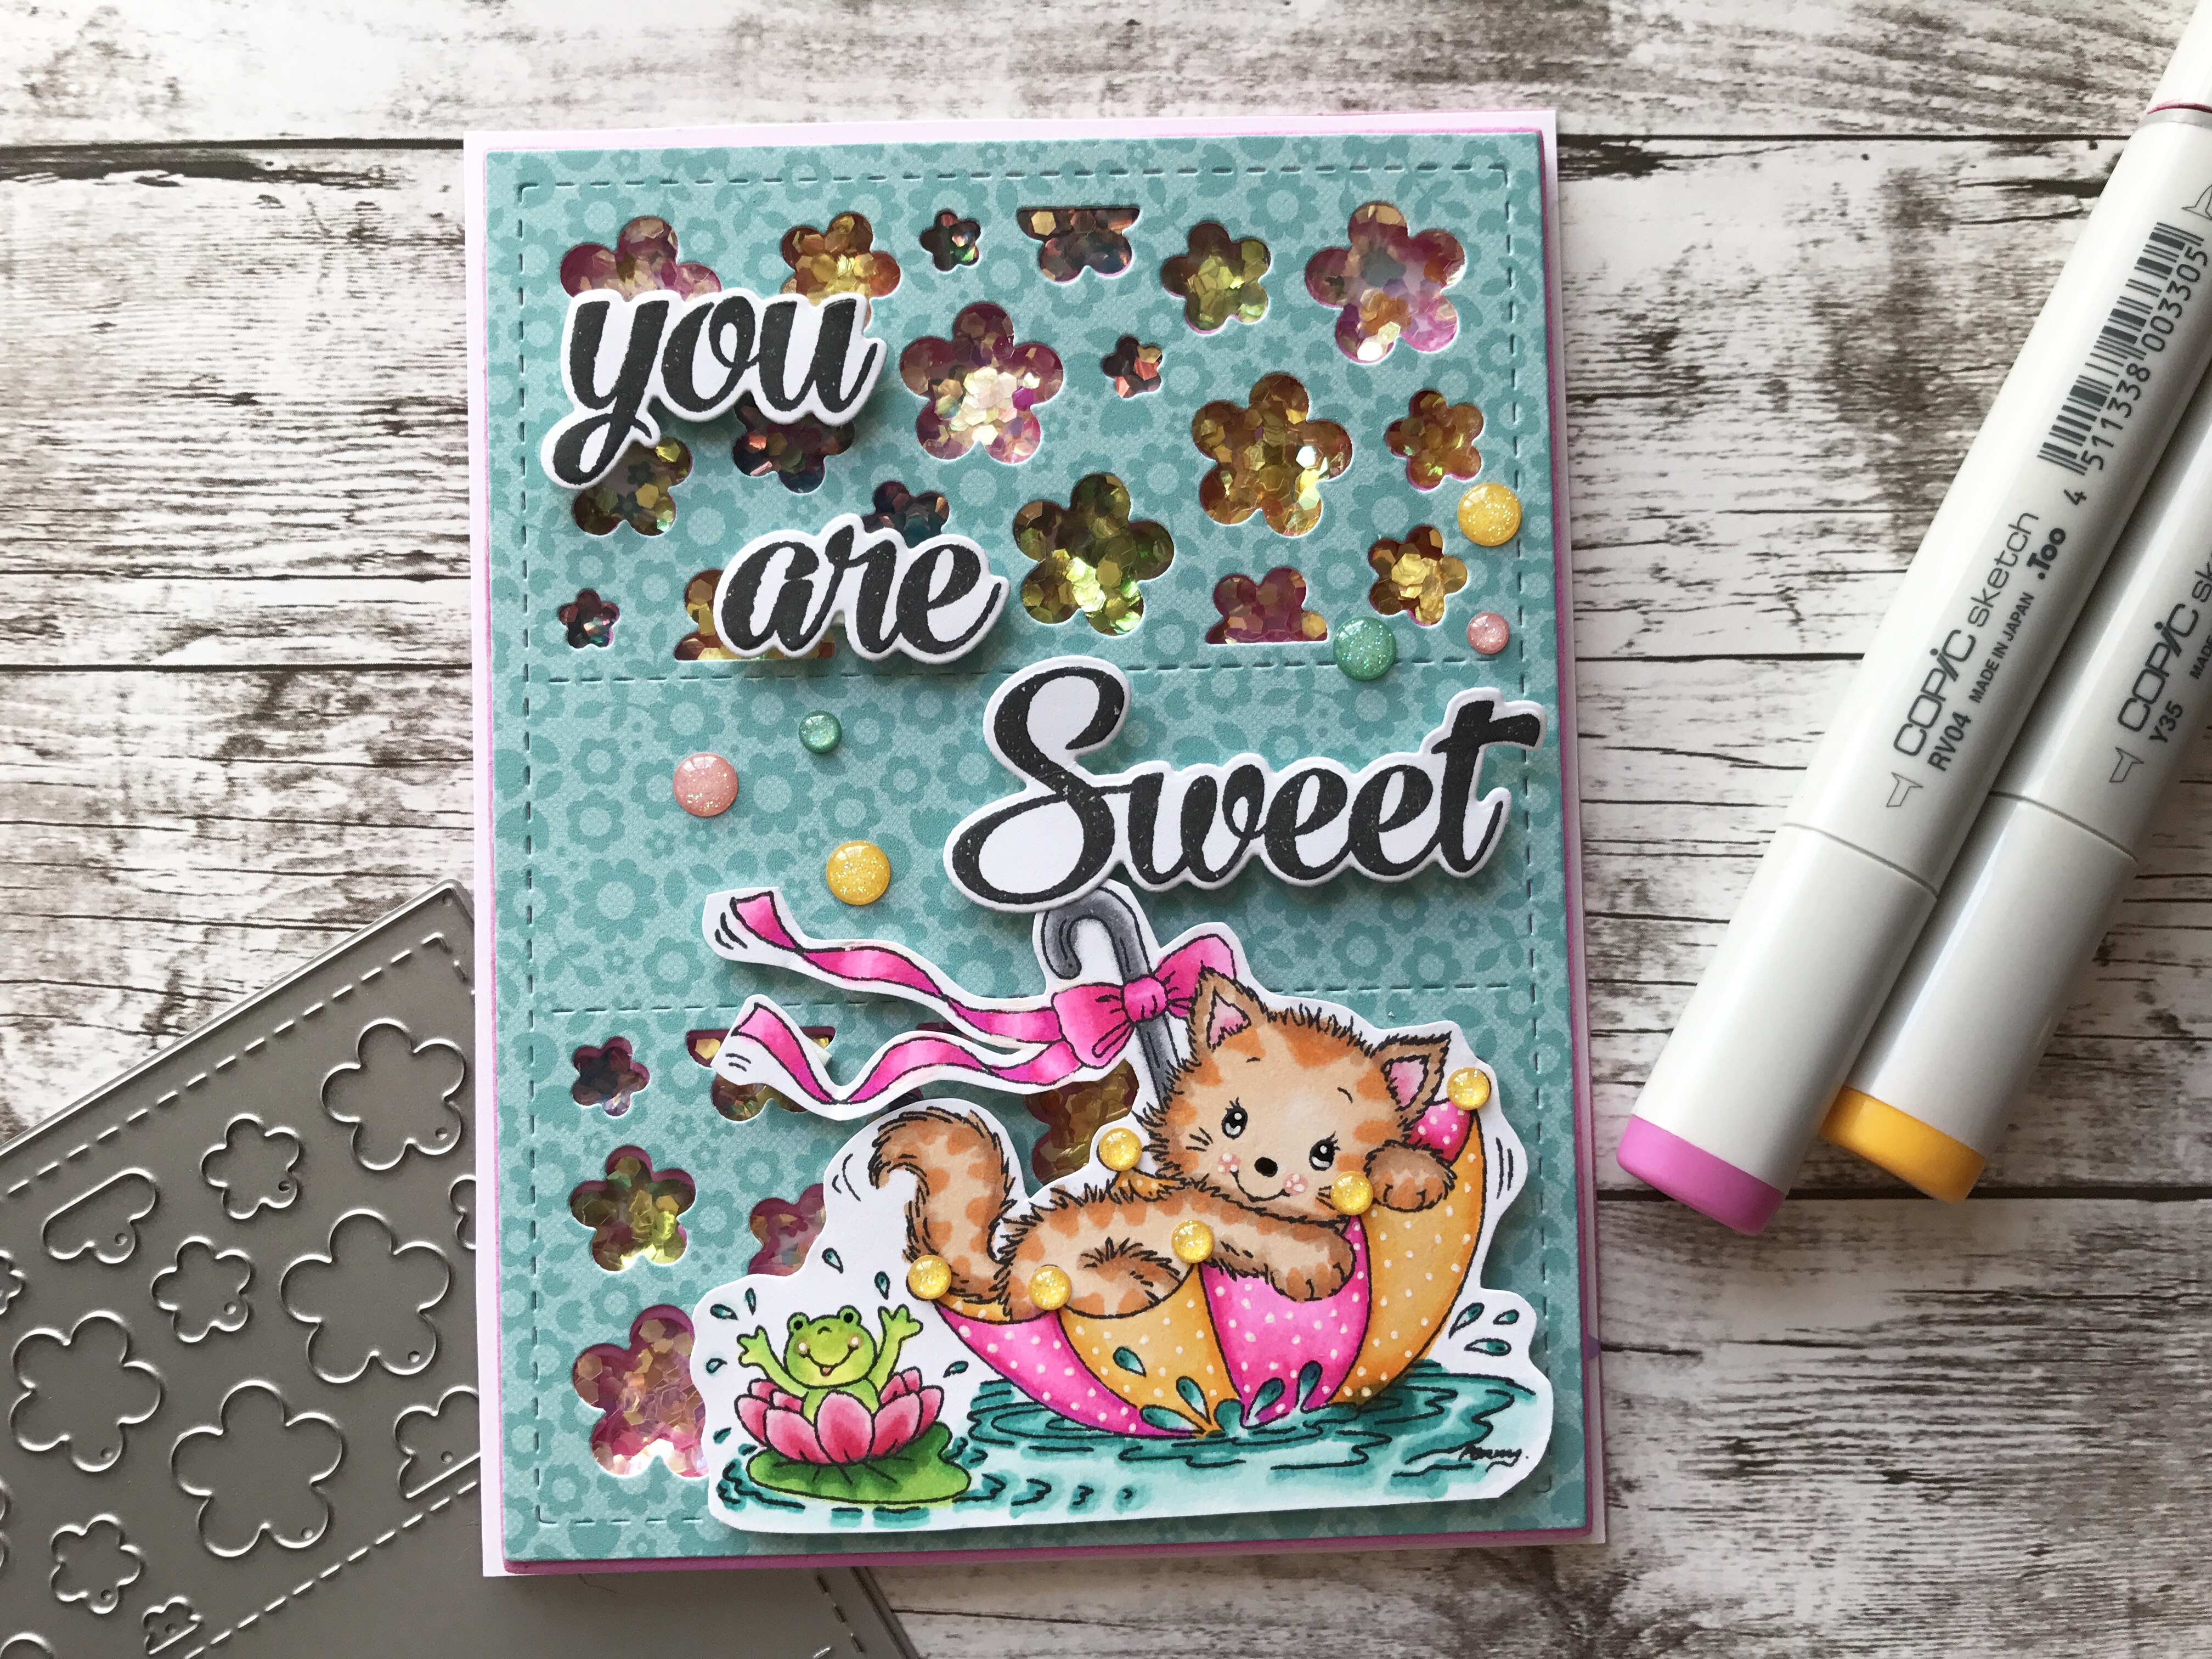
Get ready for a floral shake up in this week’s Stamp Create Repeat video by Ashley Abelson!
Ashley’s video gives you step by step instructions to create a shaker card using self adhesive foam sheets and the Floral Panel Die. You may just be running out to the store to grab some sheets…I know I am! Plus, she walks through coloring up Splish Splash and creating a tiger cat.
Click here to check out the video on the YNS You Tube channel or click below on the video directly.
Posted by: Julie Elak on Tuesday, April 25, 2017 at 12:00 am
It’s time to be a kid again with this week’s edition of Ashley Abelson’s Stamp Create Repeat. Ashley is pulling out colored pencils for her project. Okay, not the kind you colored with as a kid, she is using the adult version, Prismacolor Colored Pencils.
The aforementioned colored pencils were used to create a quartet of cuteness – 4 tags each featuring a different colored chameleon.
Click here to check out the video on the YNS You Tube channel or click below on the video directly.
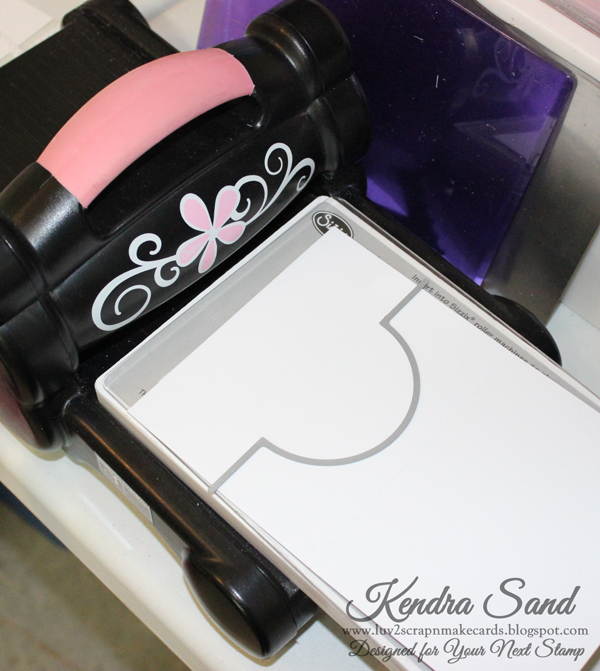
This is where the tutorial slightly changes from the Flip-It, when you place your cardstock in your die cutting machine, place the die just over the marks you created, with the circle facing to the right!
Run the die through your machine.
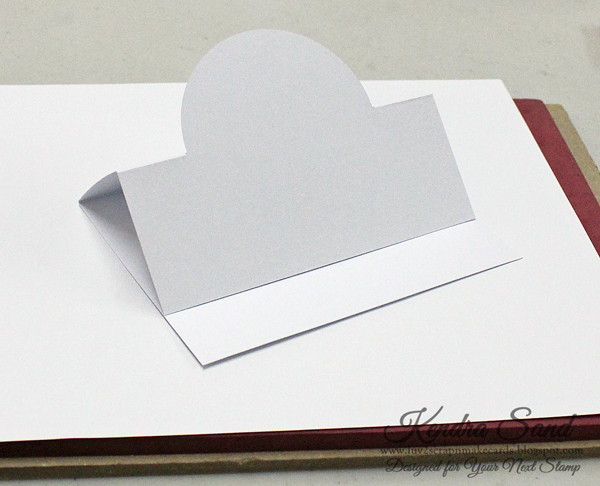
Once you take it out, fold the left side over to the right on the score line, like a normal card.
The you will fold along the score lines the die created, folding the piece so that is folds inside. So that the circle will “stand up”! Like this….
Now you are ready to decorate your fun card!!
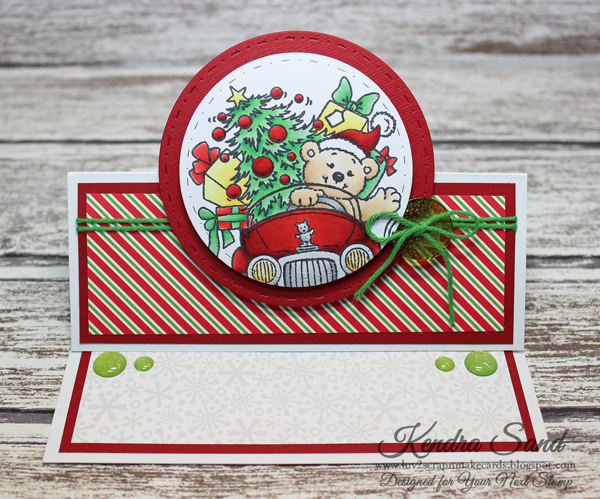
Here is my finished card:
I used the super adorable new Christmas Delivery stamp for my main image!! I just love this sweet image!
I added some Gumdrops to the “inside” of the card, so that it would help keep the “stand-up” portion up.
I stamped the “Have yourself a Merry Little Christmas” to the inside of my card, which is part of the Santa’s Magical Sleigh stamp set!
So super fun and easy to create! Something a little different then the traditional card!
You can view all the amazing products from YNS here!
In my opinion this is a must have die! It really creates a fun card!
It may look a little intimidating at first! Which is why I have created a tutorial for you to make it easy!
Just to let you know, I am also working on a second part to this series!! First I wanted to share how to create a Flip-It card! My next tutorial I am going to share another fun card design to change it up a little! Another use out of this awesome die!!
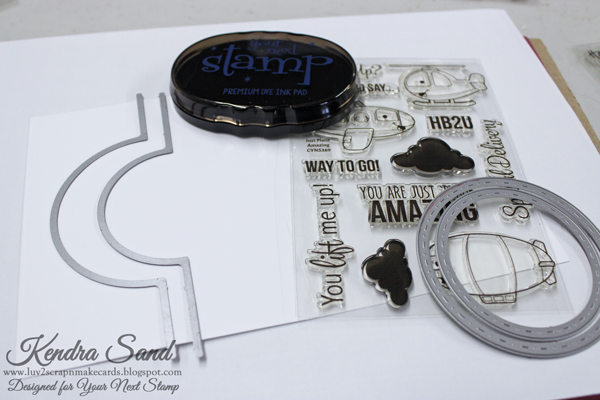
Here is a look at a few supplies I quickly grabbed to get me started:
Start by creating a A2 Card base (8 1/2″ x 5 1/2″), scored at 4 1/4″.
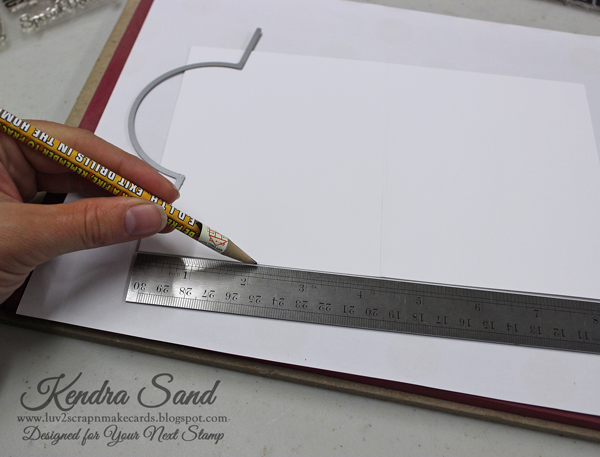
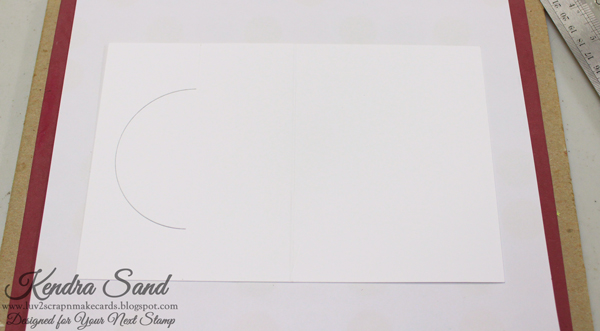
Lay down card base and find the center of the left half of the card base, which is 2 1/8″.
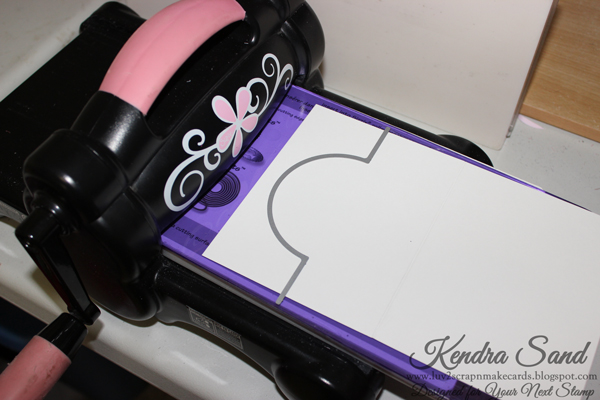
Place the card base and die in your die cutting machine. Place the die just over the marks you created, with the circle facing to the left. Position the die evenly from top to bottom as well, unless you want the circle position more to the top or bottom. I am trying to make it as centered as possible. Feel free to use a little painter’s tape or post-it note to keep the die in place. I have magnetic platforms, so I normally don’t use them unless I think I need to.
You are then ready to run in through your machine. So exciting!!
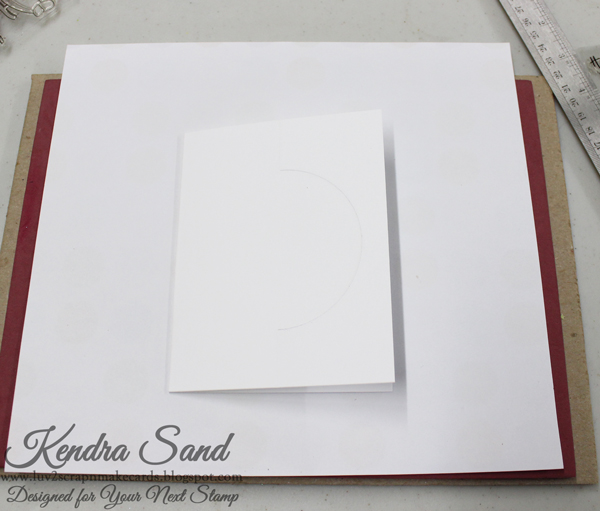
It will look like this:
Now fold along the center score line, just like it was a normal card.
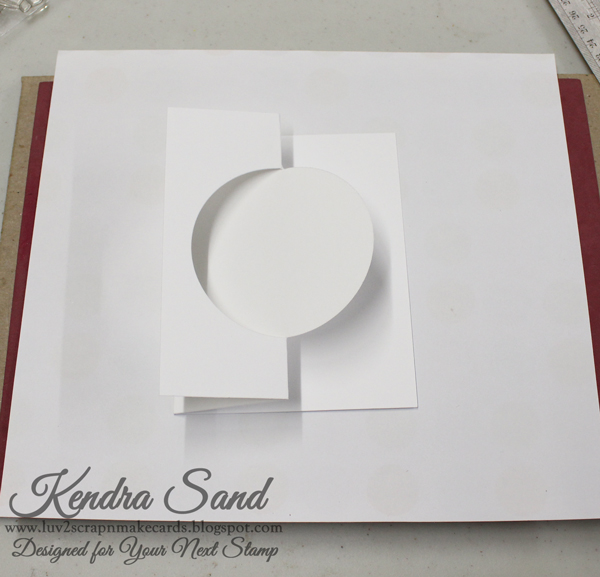
Lastly carefully fold the right most section over to the left along the score lines the die created! Should look like this:
YAY!! You just created a Flip-It Card base! How exciting and so much fun!
The Half Circle Flip Die Setreally is great for making creating this card design so fun and easy!!
You are now able to embellish the card to your liking!!
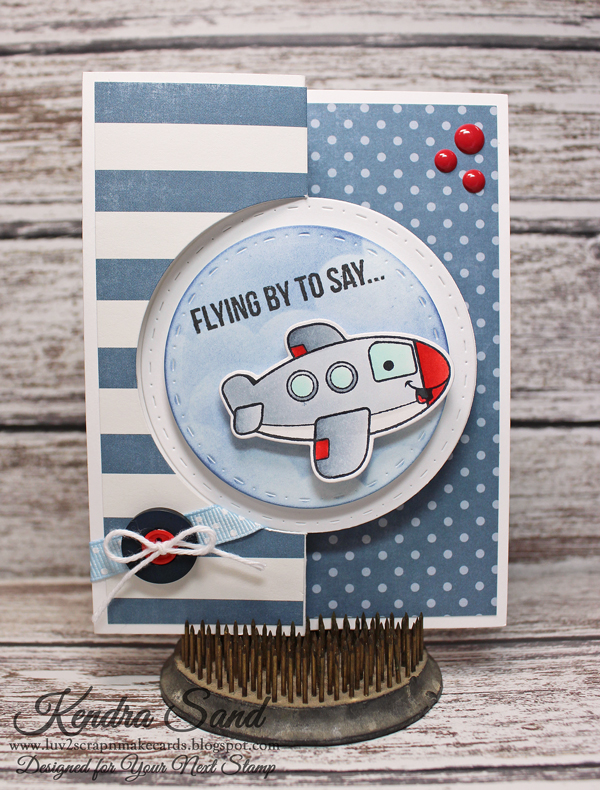
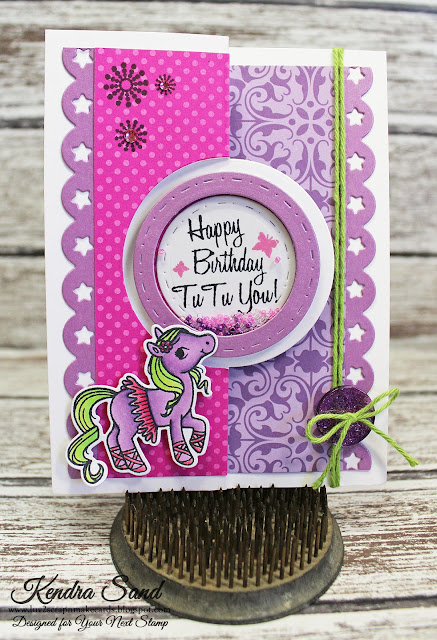
Here is my finished card:
How fun!! I used the adorable Just Plane Amazing stamp set for the sentiment and plane!! As well as the coordinating Just Plane Amazing Die Setto die cut the plane, in which I then used pop-dots to adhere to the circle.
To get the striped piece of paper, I simple ran the die through my die cutting machine on the pattern paper, I then trimmed three of the edges slightly (but did not trim anything on the right side)!
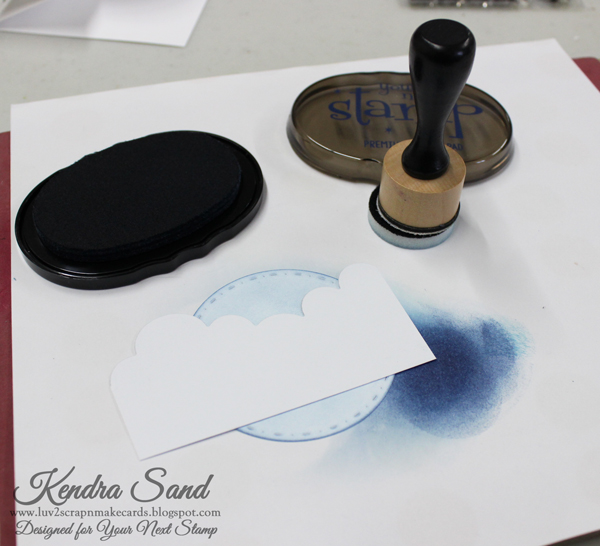
Here’s a glance at my in process work of creating the clouds on my die cut!
I used the Puffy Cloud Border Die Set and die cut one of the clouds to use as a mask. I then used the Blueberry Breeze to add ink to the circle in circular motions. I moved the mask a few times. I really like how it turned out!!