Stand-Up Card
Hello Your Next Stamp Fans!!
Kendra here, from Luv 2 Scrap N’ Make Cards to share another tutorial with you using the Half Circle Flip Die Set!
If you missed me sharing how to create a fun Flip-It card using the set, you can find it here.
Today I am sharing an alternate use for it! You can also use this die set to create a fun stand-up cards as well!!
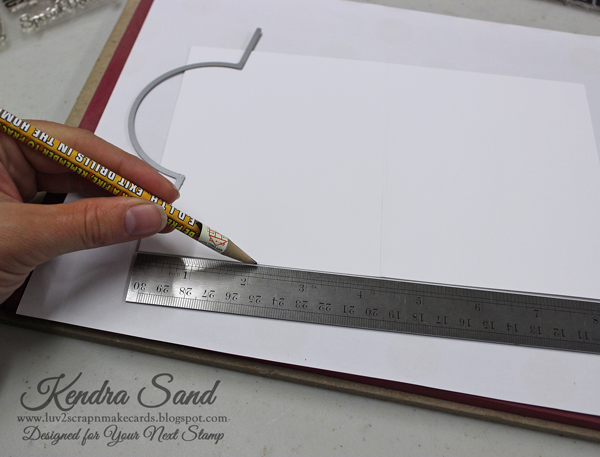
Once again I started by creating my A2 card base. (8 1/2″ x 5 1/2″) Scored at 4 1/4″.
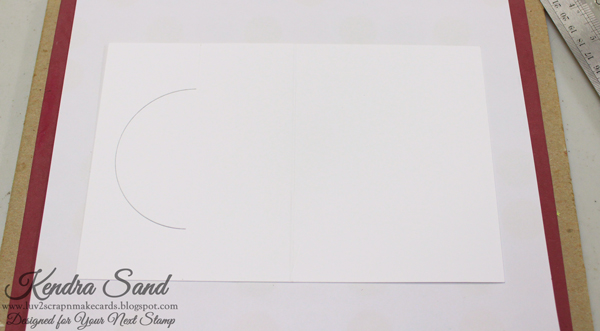
Lay down card base and find the center of the left half of the card base, which is 2 1/8″.
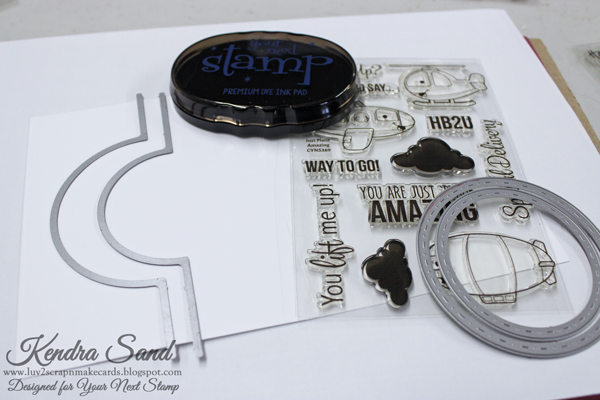
Similar to the Flip-It card, I decided to use the larger of the two dies from the Half Circle Flip Die Set. As I really like that you can use the Circles with Stitching and Piercing Marks Die Set with it.
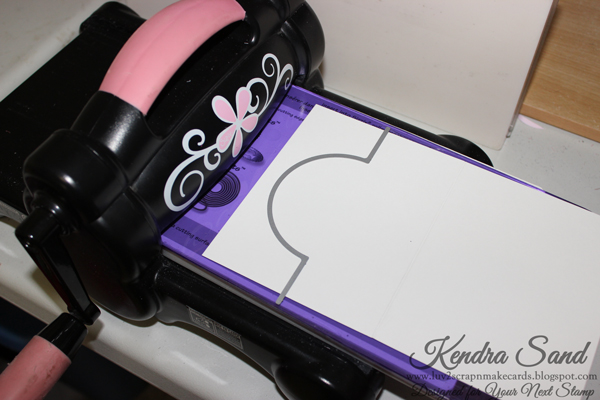
This is where the tutorial slightly changes from the Flip-It, when you place your cardstock in your die cutting machine, place the die just over the marks you created, with the circle facing to the right!
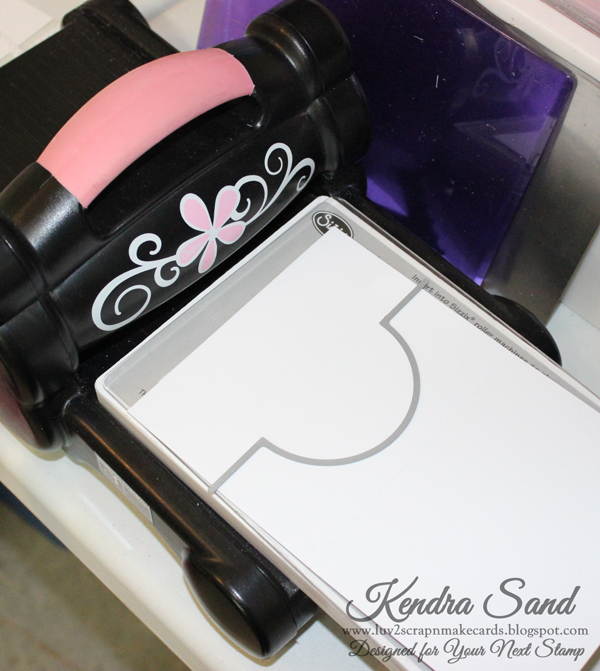
Run the die through your machine.
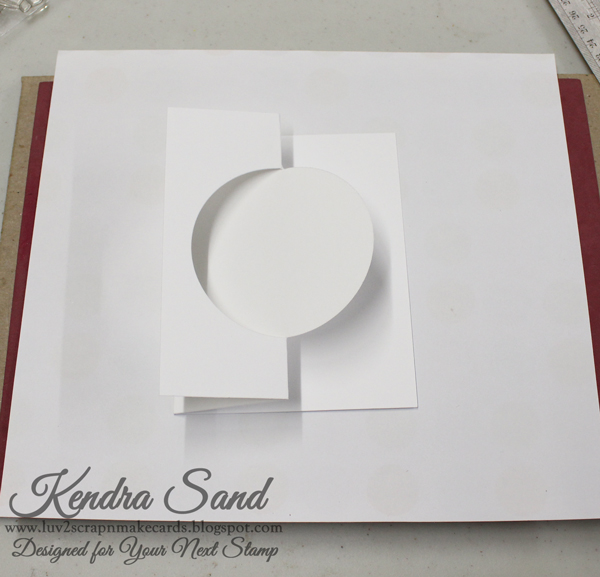
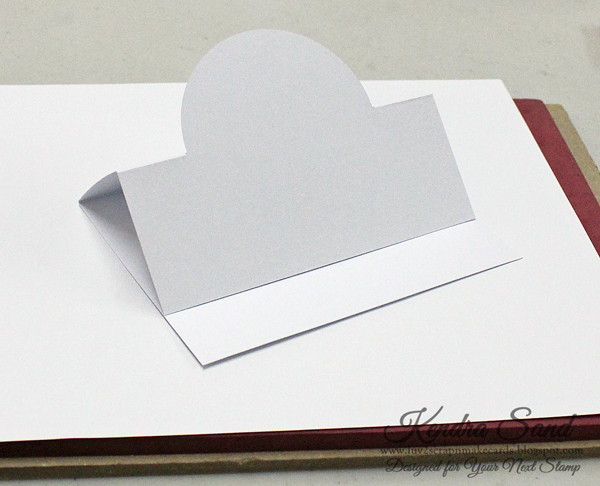
Once you take it out, fold the left side over to the right on the score line, like a normal card.
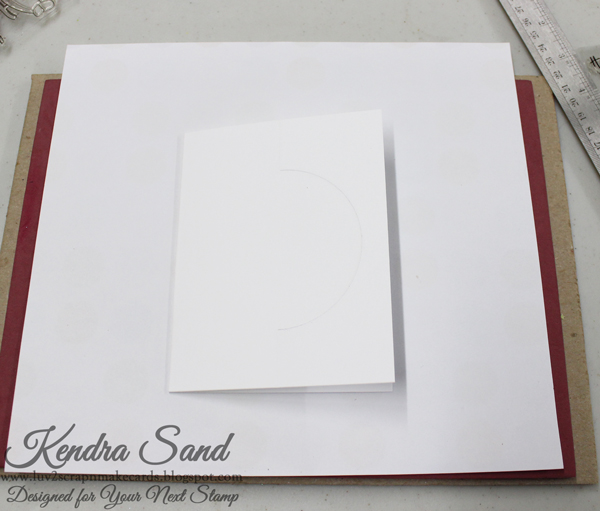
The you will fold along the score lines the die created, folding the piece so that is folds inside. So that the circle will “stand up”! Like this….
Now you are ready to decorate your fun card!!
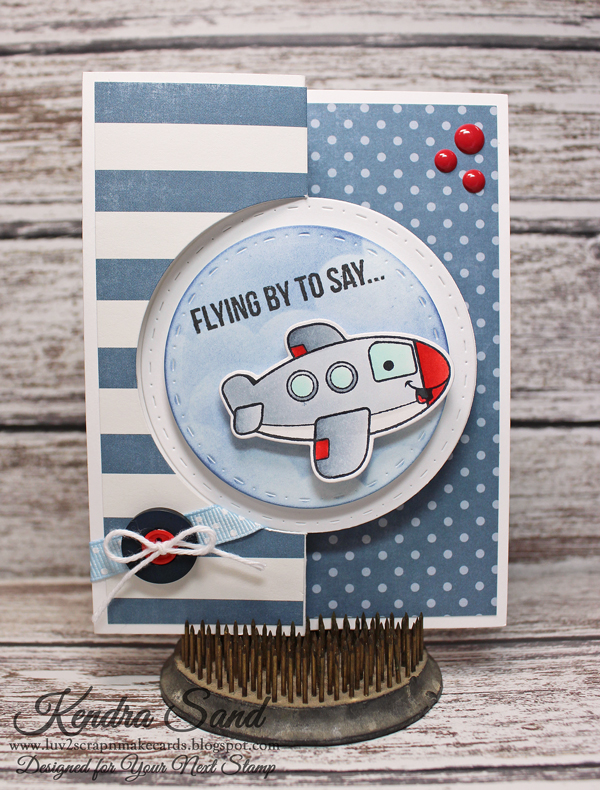
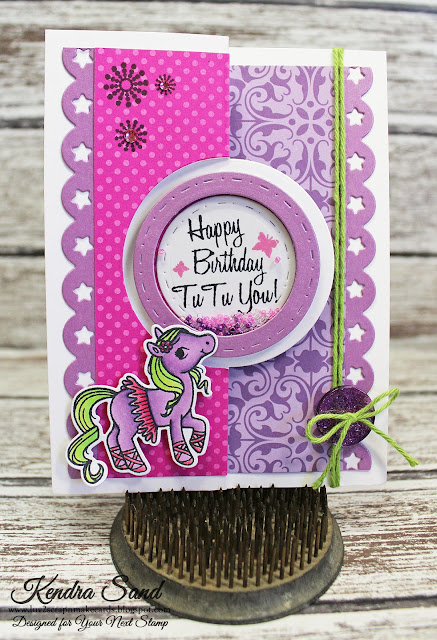
Here is my finished card:
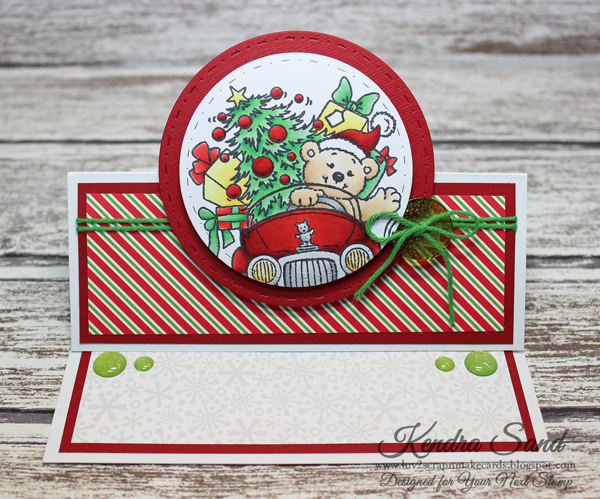
I used the super adorable new Christmas Delivery stamp for my main image!! I just love this sweet image!
I added some Gumdrops to the “inside” of the card, so that it would help keep the “stand-up” portion up.
I stamped the “Have yourself a Merry Little Christmas” to the inside of my card, which is part of the Santa’s Magical Sleigh stamp set!

So super fun and easy to create! Something a little different then the traditional card!
You can view all the amazing products from YNS here!
Have a lovely day!