Hi everyone! Laura here today with an easy tip on how to give a 3D look to banners on your projects.
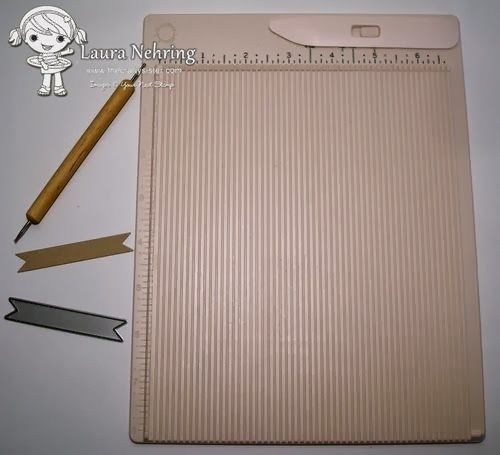
A few things you will need… score board, scoring tool, cardstock, and banner die (I’ve used the smallest banner in the YNS Fishtail/Banner Dies Set)
Cut the banner. On the back side, score at 3/8″ and 1/2″. I’ve marked the score lines in black ink so they are easier to see. (I prefer to use a stylus for scoring instead of the bone folder… it makes a finer score line, creating a tighter fold.)
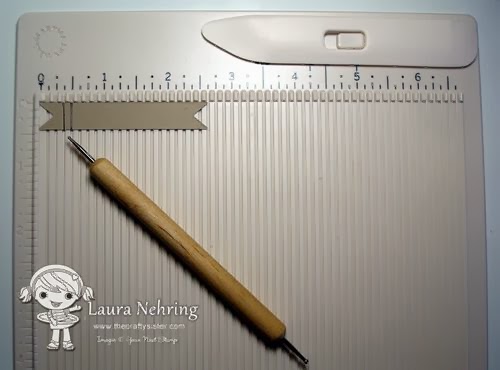
Rotate the banner on the score board, and score the opposite side at 3/8″ and 1/2″.

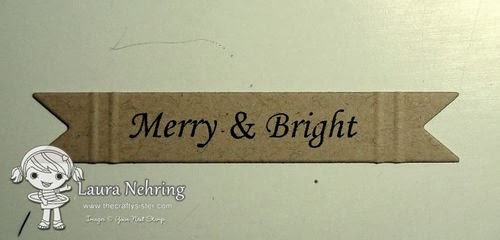
Turn the banner over, and stamp your sentiment before folding the score lines. (I’ve used the sentiment from the Merry and Bright Reindeer set.)
Now we are ready to fold the score lines. Turn over the banner again, and starting with the score lines closest to the center, fold them over the back of the banner.
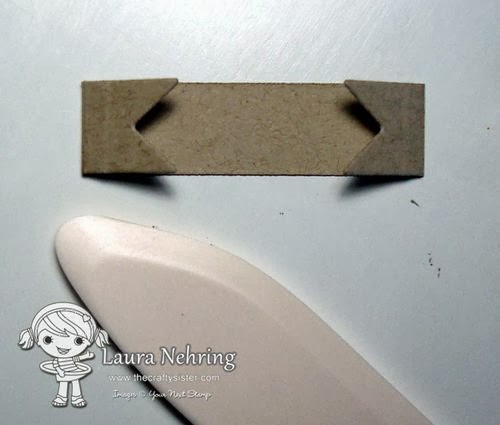
Now fold the outermost score lines in the opposite direction.
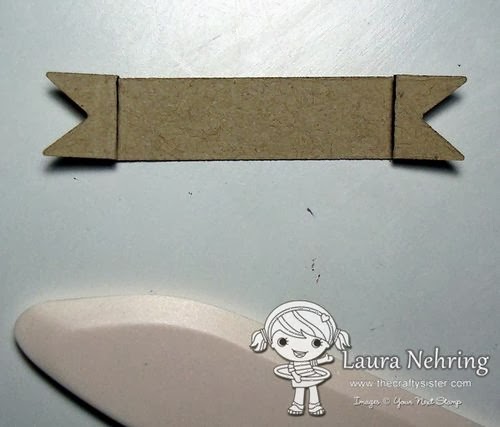
Your finished banner should look something like this, and is ready to add to your project!

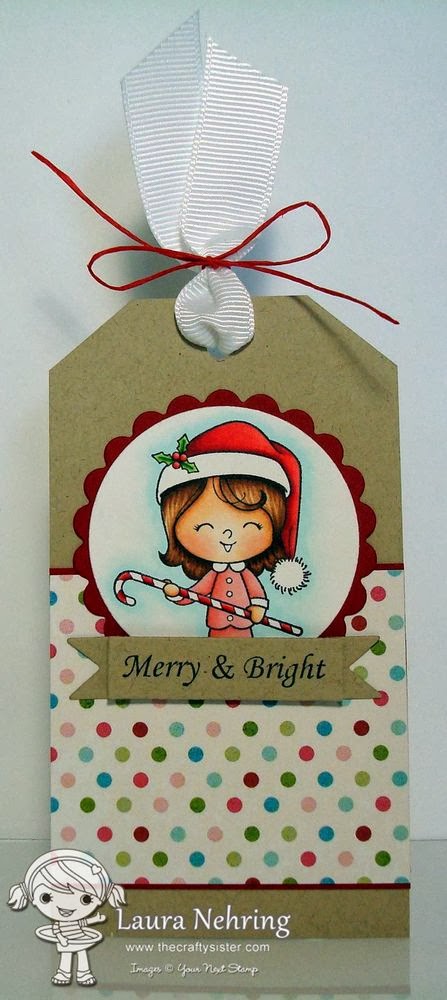
I’ve made a simple little tag with one of the cuties from the Holiday Kids set. The banner was attached with a little bit of foam adhesive to give it that extra dimension.Easy peasy!


That’s an awesome tip! Thanks Laura! Cute tag too!!!
Great tip Laura! I actually bought a scored die exactly like that. Never thought to try to score my existing dies (smacks forehead LOL!)
Great tutorial and idea – TFS! Love your cute tag!
Oh gees, I am smacking my head too ;>) Cute tag and great tip!
Great tutorial and gorgeous tag!
This is so awesome and so simple to make your projects have that extra bit of pop! Thanks Laura 🙂