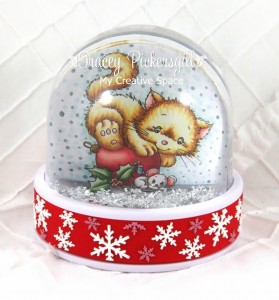
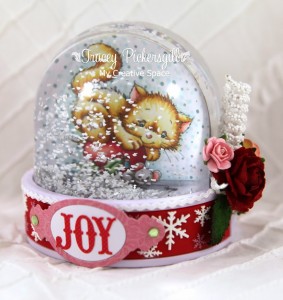
A SNOW GLOBE
Hi there, it’s November guest DT Tracey here today with a little tutorial on how to make a snow globe using YNS Waiting for Christmas digital stamp.
Step 1-
Print out your chosen digital stamp the right size to insert into purchased photo snow globe then colour in using copic markers. I’ve used more vibrant colours than I normally would, as once in the globe they will not look so bright.
Step 2-
Use the photo template to trace the outline of the insert onto your coloured image. At this stage I added some extra background colouring as i hadn’t coloured all the way to the edges in one area.
Step 3-
Cut out along the traced line and insert the coloured image into the snow globe.
Step 4-
Last but not least, add some festive embellishments to further personalise your snow globe.
I’ve used die cuts, alphabet stickers, bling, flowers, and ribbon.
Now your globe is all ready to shake and enjoy.
I purchased my globe at a large office supplies store in Australia, but I think they would be fairly common and easy to purchase wherever you are.
I hope you’ve enjoyed my mini-tutorial.
Hugs,
Tracey XO


Super cute and fun idea! TFS!
Very cute idea …this would work so well with so many images and personalizing.
Oh my goodness, this is ADORABLE, Tracey!!! What a fun project!
What an awesome project! LOVE IT!!!