Hey everyone! Peggy here today and I am going to show you how I create texture with my Copic markers when I color animals. I find coloring fur a little tricky, so I like to use this technique when I do use animal images.
First I collect everything I will need. Today I have used the new digi stamp Waiting for Christmas, I thought this adorable little kitty would be perfect! As you can see I have a collection of different materials and ribbon that I use to create texture depending on what I am doing.
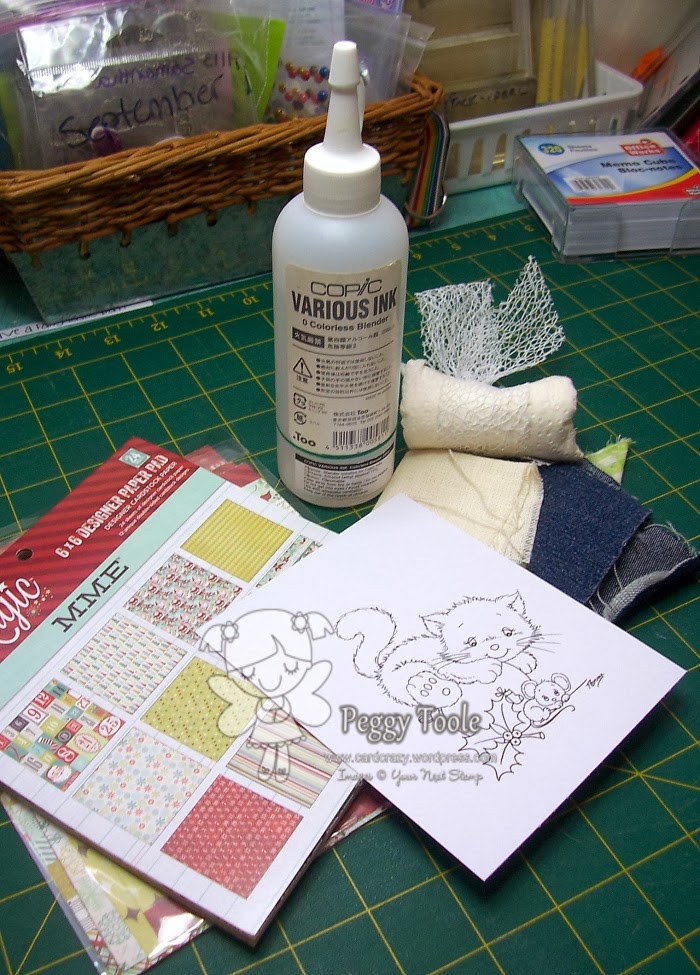
Next I color the part of the image I want to have texture, make sure you color this first or you will get texture on other parts of your image.
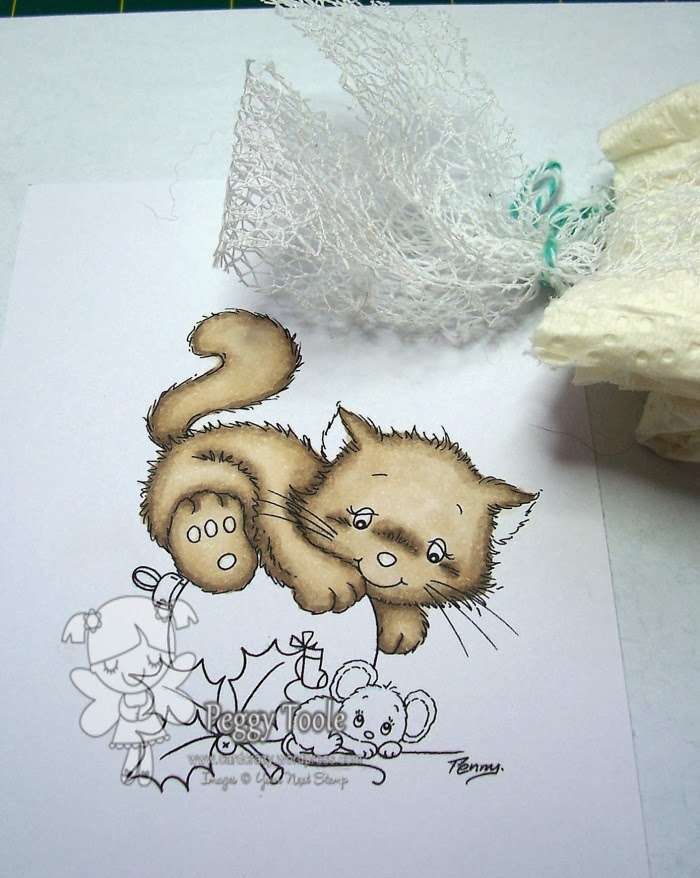
Once you have finished coloring add a little colorless blender to the fabric or ribbon you want to use and press down on the image a few times, you can clean up any ink that bleeds out with your colorless blender pen.
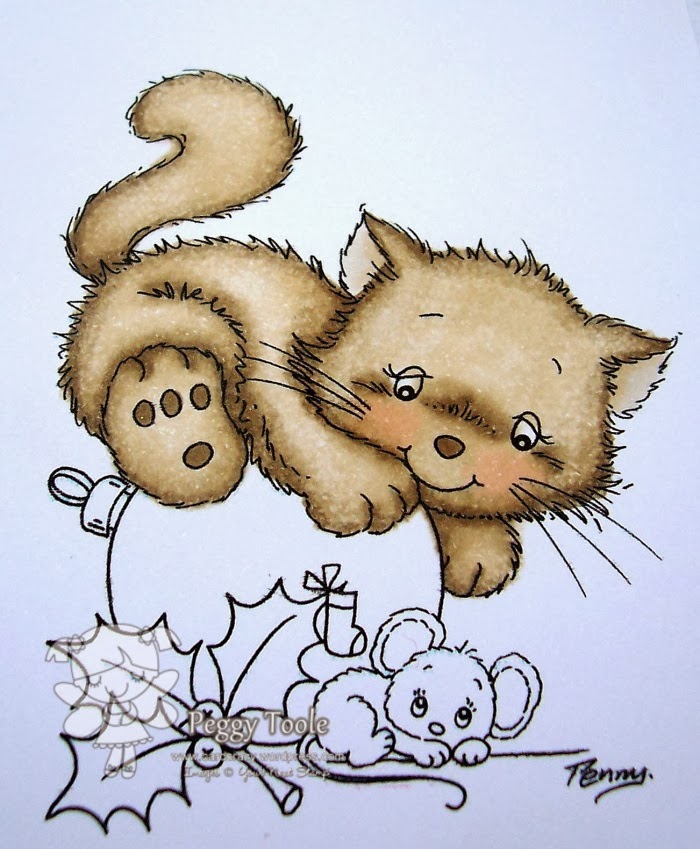
I then color the rest of my image how I want it and make my finished card.
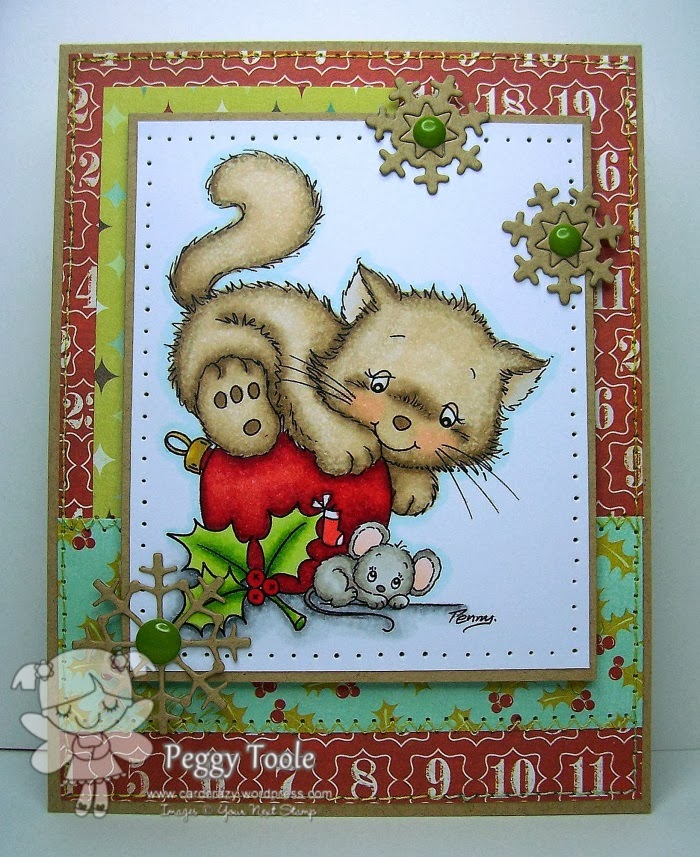
I love the look and how easy it is to do and how you can use any fabric scraps you might have laying around!
I hope you all have a great crafty day!
Hugs,
Peg


Great tutorial! That texture really makes the image!!
Fabulous technique Peg! Your card is adorable! TFS!
This is so adorable, Peggy! Great tutorial!