Hello! Welcome to our Tips and Tricks with Digis post! I wanted to show you how I paper piece using digis. First I adhere my designer paper to a standard size piece of cardstock with re-positionable tape then print my image. Yes, I used painter’s tape – use what you got, right?! 😉

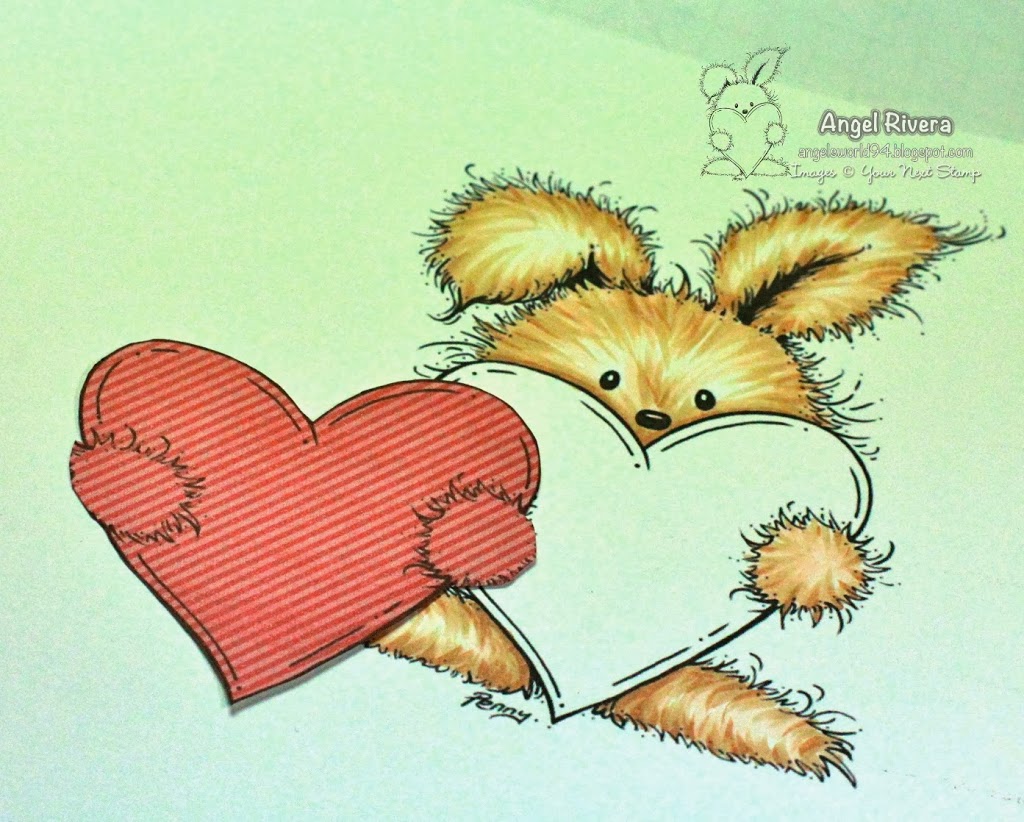
Then I colored this sweet image, Cuddles, using copics E00, E31 and E33. I cut out the dp heart, leaving his little feet so that the colored feet can be adhered to them for more realistic dimension.
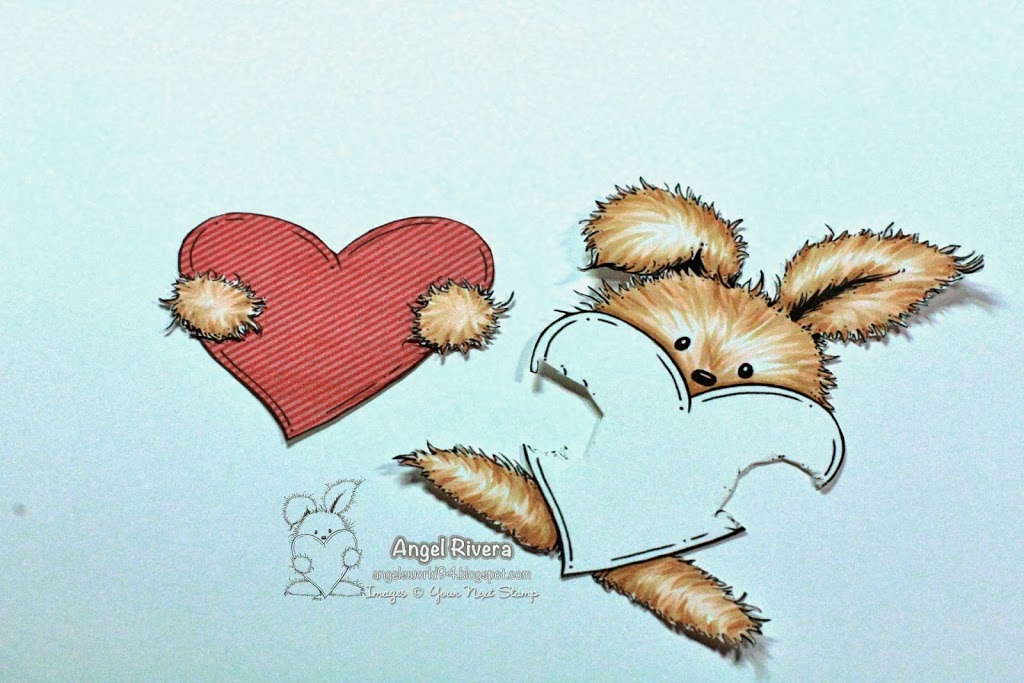
Here you can see that I fussy cut the sweet bunny and added his little feet over the dp. Again, it gives the image a more realistic feel.
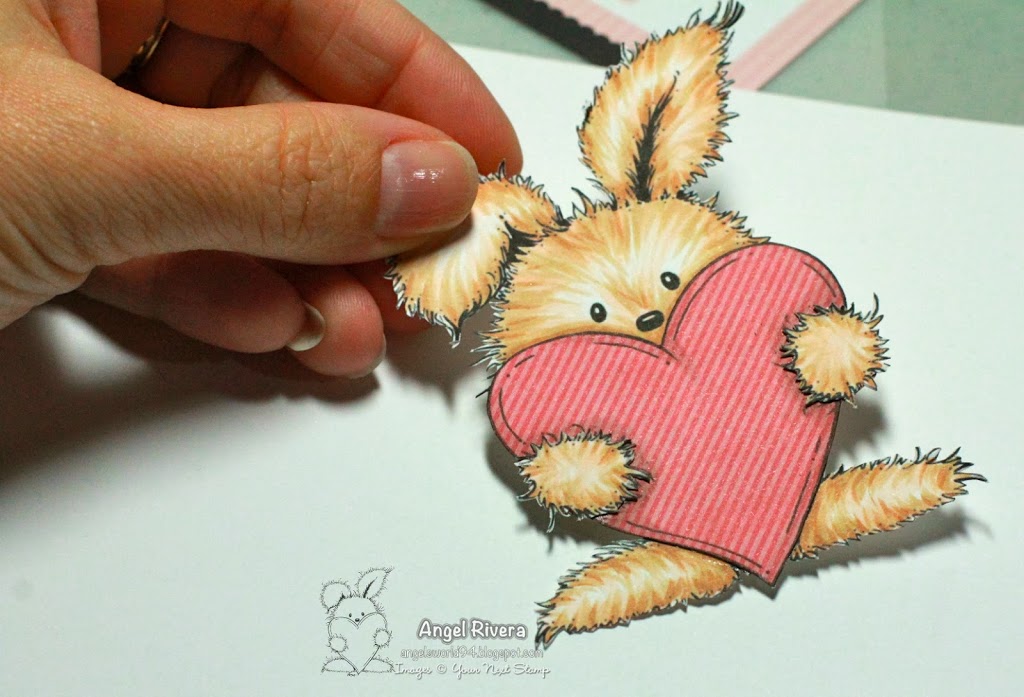
Here it is all adhered together. Isn’t he ADORBS!?? LOL…

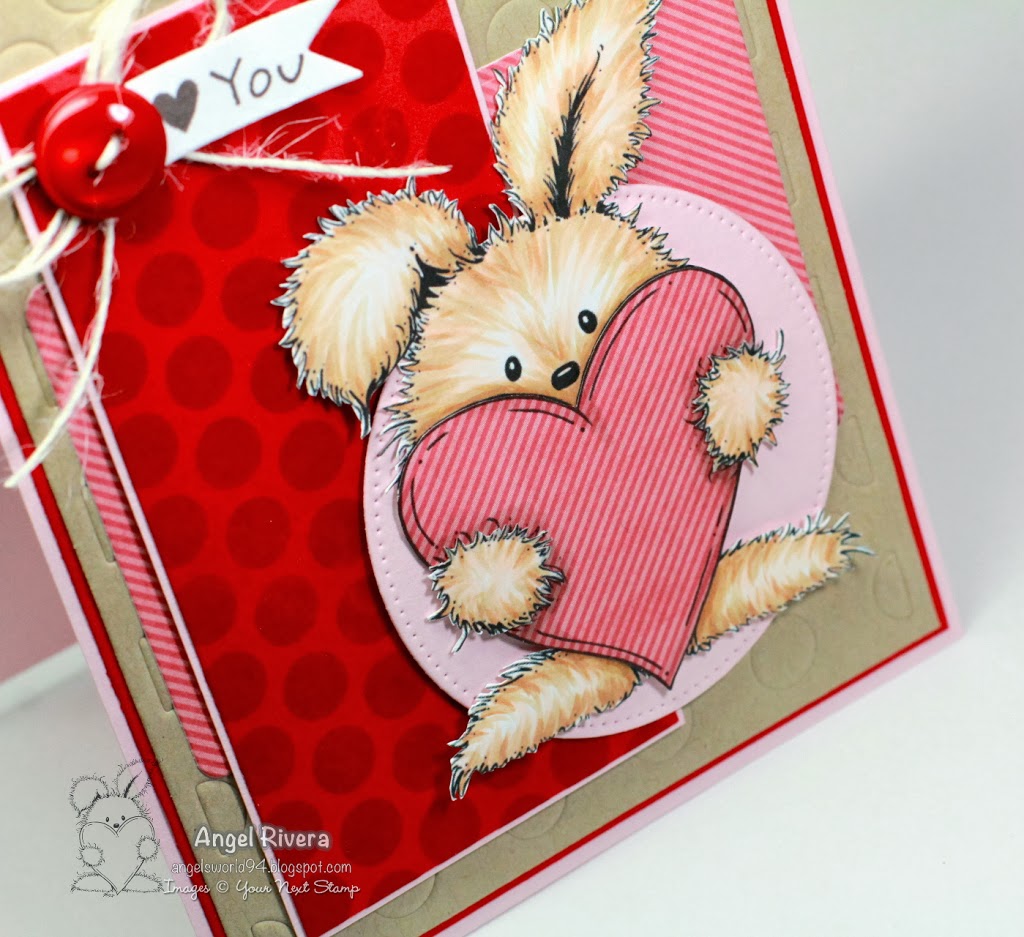
For a little more dimension, I used my W3 copic to shade around his hand and the outer edges.
And here’s my finished card! A few die-namics and sweet sentiment complete my card. One more tip ~ I like to use the same designer paper that I pieced with somewhere else on my card. It makes for a nice, cohesive look.

Detail shot…
Thanks for stopping by!
Angel


Adorable card and fabulous tutorial on how to paper piece a digi stamp! TFS!
Angel, your illustrations and instructions are spot on! I love the result also! Beautifully cute!
Very cute image and great paper piecing…thanks for the tutorial.
super cute!
Awesome tutorial!! 😀
Great job, perfect tutorial!!