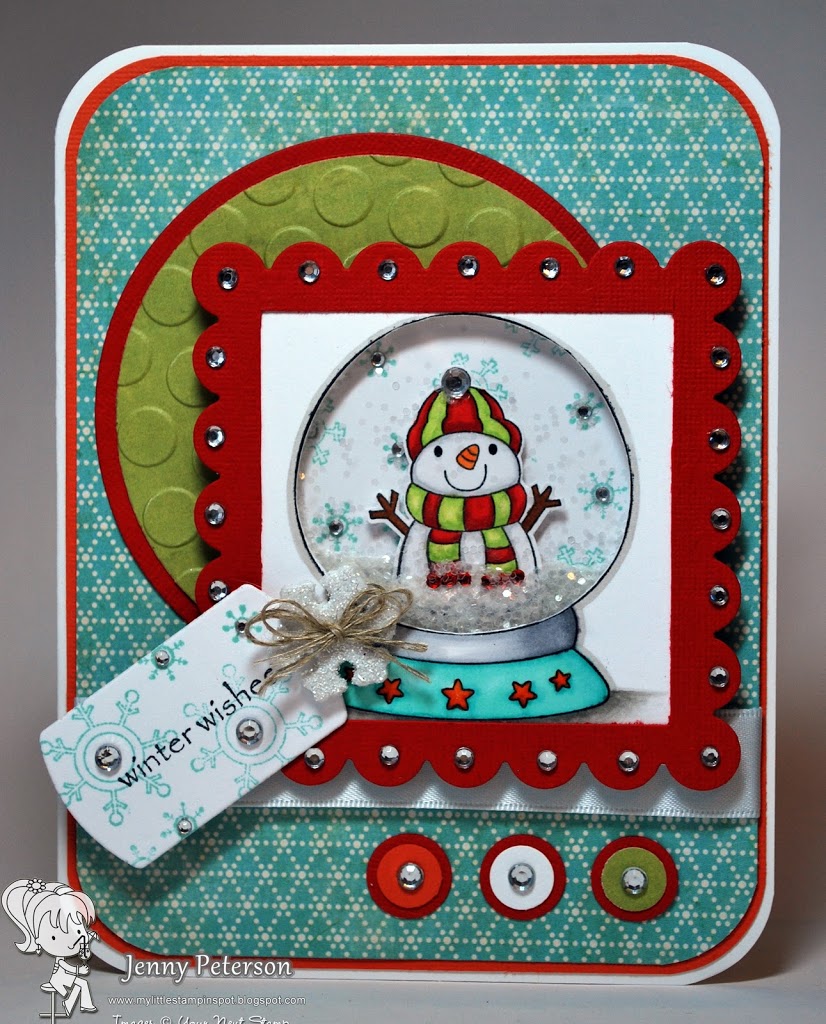
Hi there! Jenny P, here. Today I have a fun tutorial to share with you! Our last release featured the cutest little set, Holiday Snow Globe, and it is absolutely perfect for making Shaker Cards! Shaker Cards basically have a ‘window’ and contain something behind the window that moves and shakes around!
There are a few different ways to make these kinds of cards, depending on what look you are trying to achieve. I am going to show you how to make a interactive snow globe to adhere to the front of a card.
Step 1: Gather your supplies.
You will need:
~Acetate (or overhead transparencies, clear plastic packaging material, window sheets, etc.)
~Cardstock to frame your window
~foam tape
~dies (as used in my example, but you can also free cut or use punches)
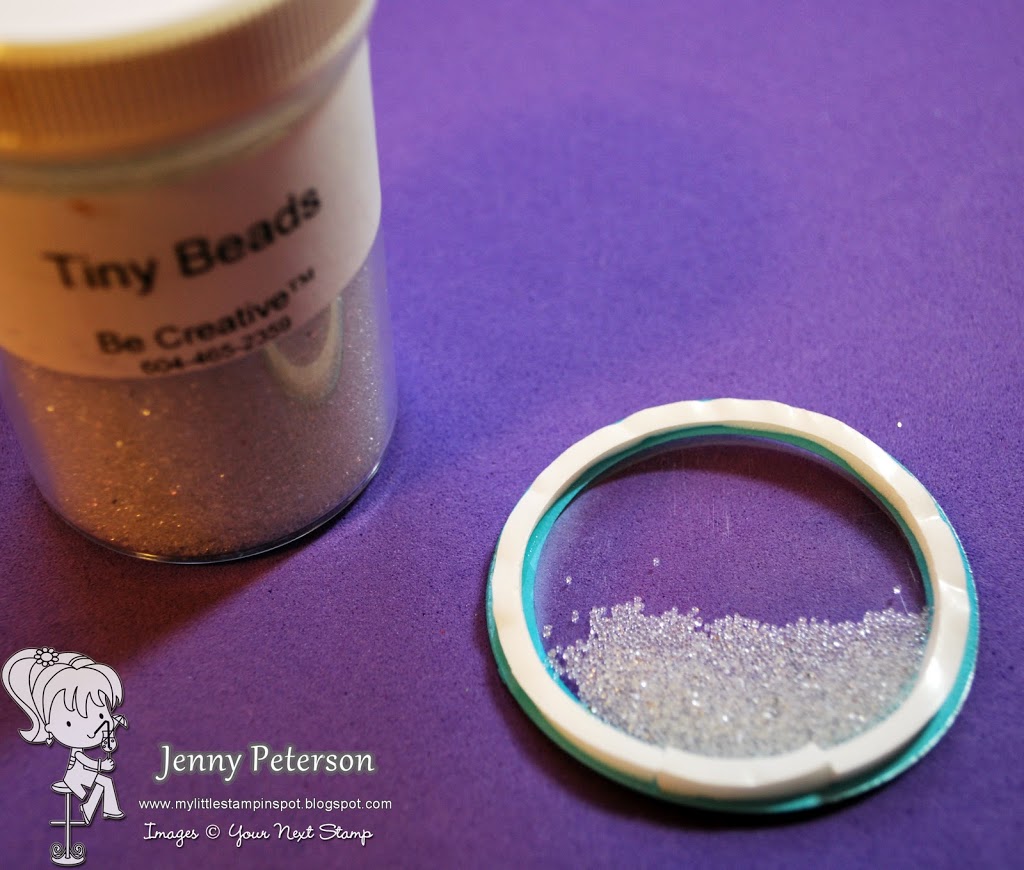
~filler (micro beads, glitter, buttons, sequins…whatever you want! Think outside the box! Basically anything that is small enough to move around in your window)
~premade cardbase
Step 2:
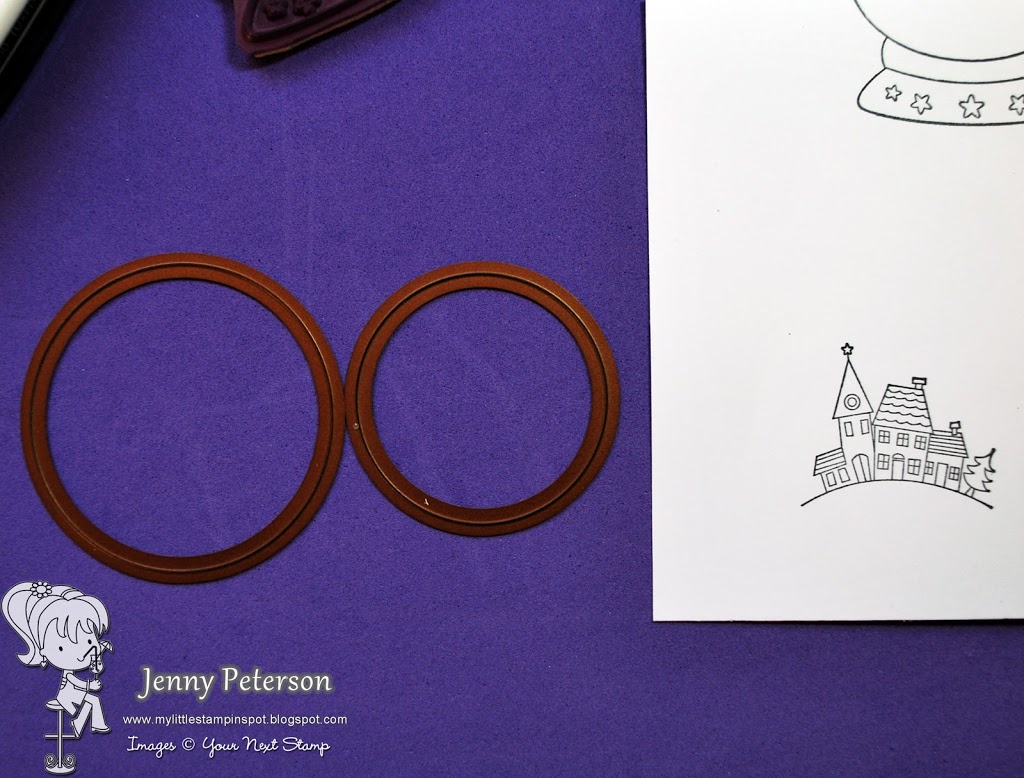
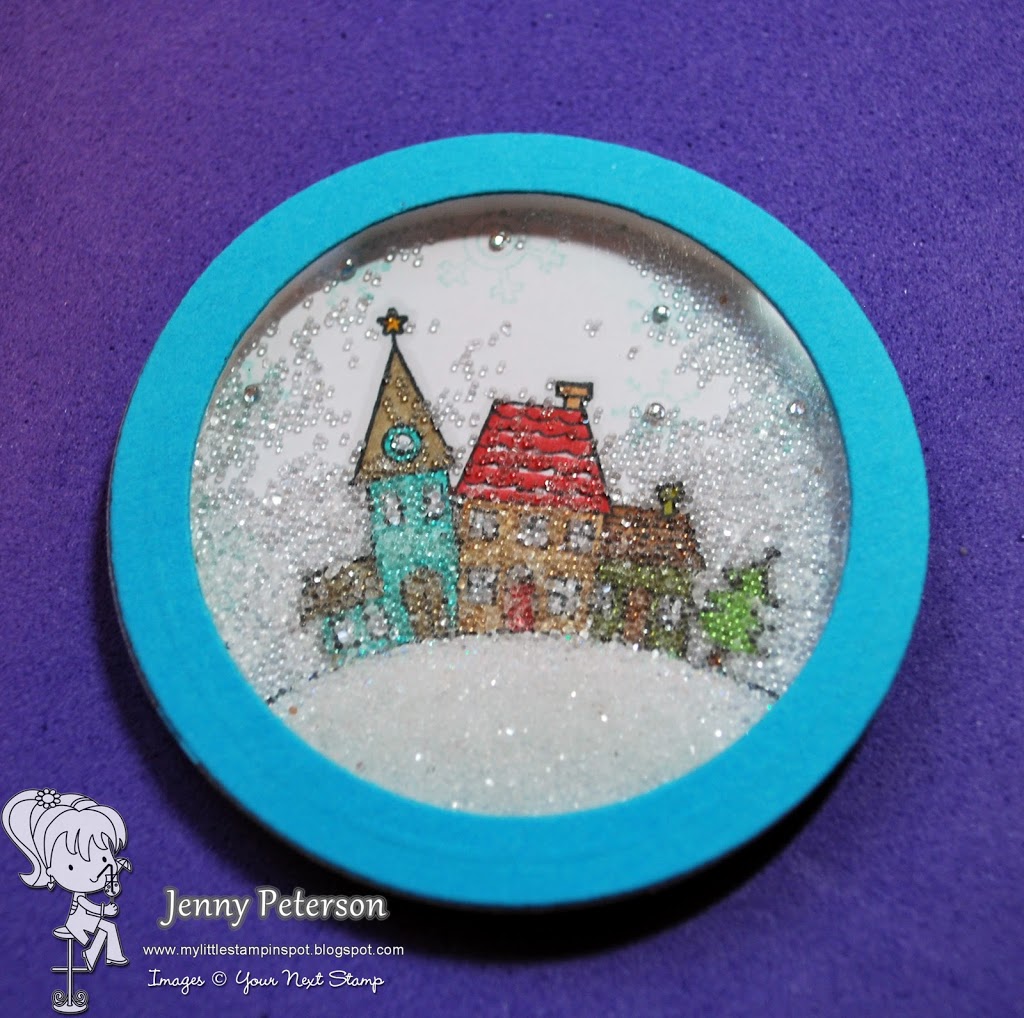
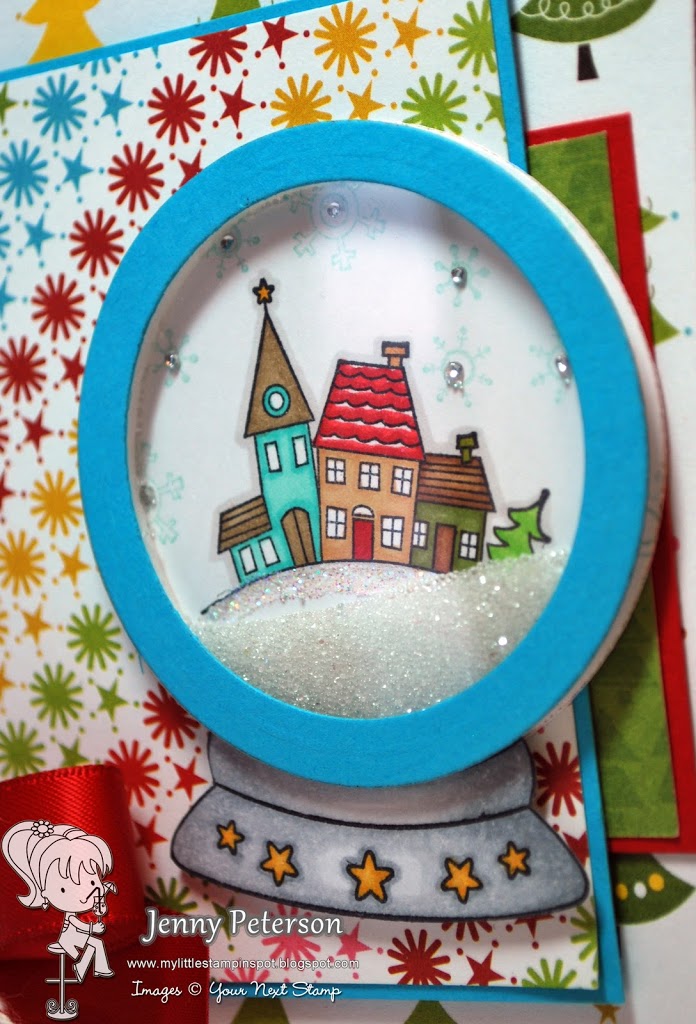
Choose dies to fit the size of your image and the window size that you would like. Here, I stamped the village from the snowglobe set and the base of the snowglobe. I am only using the base in this card, rather than the whole snow globe image. The larger die will be the overall size of the framed shaker and the smaller circle will be the inside window.
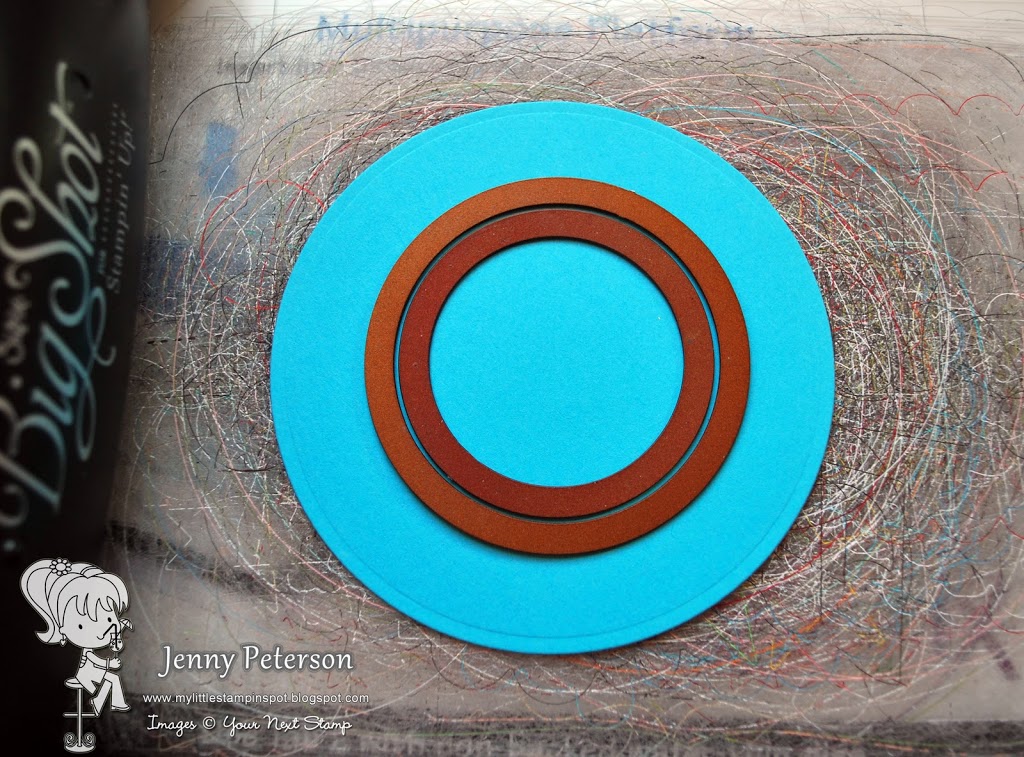
Step 4: Cut out your stamped image using the largest of the circle dies. Remember that the outer edges of the image will be covered by the CS frame.

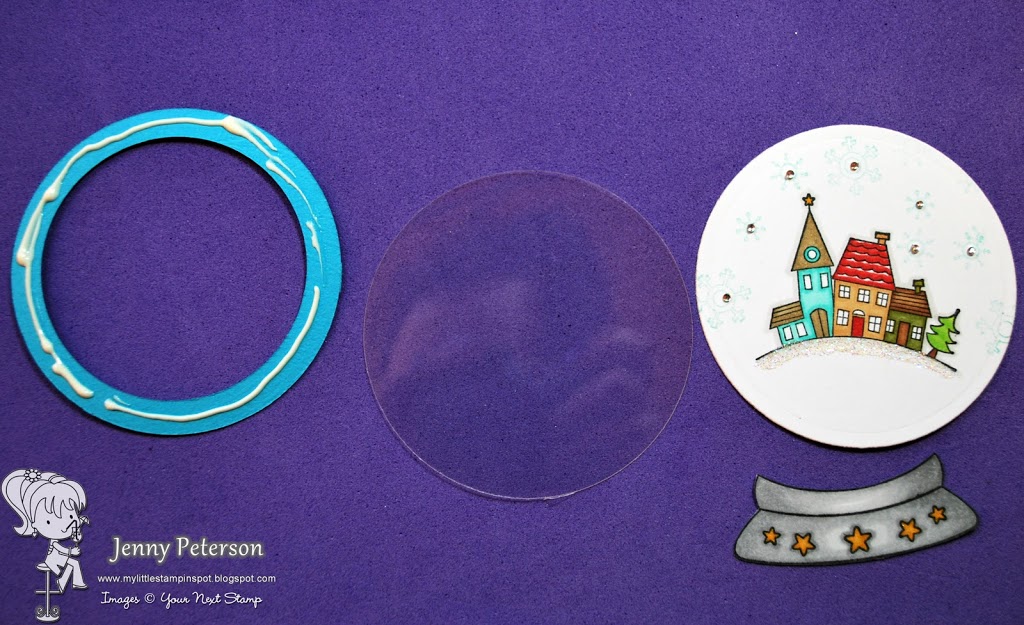
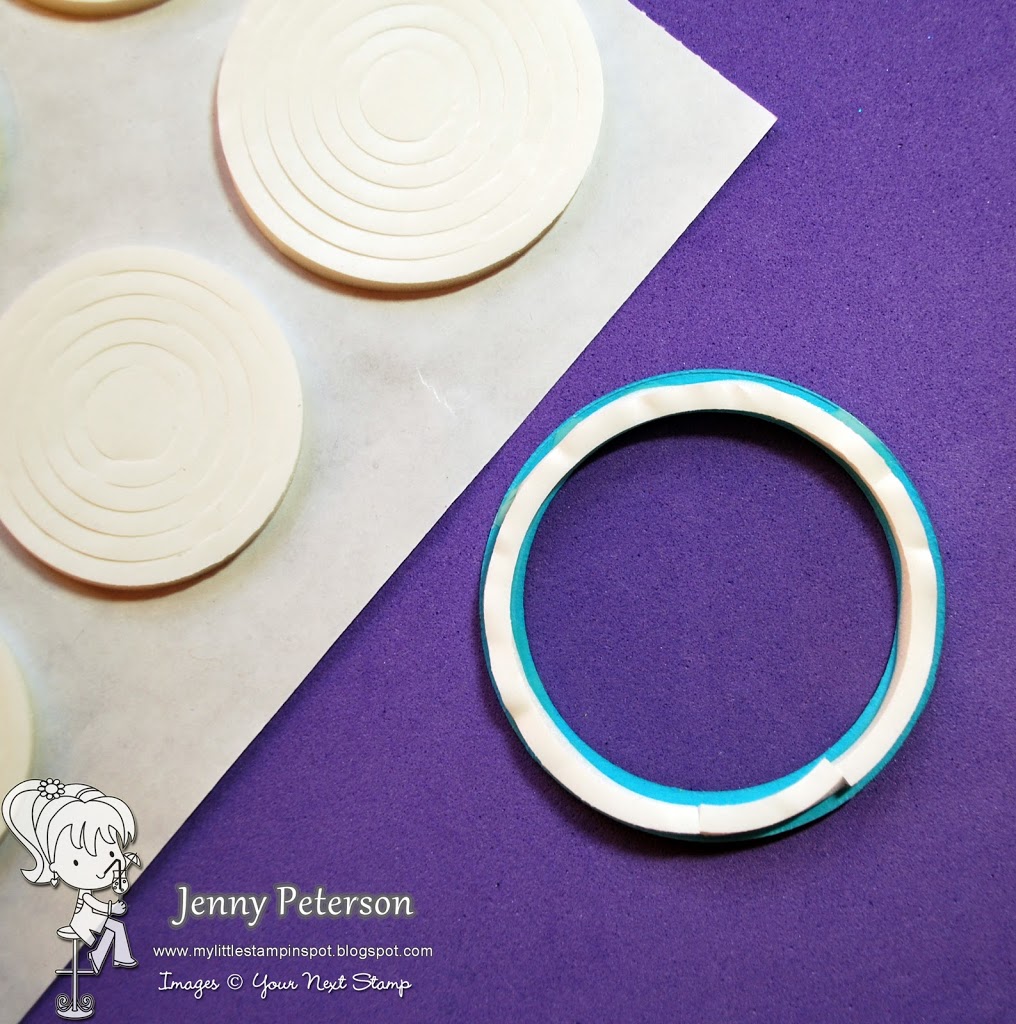
Step 6: Apply foam tape to the acetate, following along the path of the frame so that you won’t see the tape behind the CS frame. I used Stampin’ Ups shaker frame circles, but you can use any foam tape roll. Check out the YNS store foam tape (currently on sale!)
Step 8: Peel off the tape backing and adhere to the stamped image circle, keeping both the acetate circle and the stamped circle alined as perfectly as you can. Turn over and you have your shaker!
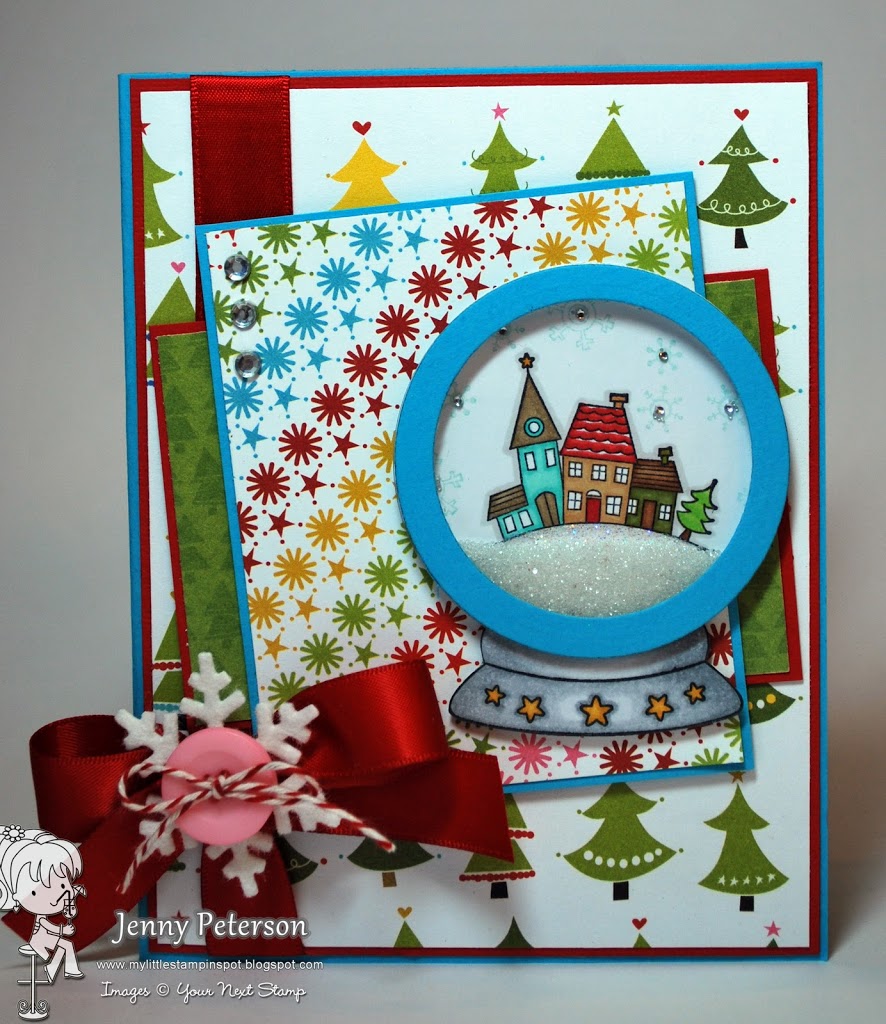
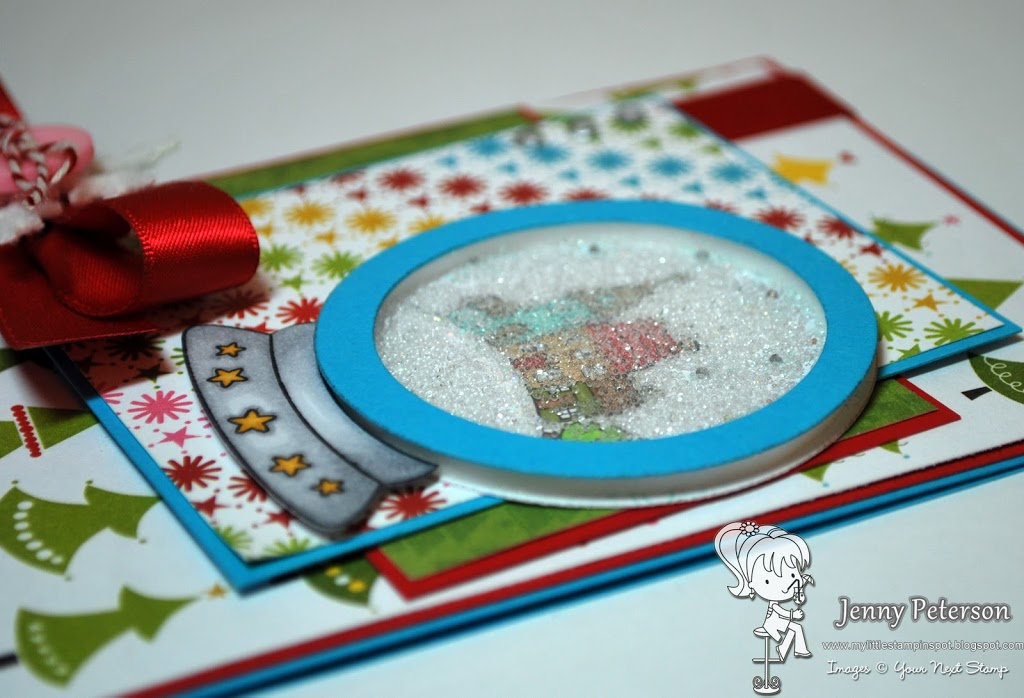
Step 9: Adhere shaker and globe base to decorated card front!
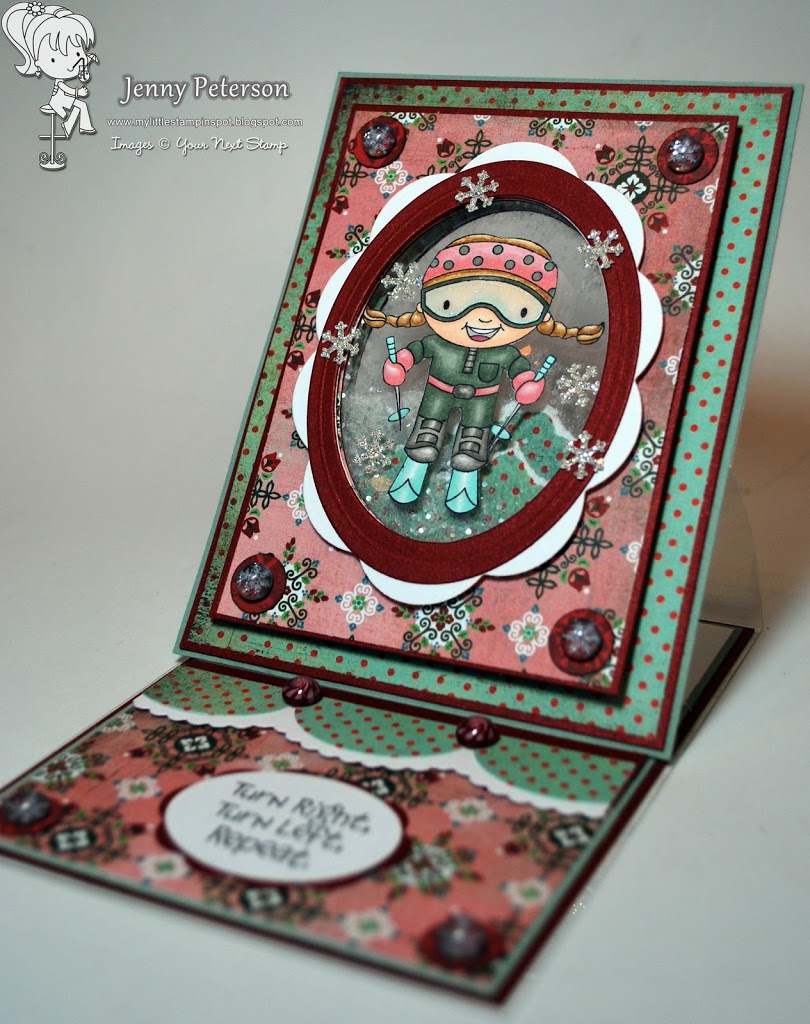
Here is another example of a shaker card that I made using Ellie Loves to Ski. I wanted this card to have an acetate front and back so that you could see nothing but air behind her;) This was also achieved better using an easel card design.
And another shaker card, using the same Holiday Snow Globe set, only fussy cutting the inside of the stamped globe out, rather than using circle dies.
I hope that you’ve enjoyed my photo tutorial and are inspired to have a go at making these fun little cards!


This is AWESOME Jenny!!! Thanks for sharing!!!
Hugs
Karen
That is super fun….I’ll have to watch the video as that foam tape is pretty flat for making a round circle! But a great idea to make space for the glitter. It’s a must try.
Thanks, and Merry Christmas.
Laura
love those shaker cards….
TFS Jenny!
aww these are amazing and super fun…love it
Great tutorial love it. what beautiful cards you have created.
Jenny, A very pretty Shaker card, THANKS FOR THE TUTORIAL.