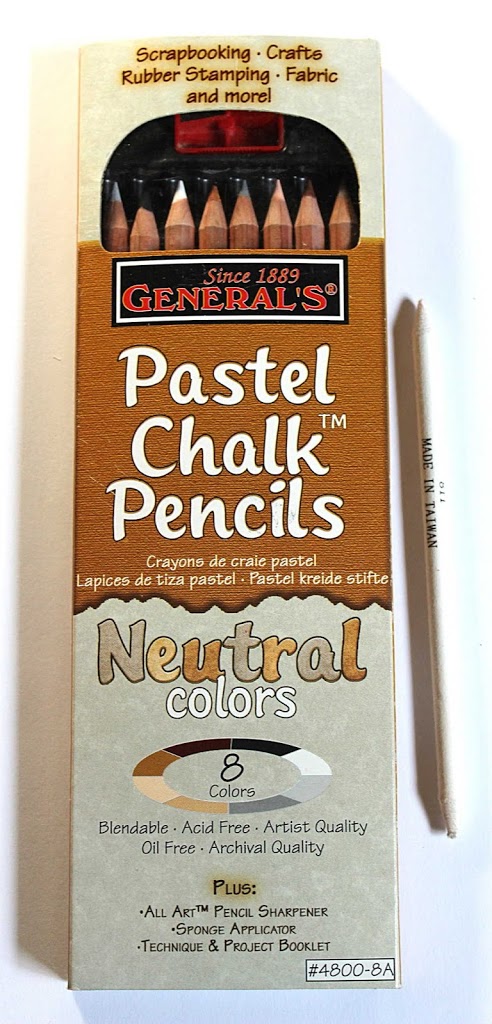
I recently got a set of these Pastel Chalk Pencils and have been using them in conjunction with my copics. Now you need to use these at the very end of your colouring – once you’ve finished, otherwise you’ll muck up the nibs of your markers. You’ll also need a blending stump.
So here’s my image. I’ve used Amber and coloured her up with my copics. Now before my pastel chalk pencils, I’d be perfectly happy with this image. But let me show you my process and you can judge the results for yourself.
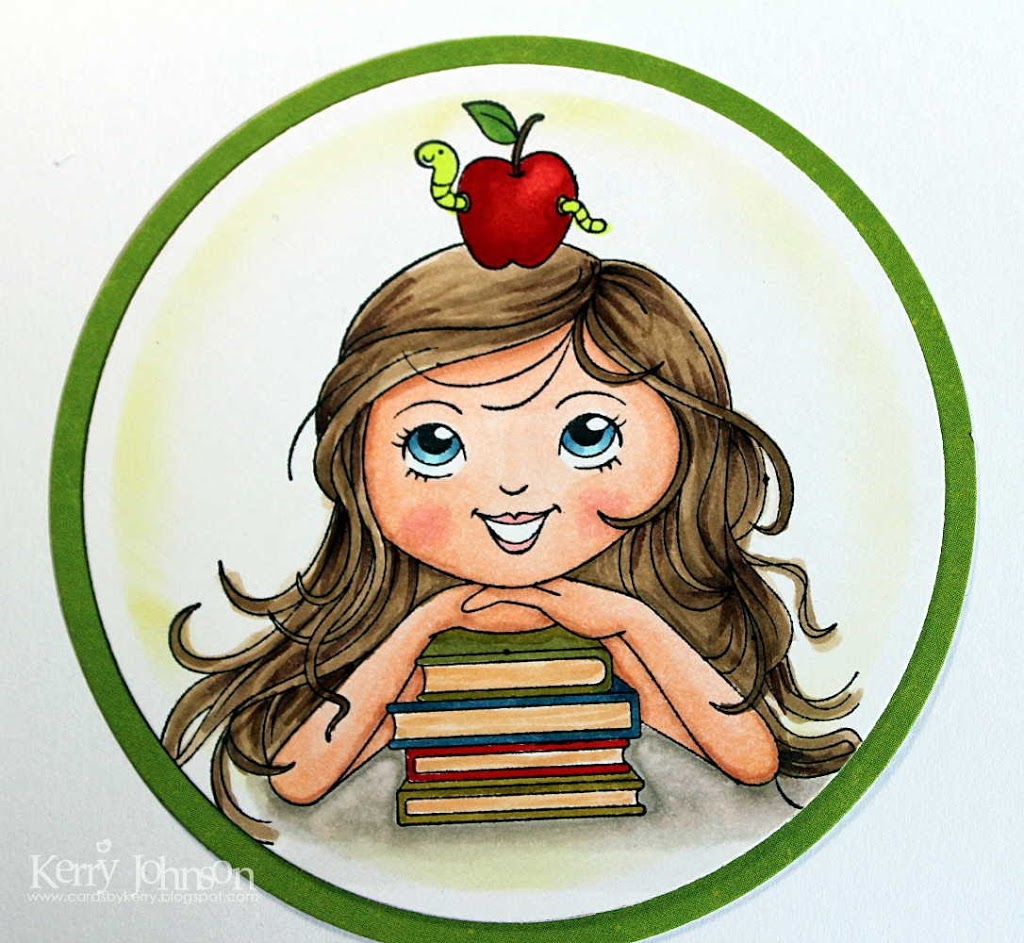
I use mainly the black chalk pencil from the set, even on skin. Some people might find that it looks a bit “dirty”, but in real life shadows are dark. If you find that you’re not a fan of the black pencil on skin, there’s a couple of skin colours in this set that you can play with as well. Hopefully you can see that I’ve used the black chalk pencil to go over the stamped lines under her hands and in the crease of her arms as well as under the front covers of the books.

Now it’s time to go in with our paper blending stump and pull the chalk out into the image so it gives the appearance of depth and shadow. Can you see where I’ve blended the chalk pencil into the image?

At this point I’m going to go back in and shade the rest of the image. I’ll do under her hairline, under the apple, and in her hair. I’ll also do where her arms and books would be resting on the table.
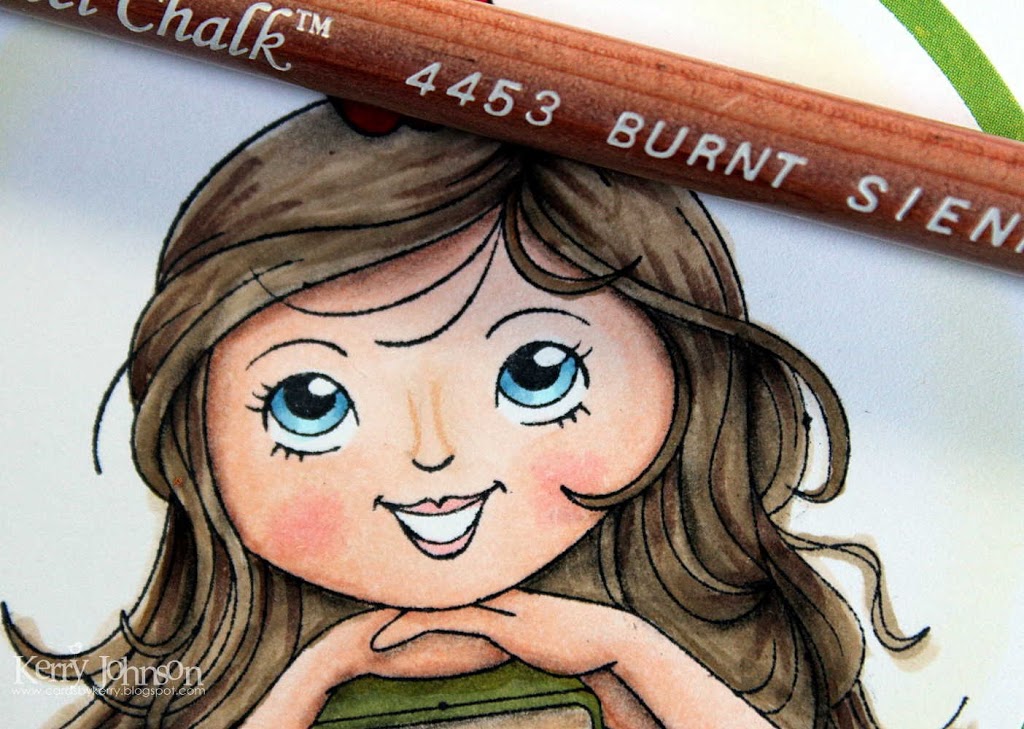
The other things I’m going to do is take the Burnt Sienna colour and add a bit of definition to her nose. I could do this with my copics, but I like that I can sharpen my pencil to a very sharp tip in order to get a fine line. The other great thing about the pastel chalk pencils is that they can be erased. So if I draw in my lines and am not happy with them, I can erase them and start over (same with the shading – if I’ve added too much, I can take away by using the eraser).
So – what do you think? Can you see the difference?

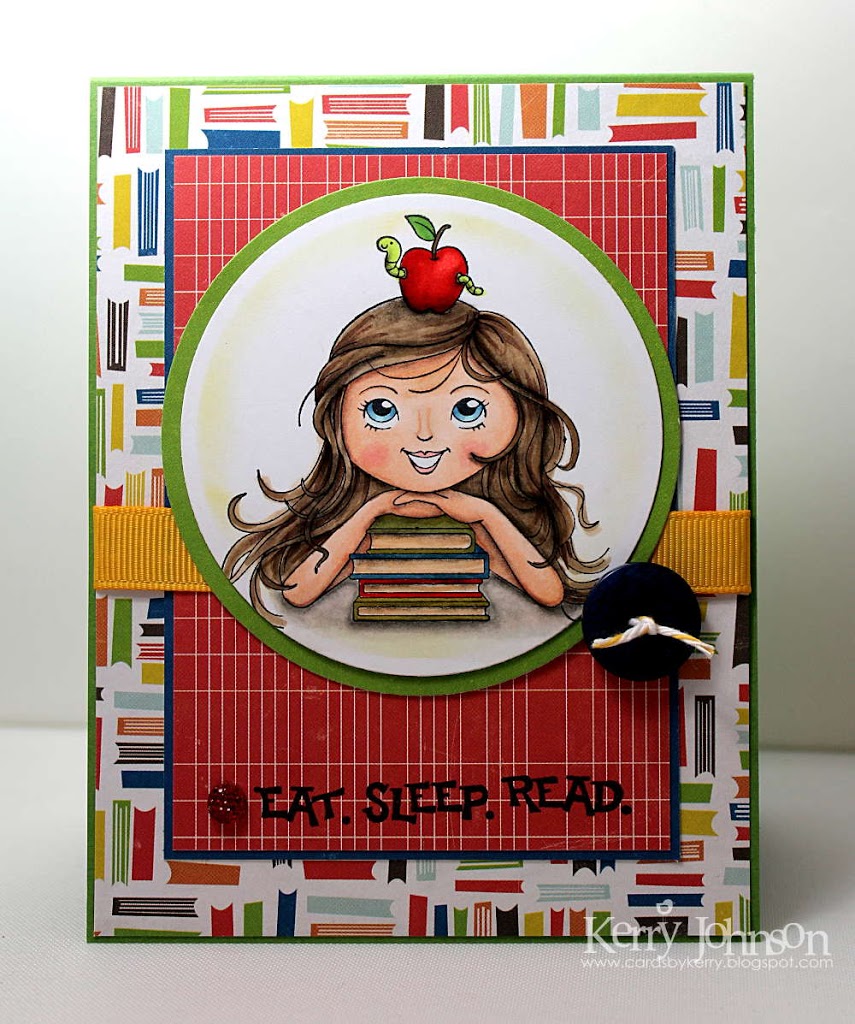
And here’s my image made into a card! I used some new Echo Park papers (Paper & Glue) and used the August challenge sketch.
Hope you’ve found this helpful!
Kerry


Wonderful tip Kerry! TFS!
Very interesting product…I really like the depth it creates.
Awesome Kerry! I was just looking at picking these up the other day, I think I will have to now!
Great tip and love the look. Thanks Kerry
Awesome card! Love the tutorial. I’ll have to look into chalk pencils. TFS!