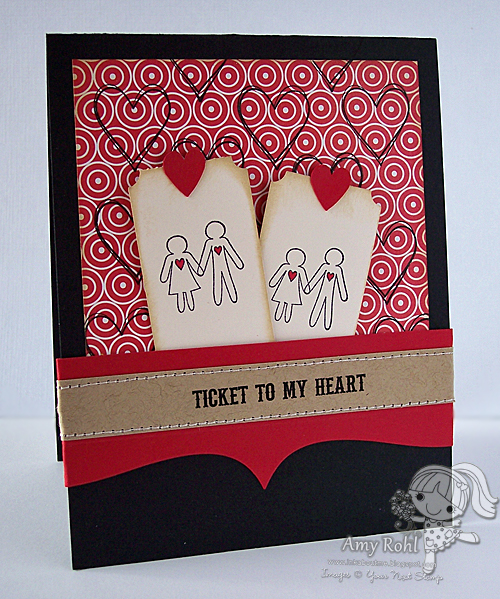
Karen here…I’d like to take a moment to welcome Susan Liles to the YNS DT!!! WOOT! WOOT! She is a fabulous designer and wonderful person so I am delighted to let you know that Susan will be bringing you a very special YNS FUN Friday every month!!! YAY!!! She’s got some amazing tips for you today and then after you have enjoyed all your Susie Q Awesomeness I have some fun DT cards to share with you!!!
Well, it’s me, Susan from susiestampalot.com. Apparently, everyone loves my SUSIE Q-TIPS over on my blog (I know because I get emails from ya’ll if I don’t post one every time; ya’ll think I have a fever or not feeling well or something!). So Karen has invited me to share and expand on some of them once a month over here on the YNS blog. YAY!
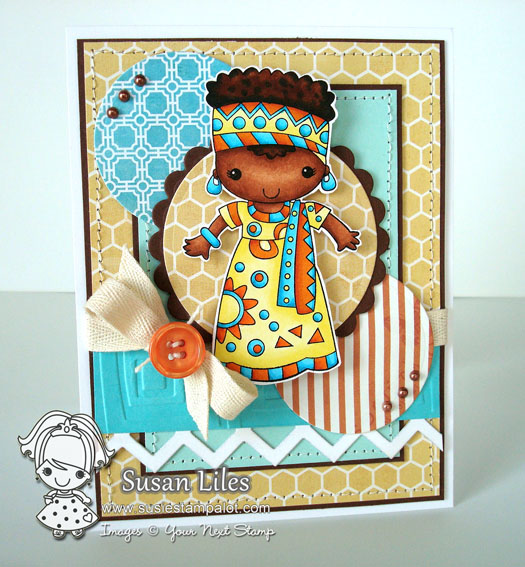
Today is my first post–ya’ll can tell I was a teensy bit excited about this because I took lots of pictures. I hope ya’ll like visuals! Don’t get used to it, though, I may not be as zealous next time! When I made this card, it was just me, Zina, some scissors and my camera having a love affair with a little glue and we got carried away. It’s the month of love so it was allowed.

Ok, so I love to actually cut out my images once they are stamped and colored in order to be able to put them against fun backgrounds. I’ve learned a few things along the way in regards to doing this, some I don’t want to talk about, but here are a few pointers I’ve gleaned that actually make it a little less tedious. Raise your hand if you have any questions along the way (or just leave a comment and I’ll get back with ya).
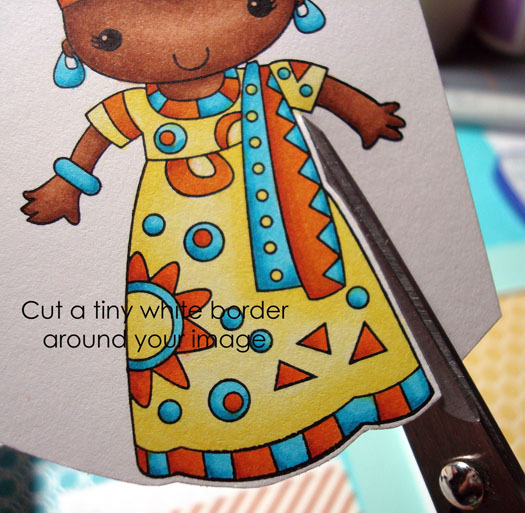
1. First off, I think it looks better to cut the image out, leaving a little white border around all the edges (no need to highlight around your image with pencils or markers when doing this either). This also helps hide mistakes where you may accidentally cut into the line too much. It’s forgiving and helps make the image pop. Double duty. Happy.

2. I guess I should back up a little bit. You need a GOOD pair of sharp detail scissors like Cutter Bees (about $10). I like them because they cut all the way to the TIPPY TIP TIP! When cutting around curves, you’ll have more control if you keep your scissors still (except for the cutting motion) and move your image where you want the blades to go.
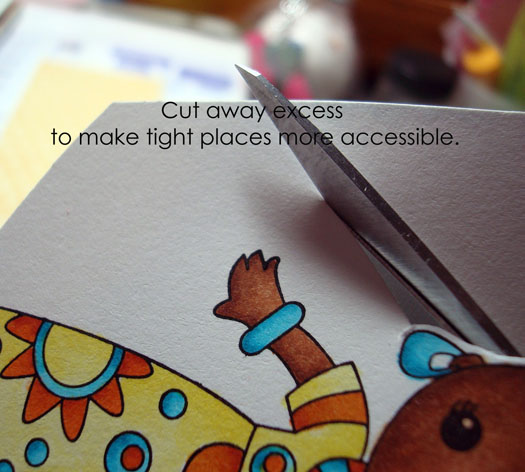
3. When you’re cutting it out, if the excess gets in the way, cut it off! Who’da thunk? Like here, I started to go around the rest of her face, but the part I had already cut off was getting in the way and making me bend my image. No bendy on the images! It’s outta there.
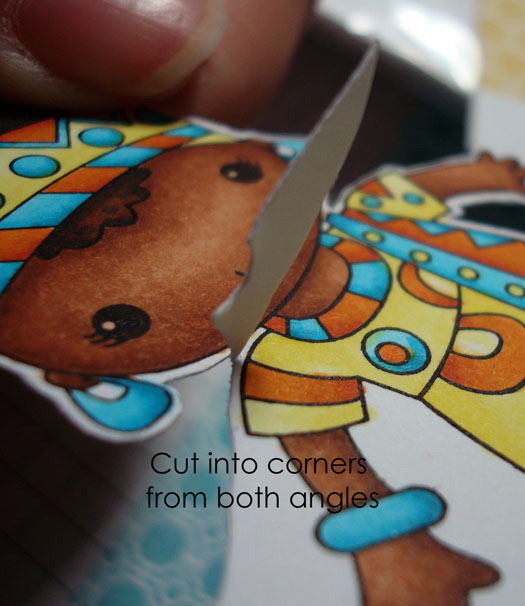
4. Ok, this one is probably the most important to me. When getting into tight corners, cut into them from different angles all the way to the tip of your scissors, making each cut end just short of the image line. Doing this as opposed to getting your scissors in that little crevice and turning them to go the other direction, will make that spot nice and neat and deliver a crisp edge. Otherwise, the scissors will “chew” up that edge and be messy. Here’s a look at the difference it can make:

It takes no extra time to cut it like the example on the left as I mentioned above. You’ll be glad you did it. Trust me.
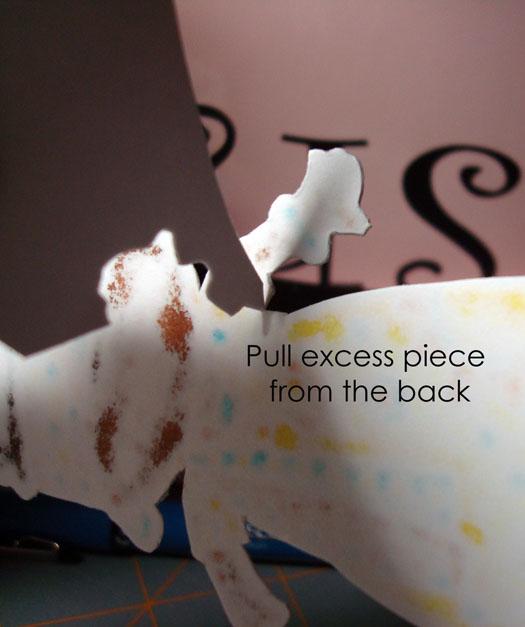
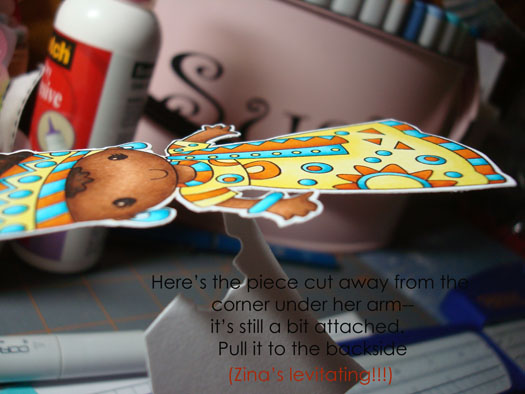
5. When you employ tip #4, you’ll sometimes have a little “hang-osis”. This is the technical term for where you’ve cut into the corner from both angles like good girls and boys, but the piece you’re cutting off is still trying to hang on. Make sure you don’t just need to cut it a little further to get your cuts to meet up closer to the corner. If they are super close and you don’t want to get too scissor happy that you might make a mistake and cut too far into your white margin, pull that piece to the BACK of your image and either snip it off from the back, or gently pull it off (or both). Doing this keeps that corner clean if you have to pull it off a bit.
6. Lastly, if there are any sharp corners, I snip them off as well if I can get to them without bending the piece. Be careful and just snip the tiniest bit off to keep that white margin uniform.
Ok, that’s about all I’ve got for today! Thanks for letting me share. That Zina is so photogenic, isn’t she?!
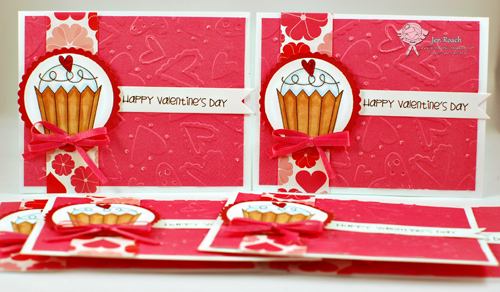


Love the colors on this card. Beautiful.
Og, this card is so bright and pretty. Thanks, Susan, for the wonderful cutting tips. Guess I better get a pair of Cutterbees. patnbobcuddy at gmail dot com
I LOVE this card the colors are bold and beautiful. Your Q-tip is great and I think i may go pick up those cutterbee sissors like today, cause fussy cut is hard with the sissors I have now. Thanks Oh and I reallllllly need that Zina stamp
great card love the colors
details are great