Hi there! It’s Thanh with a stencil-chalkboard technique tutorial.
I hope you’re not getting tired of the chalkboard look, yet, because I can’t get enough of it! I’ve got a quick tutorial for you today that allows you to stretch the use of your YNS dies further. I’ve shown the regular technique with applying white ink to a stamp but this particular technique uses the negatives of your die to build your image. Let me show you!
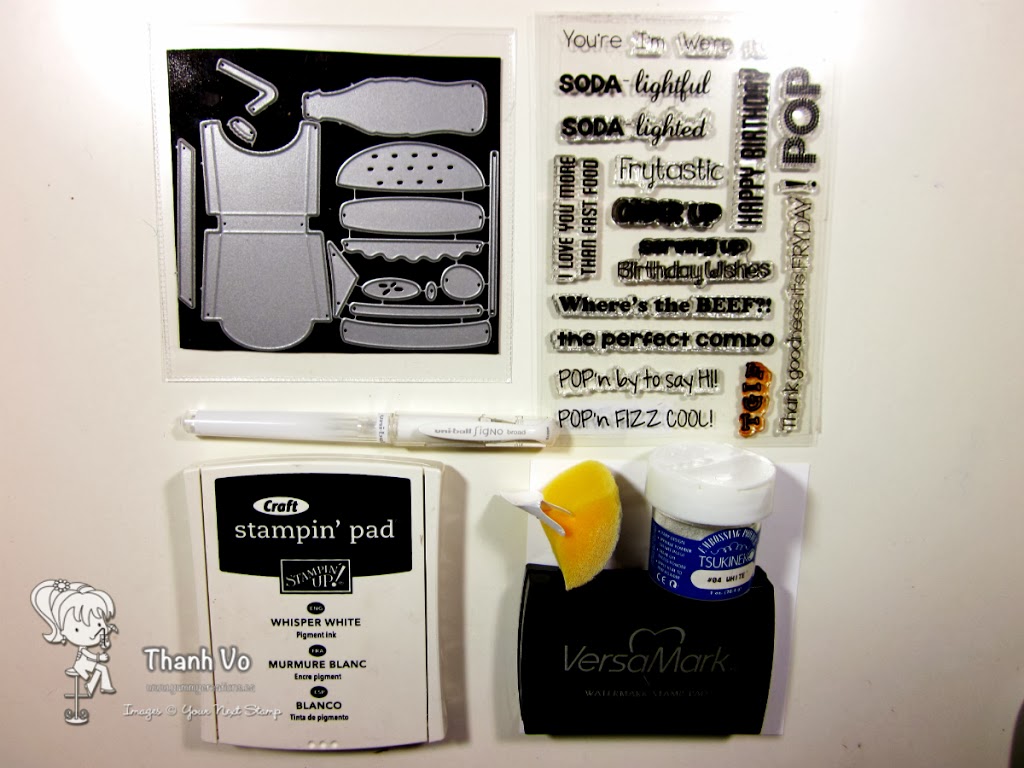
Supply List:
White ink pad
Sponge/ink applicator
Versamark
White pen
Heat gun
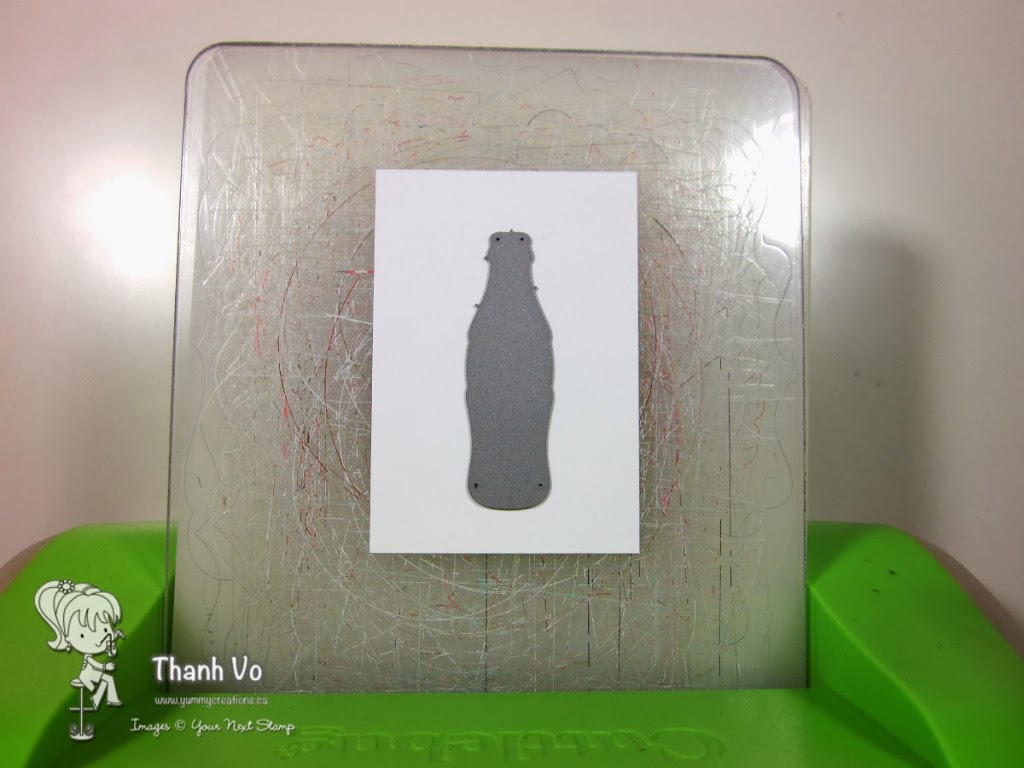
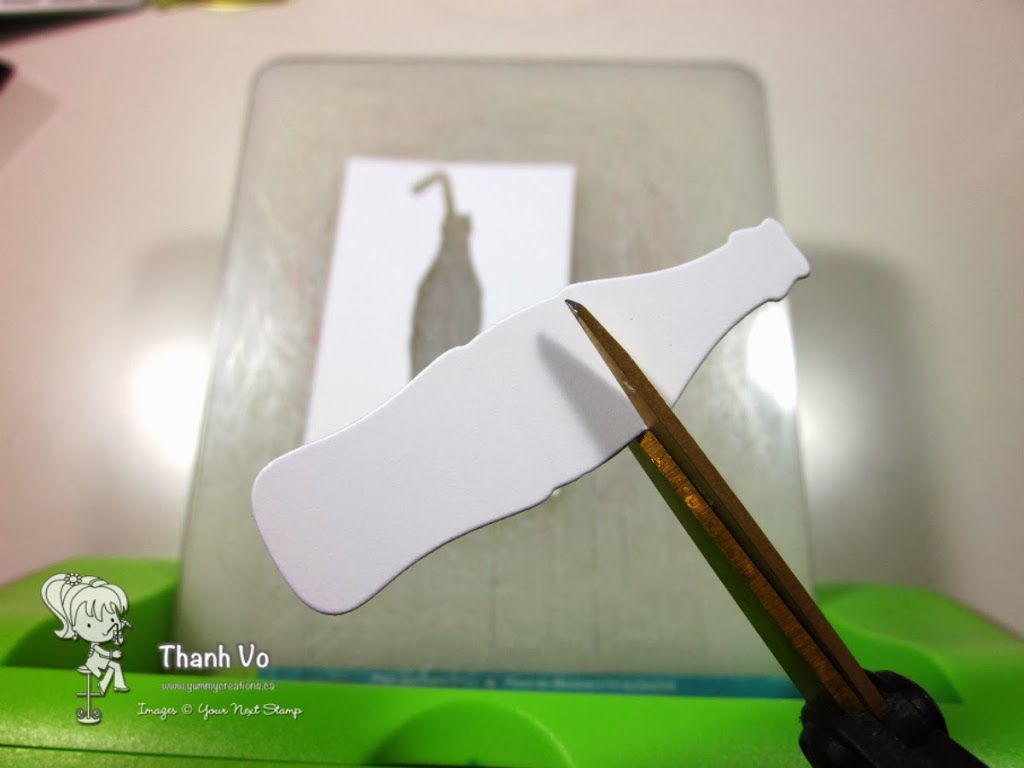
1. Pick your main focal die/image and roll it through your die cutting machine. You’ll be using the “negative” piece to chalk up.
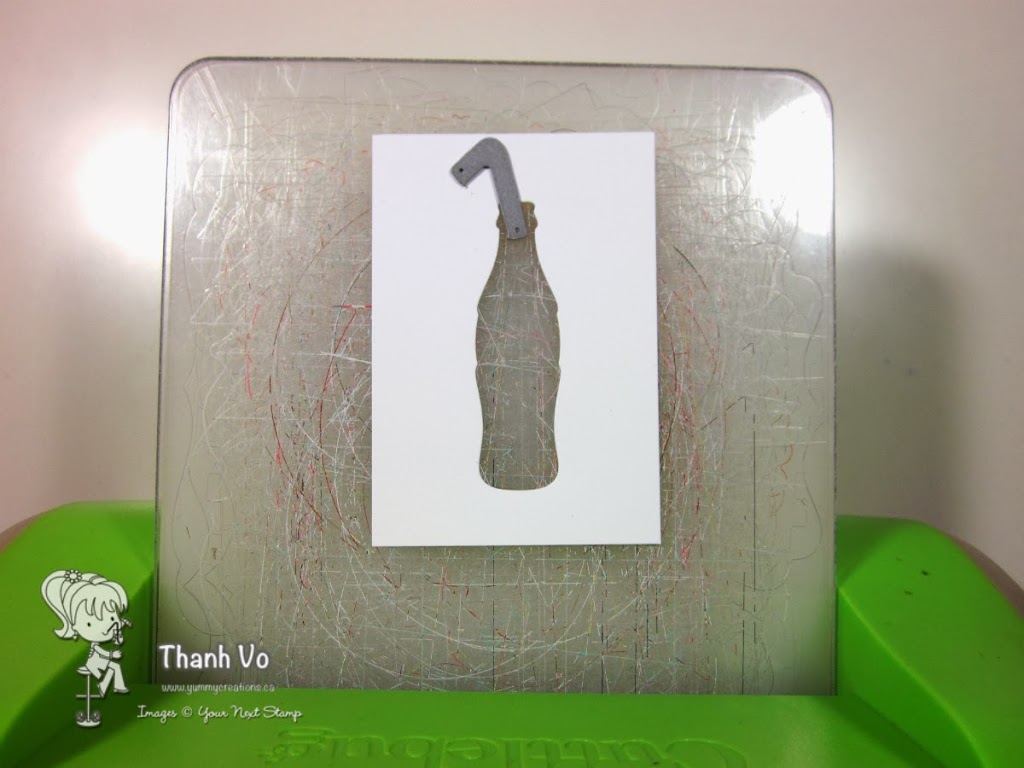
2. Build your image further. For this, I added the straw to the bottle and cut that out.
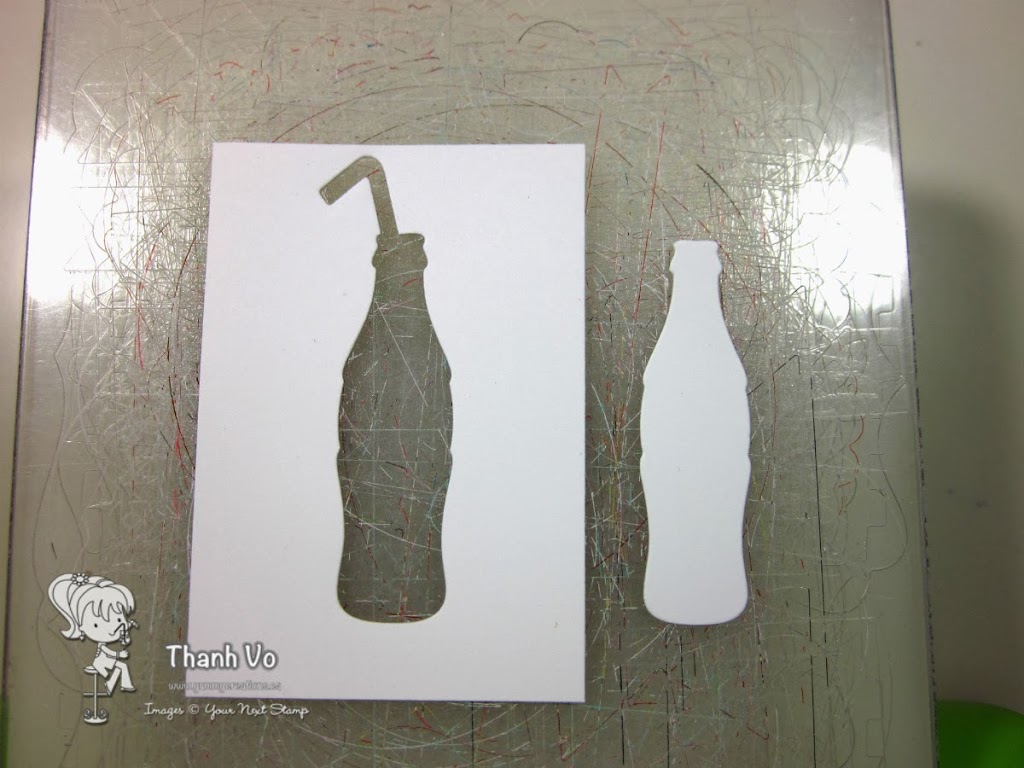
3. Dont throw out your “positive” as you can use it to give your image some depth.
4. For this, I cut out the middle of the pop bottle
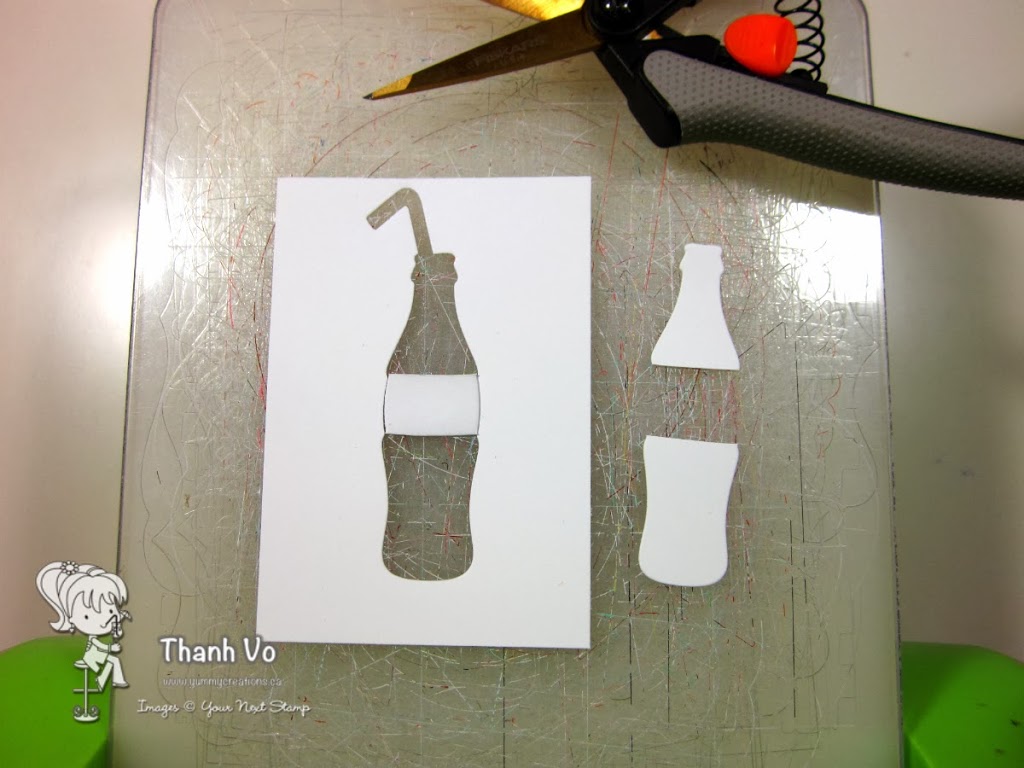
5. This will break up the complete chalk look when you sponge in the white ink. You’ll see what I mean.
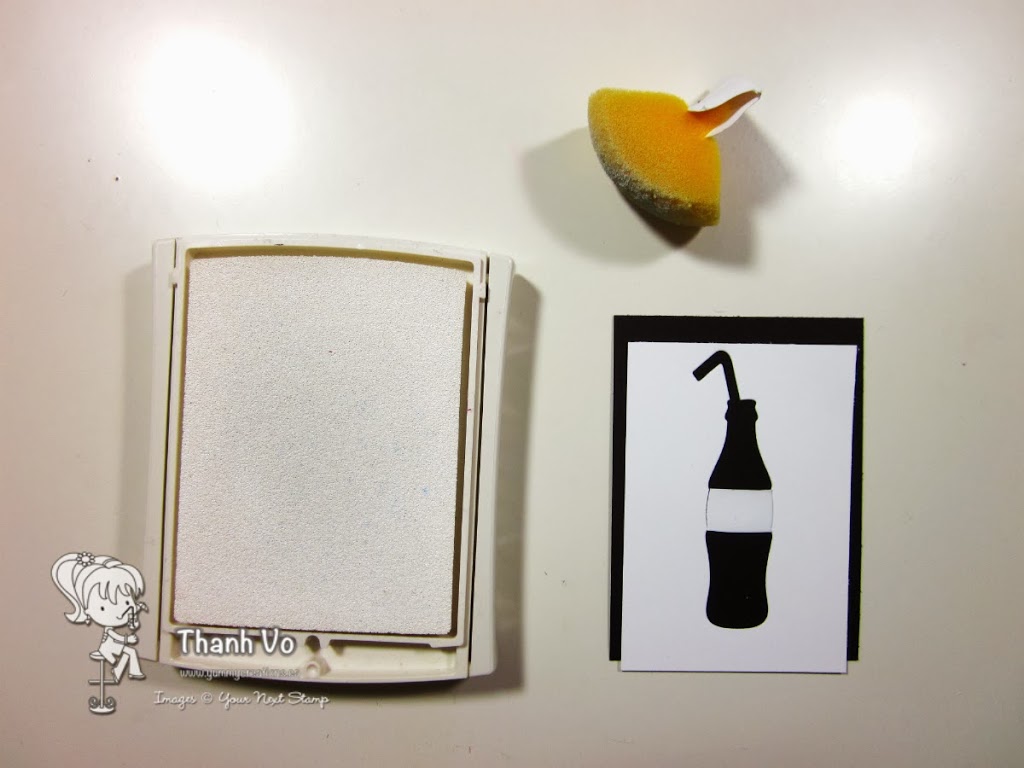
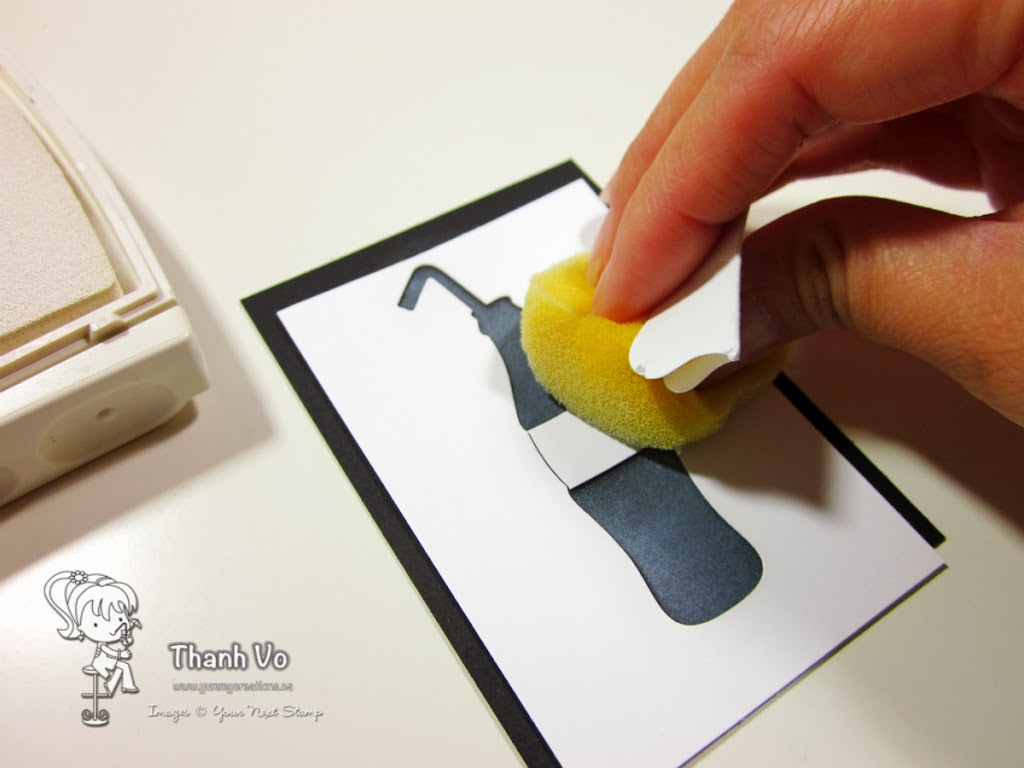
6. Next up, you’re all set to chalk! Grab your ink applicator and white ink and begin filling in your stencil
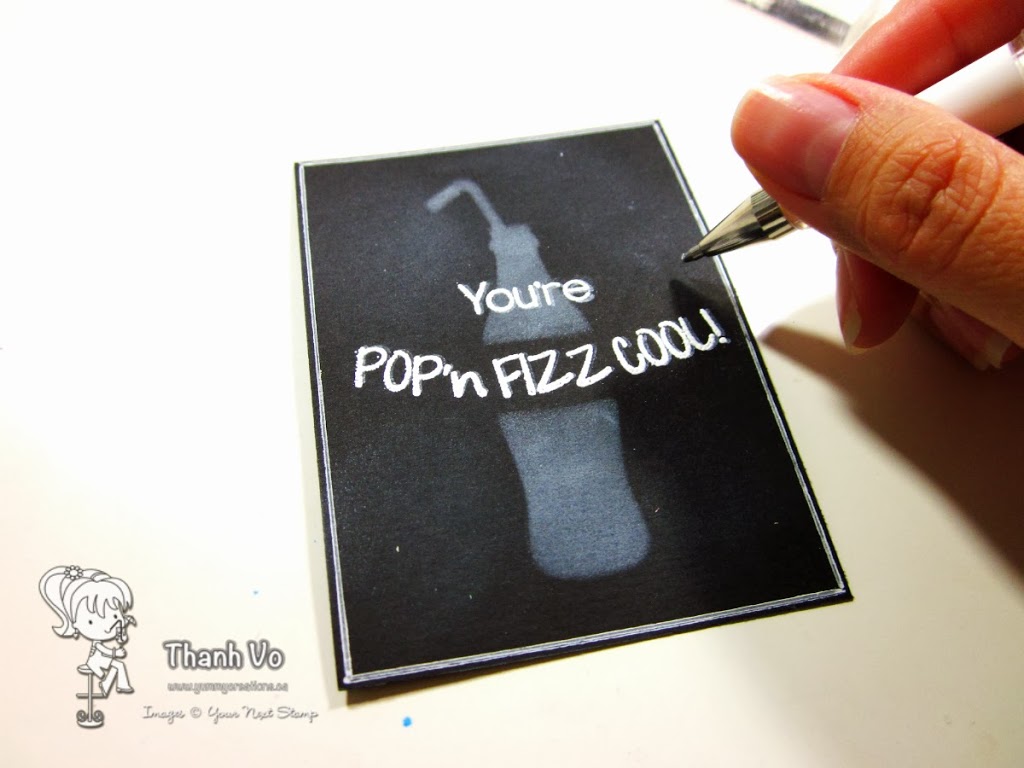
7. I heat embossed the sentiment in. To add character to the chalkboard, I always create an outside border using a white pen and a ruler.
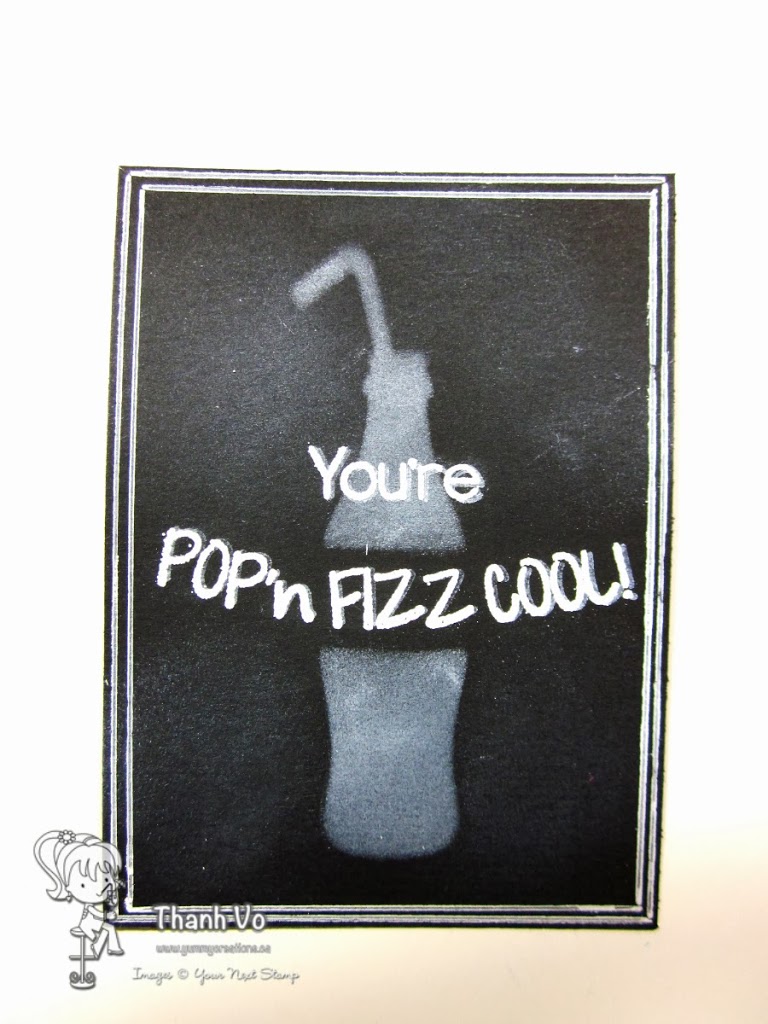
8. Here’s what my finished chalkboard looks like.
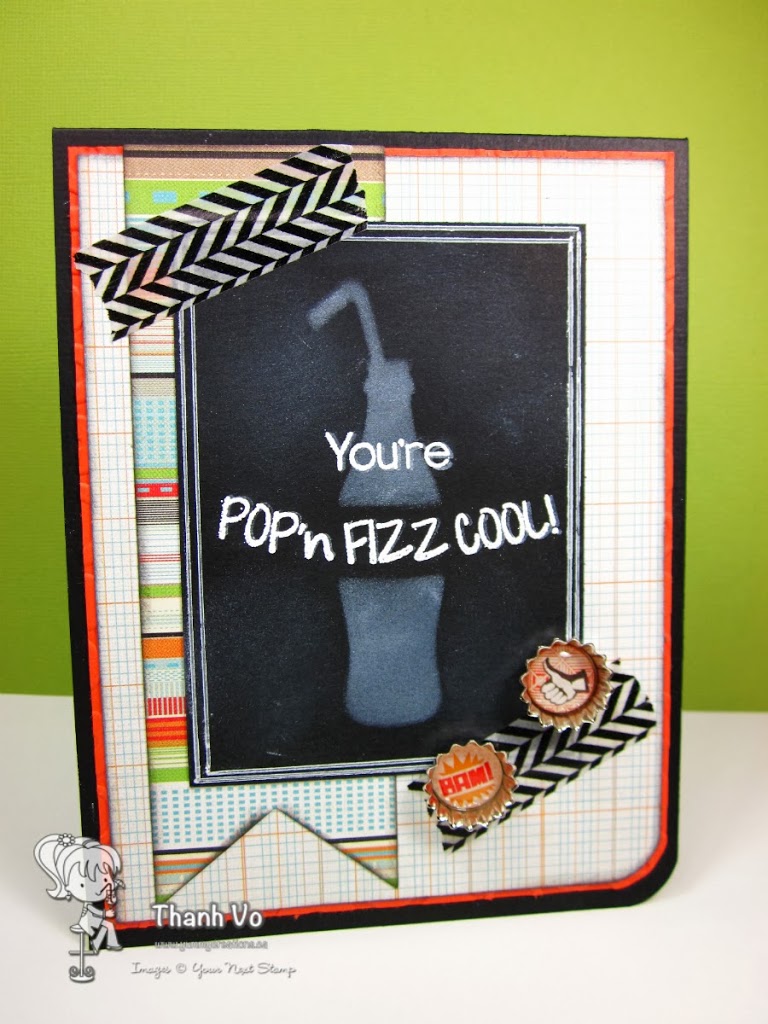
Voila! Remember, a die just isn’t a die – you really can get so many uses out of them.
I hope you enjoyed my “reverse” chalkboard technique! If you have any questions, ask away and I will answer them as soon as I can.
Thanks for dropping by the YNS blog today and if you create a stencilled chalkboard technique card, please link back up!
<3 Thanh


That’s an awesome technique Thanh! TFS!
Great tutorial! I never would have thought to do stenciling for the chalkboard look – fab idea!
Sooooo cool!