Hello and happy Monday, YNS fans! This is Thanh and I hope you had a great weekend with your families and friends! Just a quick reminder that there’s currently an Easter promotion at the YNS Store right now and you can get 25% off your entire purchase.

I hope that you’ve been enjoying our Series of playing with YNS dies so far. Today I’m going to show you a great way to use your dies as stencils. Looking around at projects in blogland, stencils are hot right now! As someone who was unsure of stencils, I figured I would save a few dollars and create my own to see how I enjoyed the medium. I’ll show you exactly what I’ve done in the past:
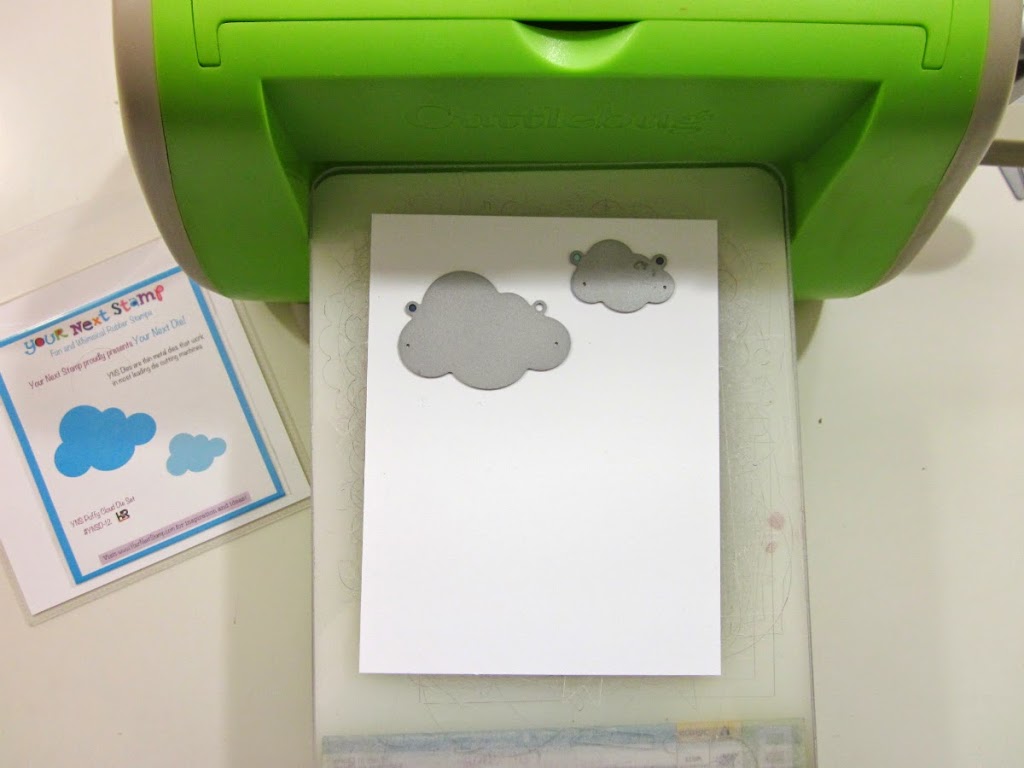
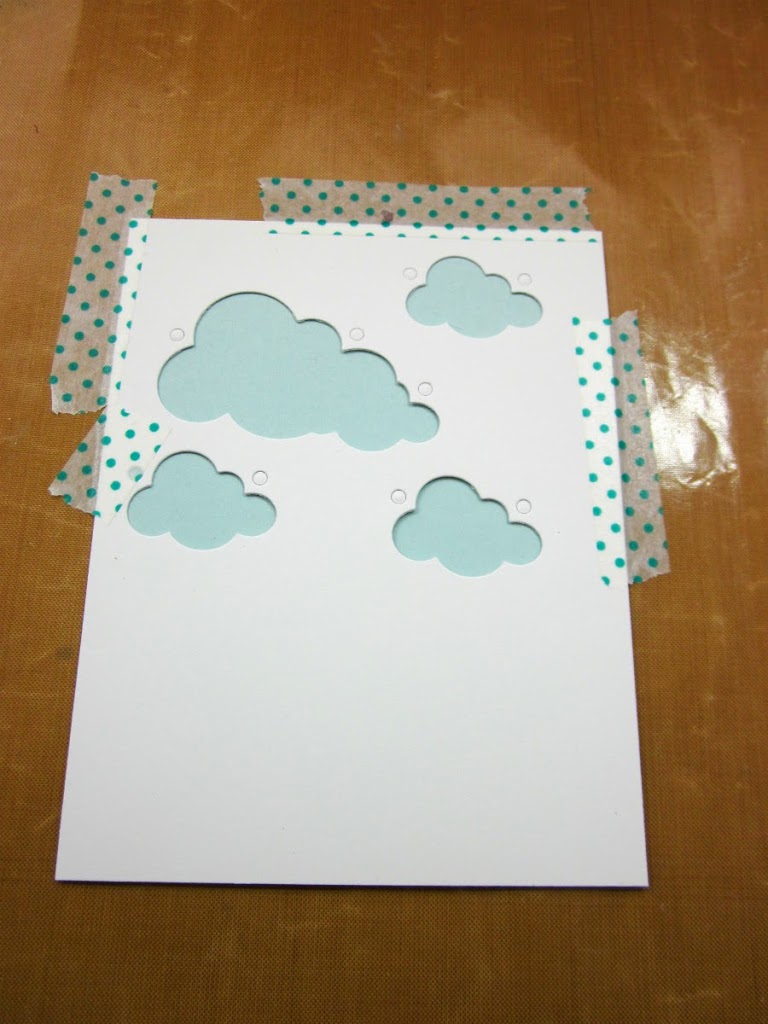
Gather up your favourite die(s) and cut away your favourite shapes. In this case, I wanted to make a spring scene and wanted puffy clouds as my background. To create a stencil, I will use the negative space instead of the usual positive space (the cut out cloud).
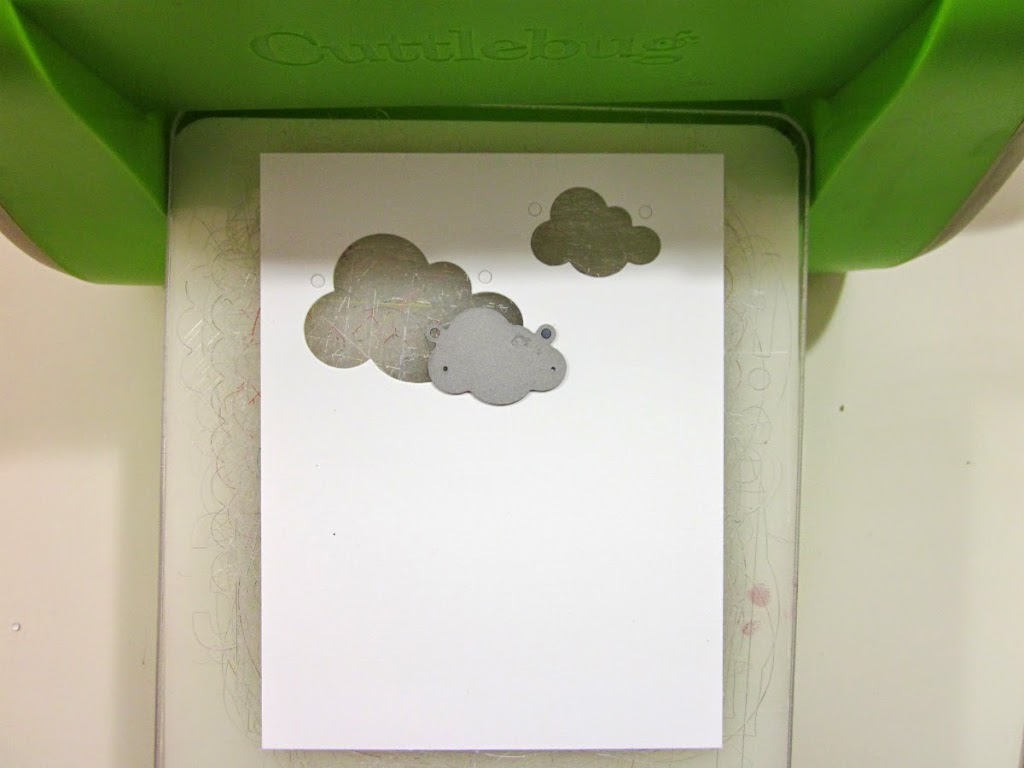
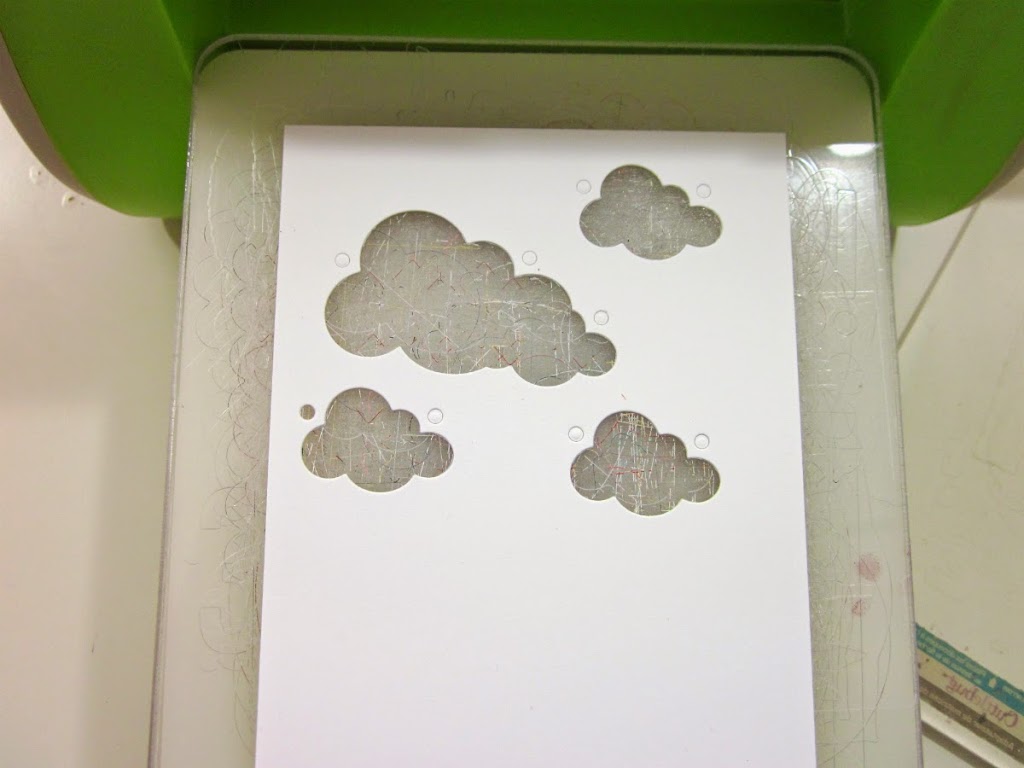
I continued to build my stencil by creating multiple clouds in the sky. I put the small puffy cloud overlapping the large one because I wanted to build a bigger cloud.
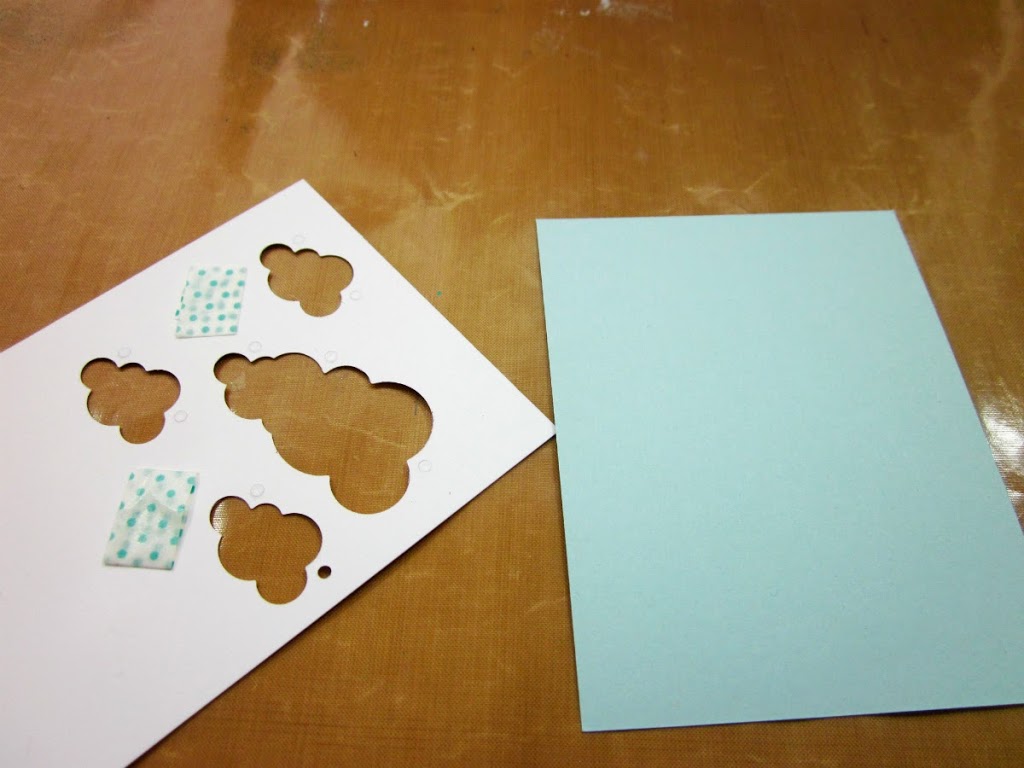
The next step is to ensure that your stencil is adhered to your background as well as to a craft mat or something that you’re not worried about getting dirty. I simply used washi tape so that I could easily peel it back without fuss.
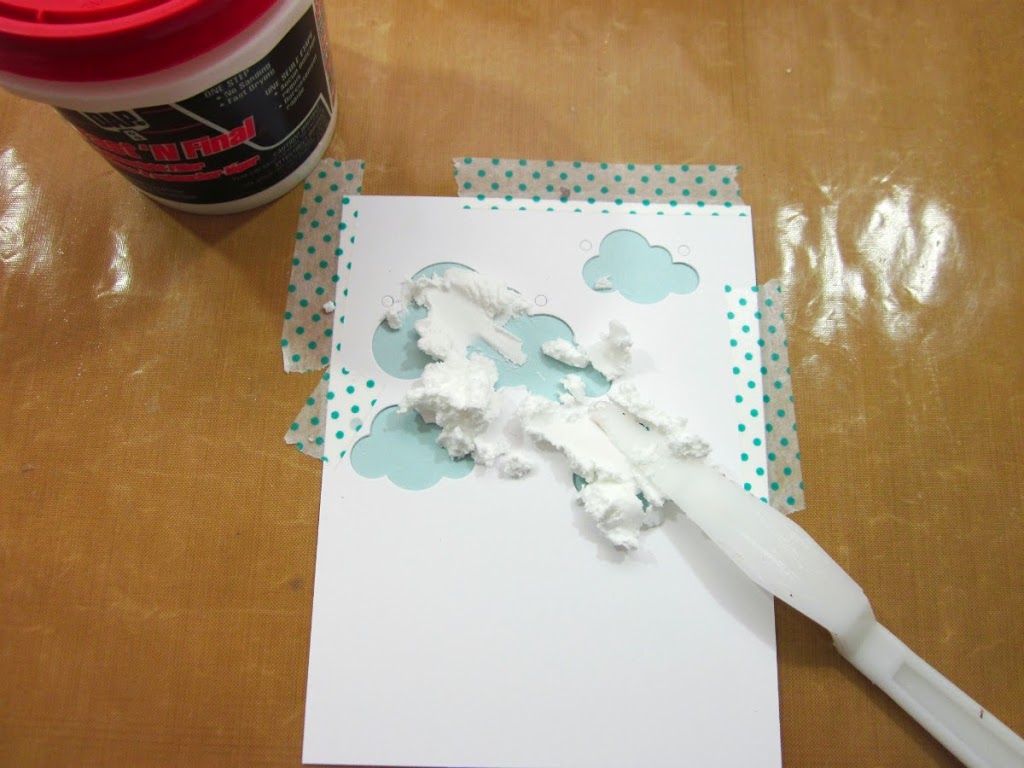
As I mentioned above, I wasn’t sure about the stenciling hype and the embossing paste medium so I have not purchased embossing paste yet! What I use is called spackle and it’s what you’d use to fill holes in your wall! This particular brand is called “Fast ‘N Final – Lightweight filler.” I saw the original tutorial by Maggie here.

Grab a palette knife and spread the spackle evenly across the stencil.

After a few minutes of leaving it to try, I slowly peeled the stencil away from the background. Make sure you do this slowly!

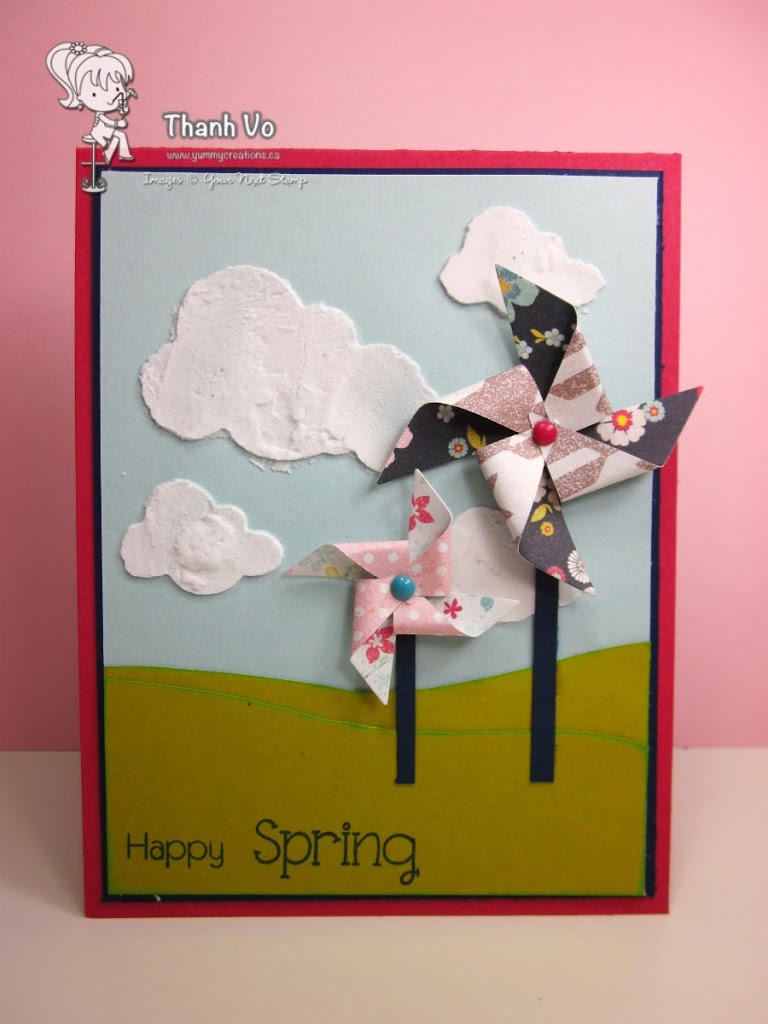
Here is the finished embossing paste clouds… I left my clouds uneven so that they were puffier. Below is my completed project using YNS Pinwheel dies as well as the Happy Day Sentiments. Keeping it really CAS.
If this technique is new to you, I hope that I’ve inspired you to use your dies and make stencils from them! If you give it a try, please link up. Any questions, please drop them below and I’ll get back to you. Thanks for stopping in today.
– Thanh


Gear Idea And Have Used This With A Large Swirl Before
That’s great, Sue! Hope to see you using them on a future project one day 🙂
What a fun technique! TFS!
Very cute card, love the “make your own stencil” technique, opens up a lot of possibilities!!
Thank you, Sharla!
Great card and technique! I especially love how you made a bigger cloud – great idea!
awesome, what a FAB card…love those clouds and the sweet pinwheels!
Love the texture of that spackle! Such a fun card and another great tip with those dies!