Here is an amazing tutorial by Maureen!!! She has created a beautiful Christmas gatefold card which could easily be altered for any occasion!!! Thank you Maureen!!!
There were some requests for a tutorial for my combo
gatefold card with gift card pull-out so here it is!
Materials needed:
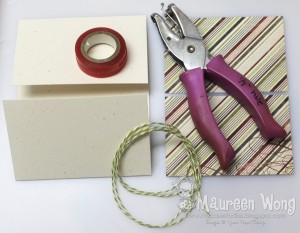
- 4 1/4″ x 11″ piece of cardstock, scored and folded at 2 3/4″ from each short end
- 2 pieces of patterned paper – 4″ x 2 5/8″ (I just took a piece that was 4″ x 5 1/4″
and cut it in half so that the patterns would line up in the middle)(I used My Mind’s Eye Lost & Found Christmas 6×6 paper pad) - 1/8″ hole punch
- String/Twine of some sort (I used 2 18″ strands of Timeless
Twine - Strong adhesive of choice
- And whatever you want to use to decorate. I used the Happy
Holidays Stamp and Die Set from Your Next Stamp
Instructions:
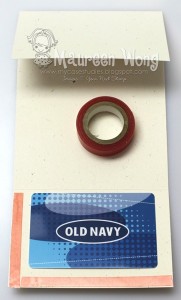
1) Take the piece of cardstock and put adhesive as shown using the gift card as a guide. Make sure to leave the right side open!
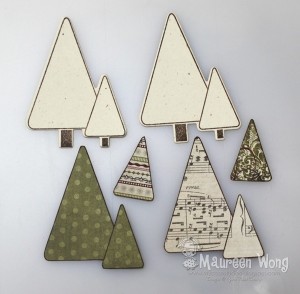
2) Decorate as desired. For the trees, I stamped the tree image in dark chocolate ink 6 times: twice on cardstock and 4 times on different patterned papers. Next I cut the cardstock trees with the matching die.
Finally, I cut the tree tops out as shown below:
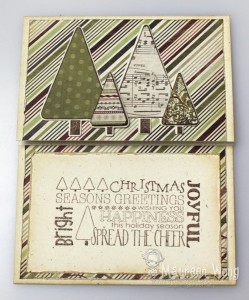
I adhered all the pieces together (the first small tree is mounted with
foam tape) and here’s what the decorated card looks like:
3) Punch 1/8″ hole near the middle of the bottom right edge of the card
and pull the twine through.
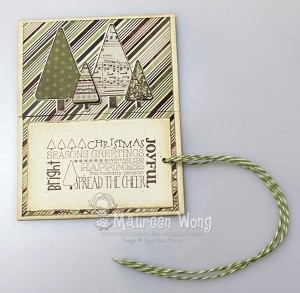
4) Insert the gift card into the pocket. As you push the card in, the
twine should be going inside the pocket as well. It may be a little
tight, so push carefully to not damage the card.
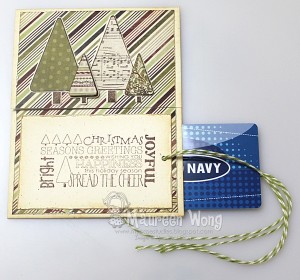
5) When the gift card is hidden completely in the pocket, tie a bow with
your twine.
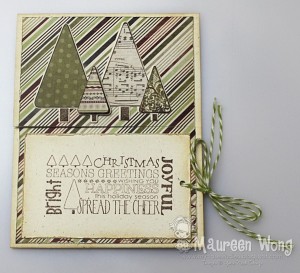
6) Here’s what the finished card looks like with the gift card pulled out:
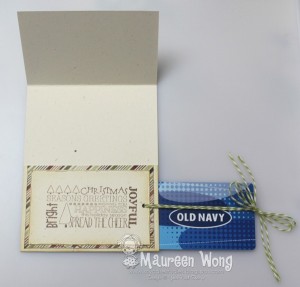
You can also see that the top lifts up for you to write a message to the
recipient.
I hope you like this card and if you do make one, please link it up in
the comments so we can see it – thanks! ~Maureen


Thanks Maureen!
This is a cool tutorial that I’m sure I will use.
Great tutorial. I love this card, its perfect. Thanks for the inspiration. Happy New Year
Fantastic gift card tutorial – this has just become my new go to gift card template – just made it and it’s lovely – thanks x
I’ll leave a link once I post it on my blog x
((hugs)) Suzie xoxo
Hello here is the link as promised – if you want to take a peek x
Thanks again for such a fab tute x
((hugs)) Suzie xoxo
Silly me – link didn’t paste ! Here it is
http://suziemcfloozysmusings.blogspot.com/2012/01/whats-in-your-pocket.html?m=1
((hugs)) Suzie xoxo