Wendy here with a tutorial today on how to create a lantern using some Your Next stamp products and a LCD tealight.
Before I dive into my YNS tutorial…have you see the fabulous new release stamps and dies?! Be sure to HOP along our fun and inspirational blog hop for your change to WIN some new stamps!
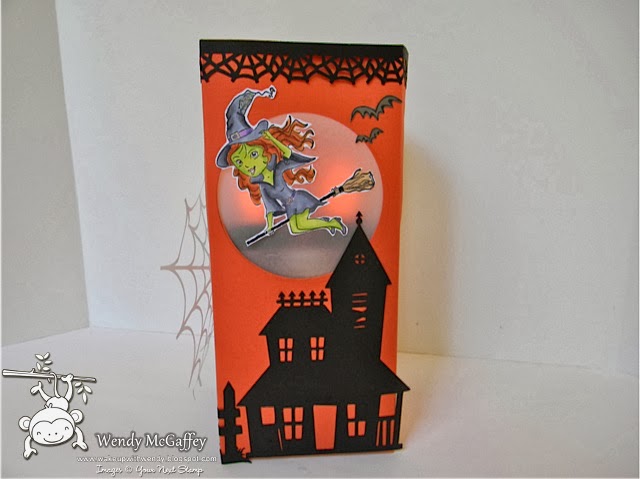
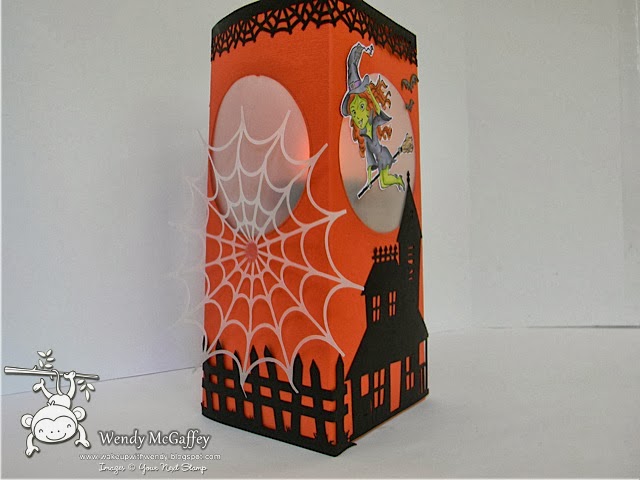
Now, let’s make a Luminara Lantern!
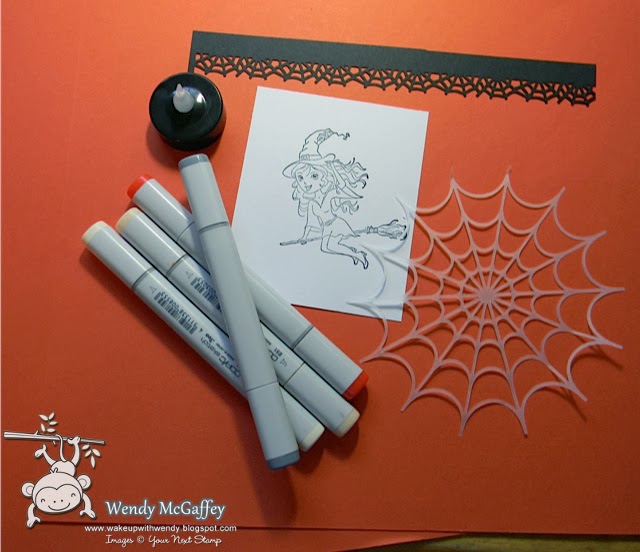
I began by gathering all the required supplies…
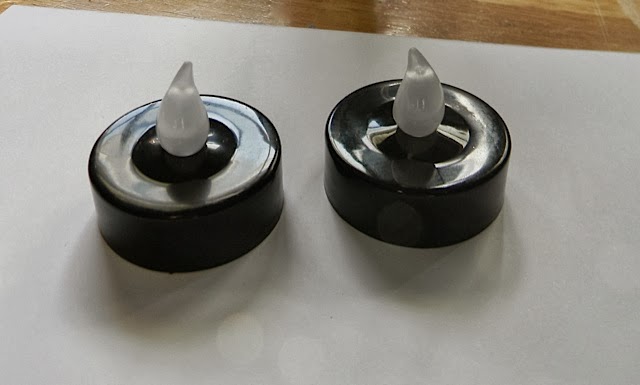
cardstock, stamped image, tealight, dies
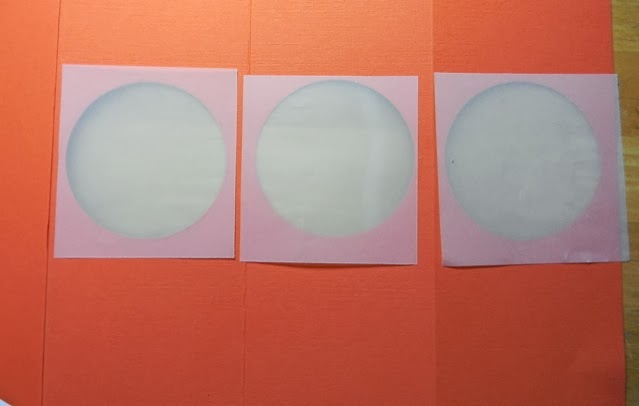
Next up cut and score your cardstock, I used a 12 x 12 sheet because I wanted it larger to fit all my diecuts…normally you would use a 5 1/2 x 10 3/8 piece of cardstock scored at 2 1/2″, 5″, 7 1/2″ and 10″
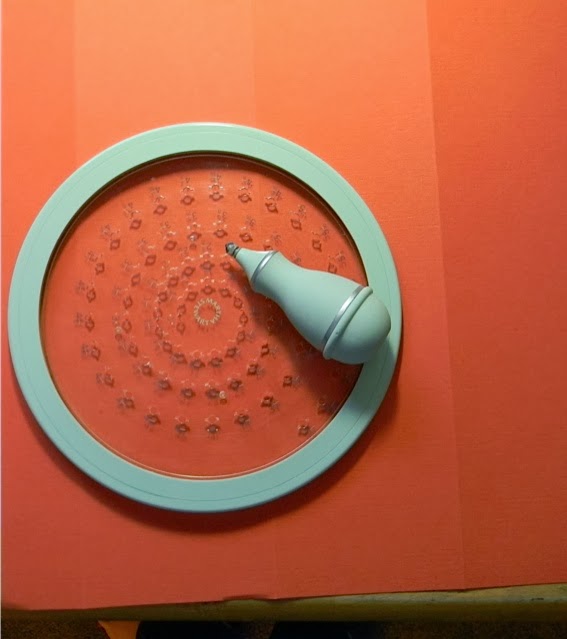
Now cut out your circles to make the windows…I used a portable cutter instead of my diecut machine again because of the size of my lantern but you can definitely use a die to cut out your circles or ovals for the windows….
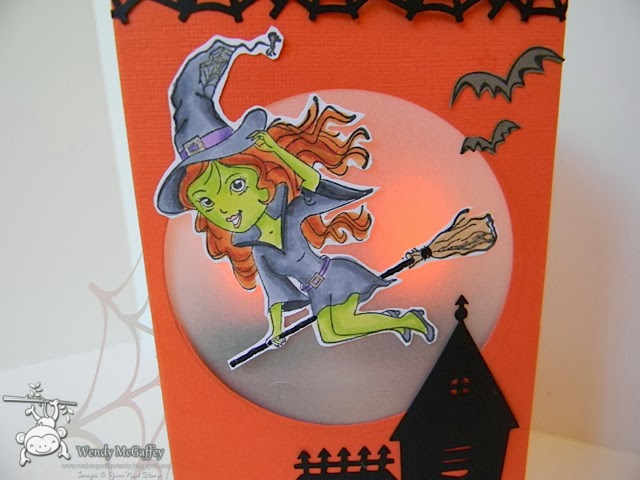
After you have assembled everything you may chose to decorate anyway you would like..I chose the newest Darling Diva Samantha the Witch for on my lantern, added a creepy haunted house and turned on the non-burning tealight and there you have it a spooky Halloween lantern…
Thanks for stopping in today for my tutorial…we currently have a new release special so now is the perfect time to grab yourself some YNS images and make your own Luminary Lantern just in time for Halloween!
Enjoy your day!
Wendy


What a fabulous project and love your coloring!
Super fun project Wendy! TFS!
Love this project!!!
Awesome project! LOVE!
So fun! Turned out great :>) Your house must look amazing for Halloween with all your paper crafting!