Hi everyone! Julie here and I am sharing a fun craft to make with the kids. PINS!!!

My children enjoy crafting with me and I love that my stamps and dies have a use beyond cards and layouts!
Supplies:
YNS Whatnot Die Set – Celebrate
YNS Sentiment – Insta Love
White Cardstock
Thin Cardboard (I used part of a cereal box)
Glue
Markers
Glossy Accents
Mini Pom Poms
Googly Eyes
Ribbon
Permanent Black Ink
Flat Backed Pins with Self Adheshive
Step 1 – cut shape from cardboard and cardstock. Be sure to have the colored side of the cereal box up when cutting…it will end up covered by the white card stock.
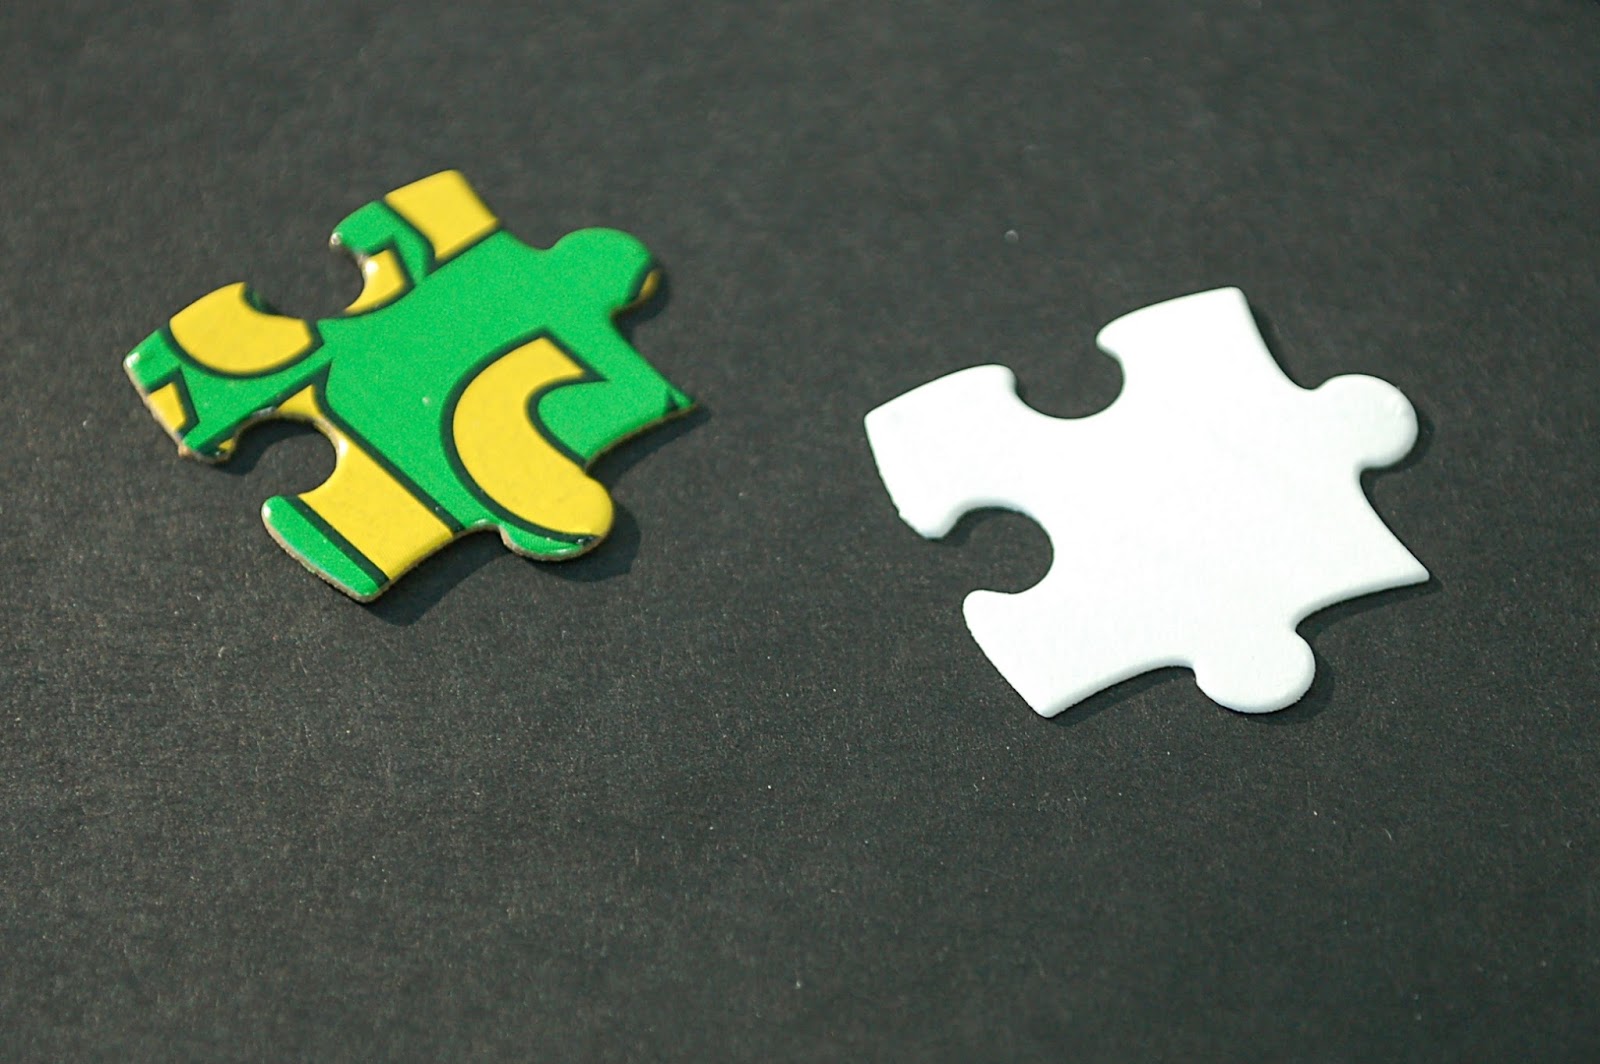
Step 2 – Use Xyron or glue to adhere white cardstock die cut to cardboard die cut.
Step 3 – Have the kids color on white cardstock using markers. (Special thanks to my two 5 year old helpers!)
Step 4 – Using Glossy Accents adhere nose and eyes to die cut. Use Glossy Accents to cover the entire shape to make it more durable. Let dry (the waiting was the hardest part!).

Step 5 – Cut ribbon to desired length and stamp using permanent ink. Set loose edge of ribbon to avoid unraveling by melting it with a flame. (optional)
Step 6 – Attach die cut to pin. I purchased flat backed pins with adheshive already on them to make it easier. If using ribbon, put it on first and then add die cut using Glossy Accents or another strong adheshive where the die covers the ribbon.

These pins would be great for a Girl Scout SWAP or favors for a party. What about a barrette instead of a pin? Get out your dies and start brainstorming!
Thanks for stopping by and happy crafting!
Smiles,
Julie


Super CUTE idea Julie!
super idea Julie so fun! tfs