I thought I’d share a little cheat I mess around with from time to time…
It all started with clouds. I love clouds. But, they are something I have to really think about colouring to get right. And sometimes, I just want quick clouds! I also like looking at techniques that have been done with other mediums and working out how I can achieve the same thing with my Copic supplies.
So, clouds. What do we need?
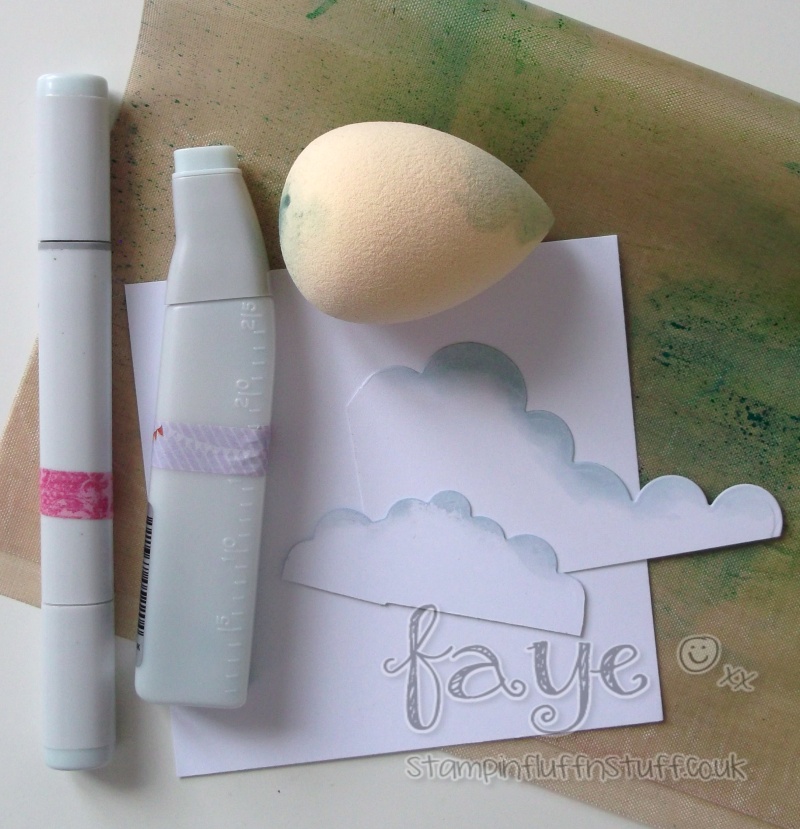
Cardstock trimmed down to the size you want to cover (mine measures 11cm square)
Craft Mat
Make Up Sponge
Suitably sky coloured Copic Re-Inker (I used BG70)
Copic Marker in the same colour as above
Die Cut Clouds (mine are done on scrap card)
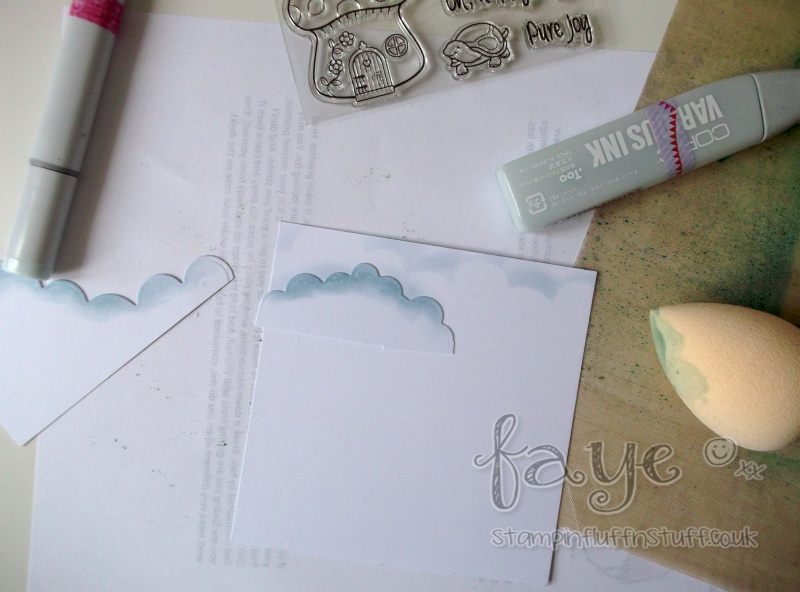
Place a small amount of Re-Inker on the craft mat and dab the make up sponge onto it, to pick it up. You do need to work fast here, as the ink dries fairly quickly on the sponge. I also only place a small amount of ink at a time on the Craft Mat, for the same reason.
Starting at the top of your square of card, place your die cut where you want it and dab the make up sponge along the edge of the die cut. The first time you do it, you will have more ink on your sponge, so press gently! You will need to apply more pressure as the ink starts to dry.
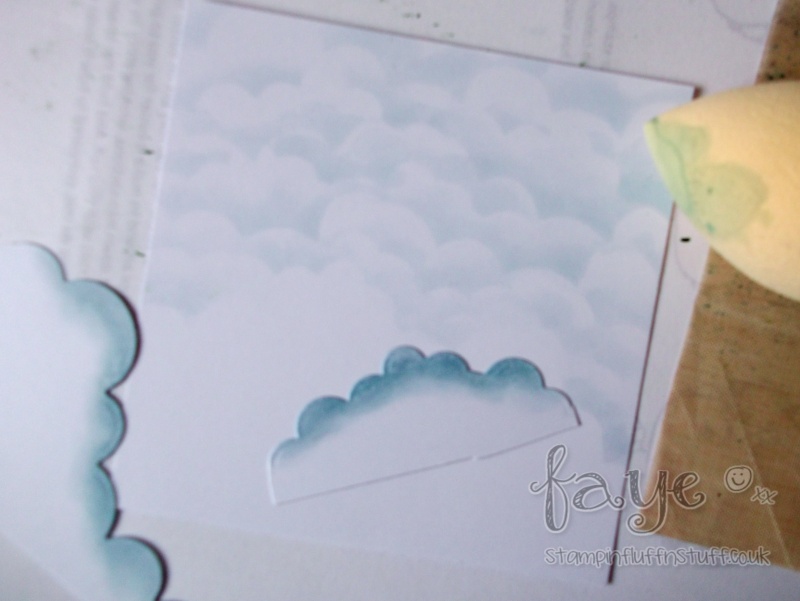
Work your way down your piece of cardstock, moving the die cut clouds around and switching between the two sizes. I left a rough, small circle area clear, in the bottom left of my card to stamp my toadstool in. I was happy to do this by eye, but you could stamp the toadstool first and mask it.
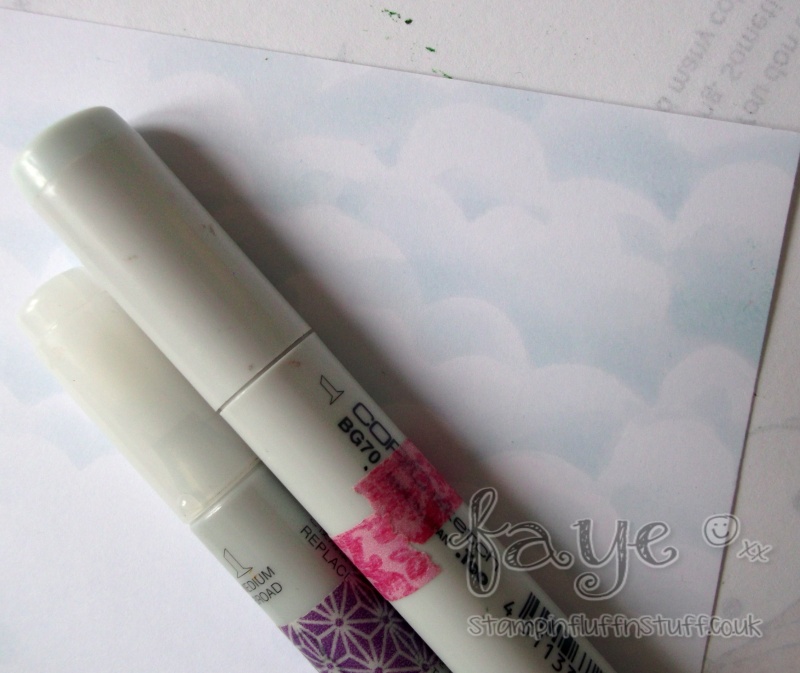
When I have finished dabbing my clouds on, I go back into some of the cloud creases and add a little extra colour with my Marker. I dot the colour in with a fairly light touch, and return to add more if I want to increase the colour even more.
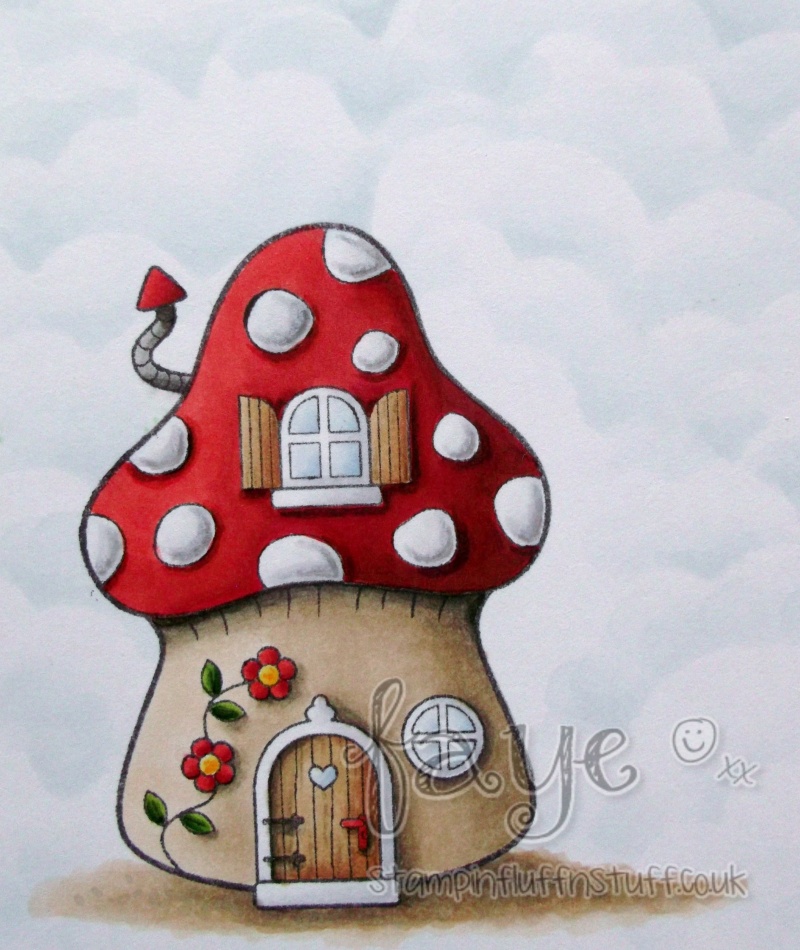
Now it’s time to stamp and colour the toadstool. I used the following Markers…
Toadstool Stalk; E41, E42, E43, W3, W5
Ground; E41, E31, E33, E43, W3, W5
Wood; E31, E33, W3, W5
Window Panes; BG70, B91
White; C0, C1, C3
Yellow; Y13, Y17
Grey; C3, C5, C7
Red; R14, R24, R29, E09
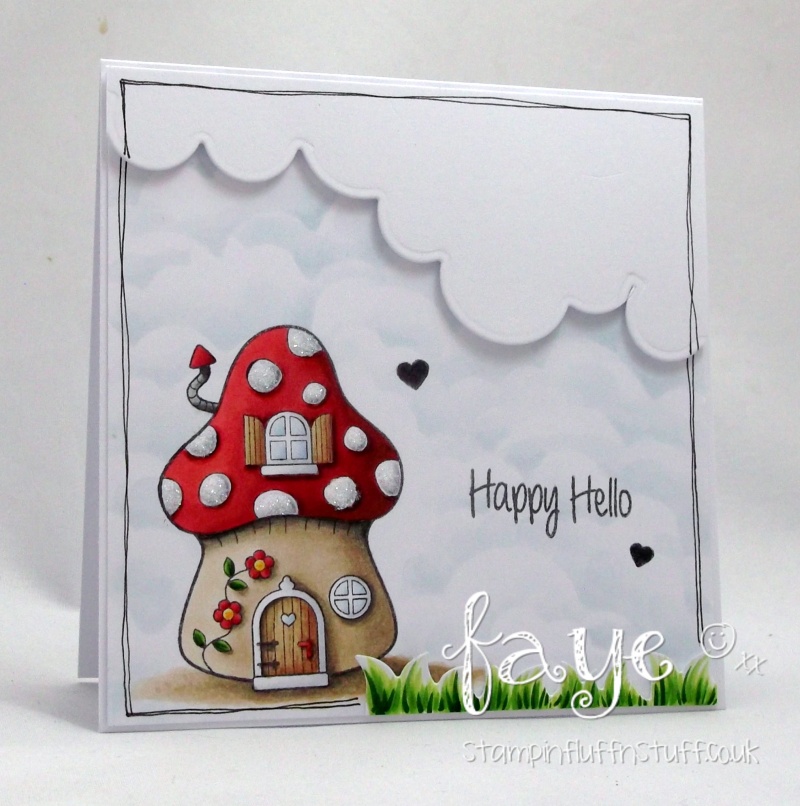
And finally, the card. I die cut a cloud for the corner, (attached with foam pads) and some grass, which I coloured with YG01, YG03, YG17, YG63 and YG67. I stamped a sentiment and some little hearts and doodled a border.
All done!
Thanks so much for stopping by… Have a great day.
Faye xx


This is super cute Faye.
They say, “Great minds, think alike”. LOL In my case it was desperation I think. I only own 2 cloud dies. I got them from a YNS order over a year ago and one day I wanted to do more with clouds. So I used a piece of acetate and partially cut them out, moving the die across it randomly to the other side. (Looks like yours only its acetate!) I used it exactly as you did here. Works great and I have it for future use. Thanks for sharing this and I LOVE the mushroom house!
Such an awesome cloudy sky, Faye! And your toadstool pops so wonderfully with your fabulous colouring!
Beautiful done. The toadstool comes out very good on this card!
Great background. Beautiful!!!!
Love this clouds technique, but I’ve never tried it with copics, looks great! Love the toadstool too, just adorable!
Can you tell me which YNS stamp set the toadstool is from please?
The toadstool is from Fairytale Friends stamp set :o)
Thank you! 🙂