Flip-It Fun Tutorial

Hello Your Next Stamp Fans!!

Kendra here, from Luv 2 Scrap N’ Make Cards to share with you how to create the fun “Flip-It” Card with our Half Circle Flip Die Set!

In my opinion this is a must have die!  It really creates a fun card!

It may look a little intimidating at first! Which is why I have created a tutorial for you to make it easy!

Just to let you know, I am also working on a second part to this series!!  First I wanted to share how to create a Flip-It card!  My next tutorial I am going to share another fun card design to change it up a little!  Another use out of this awesome die!!

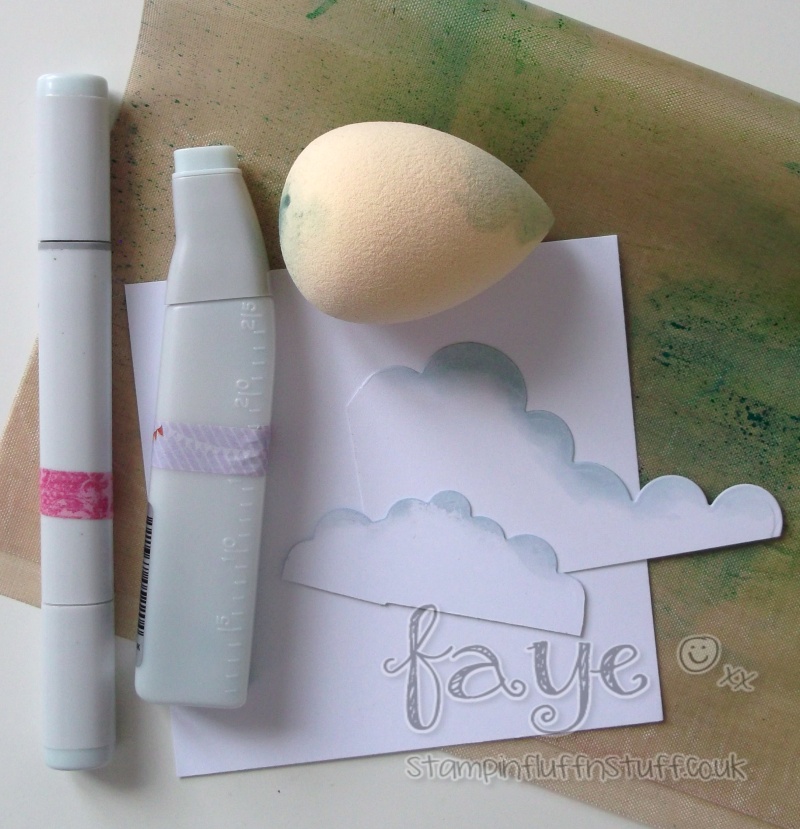
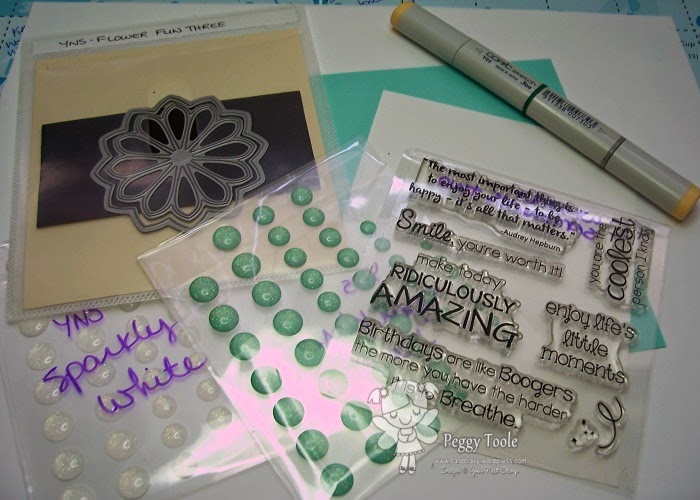
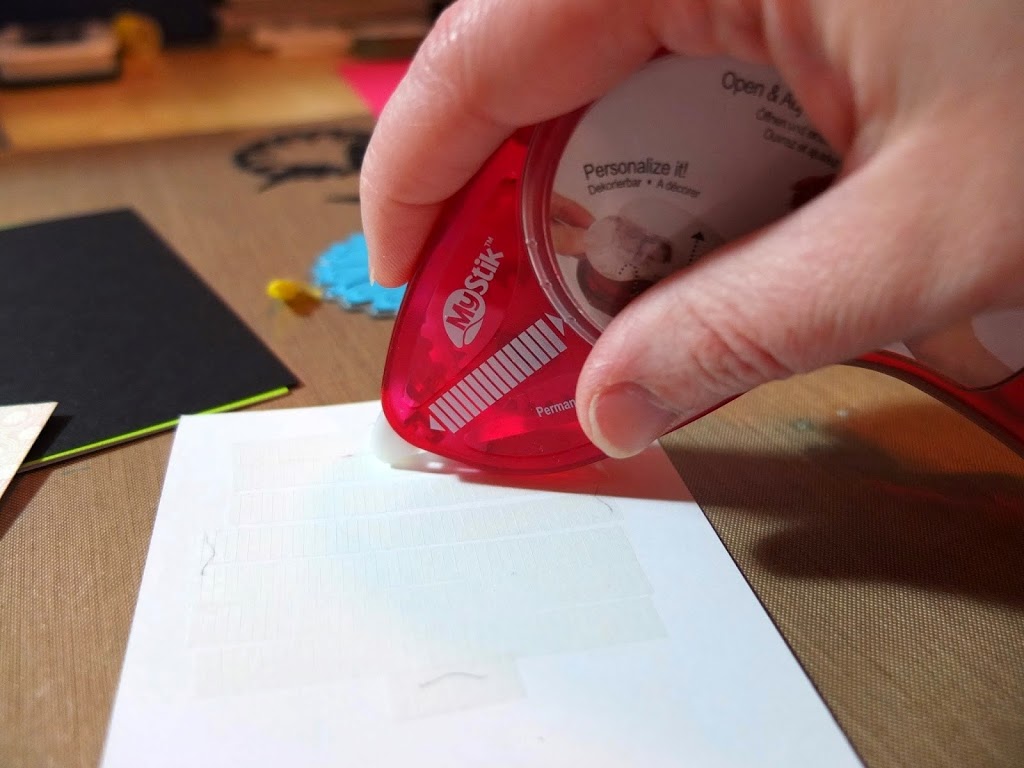
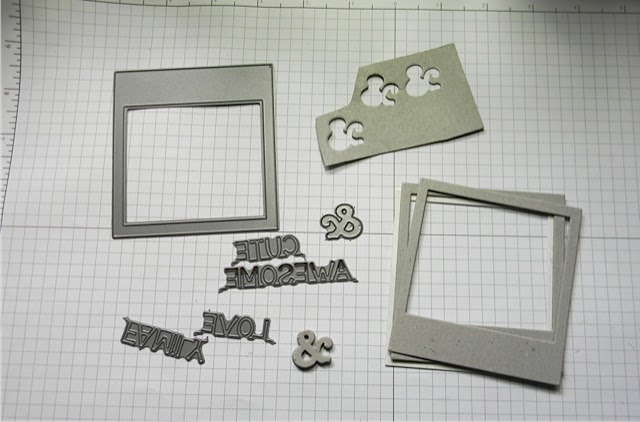
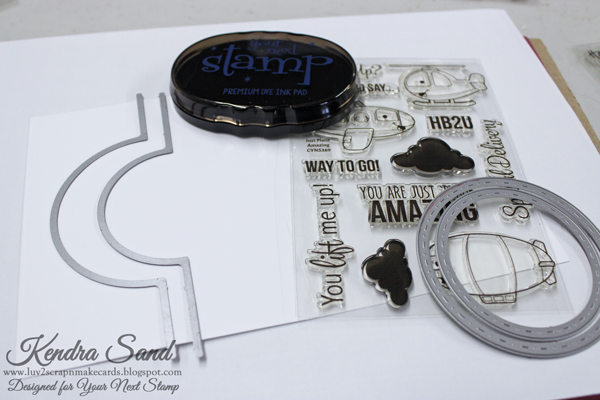
Here is a look at a few supplies I quickly grabbed to get me started:

1

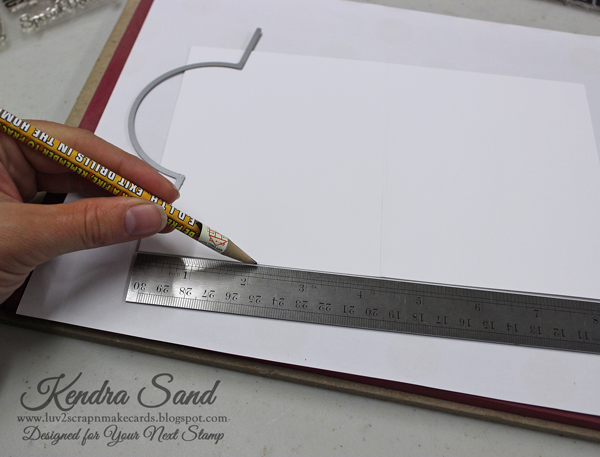
Start by creating a A2 Card base (8 1/2″ x  5 1/2″), scored at 4 1/4″.

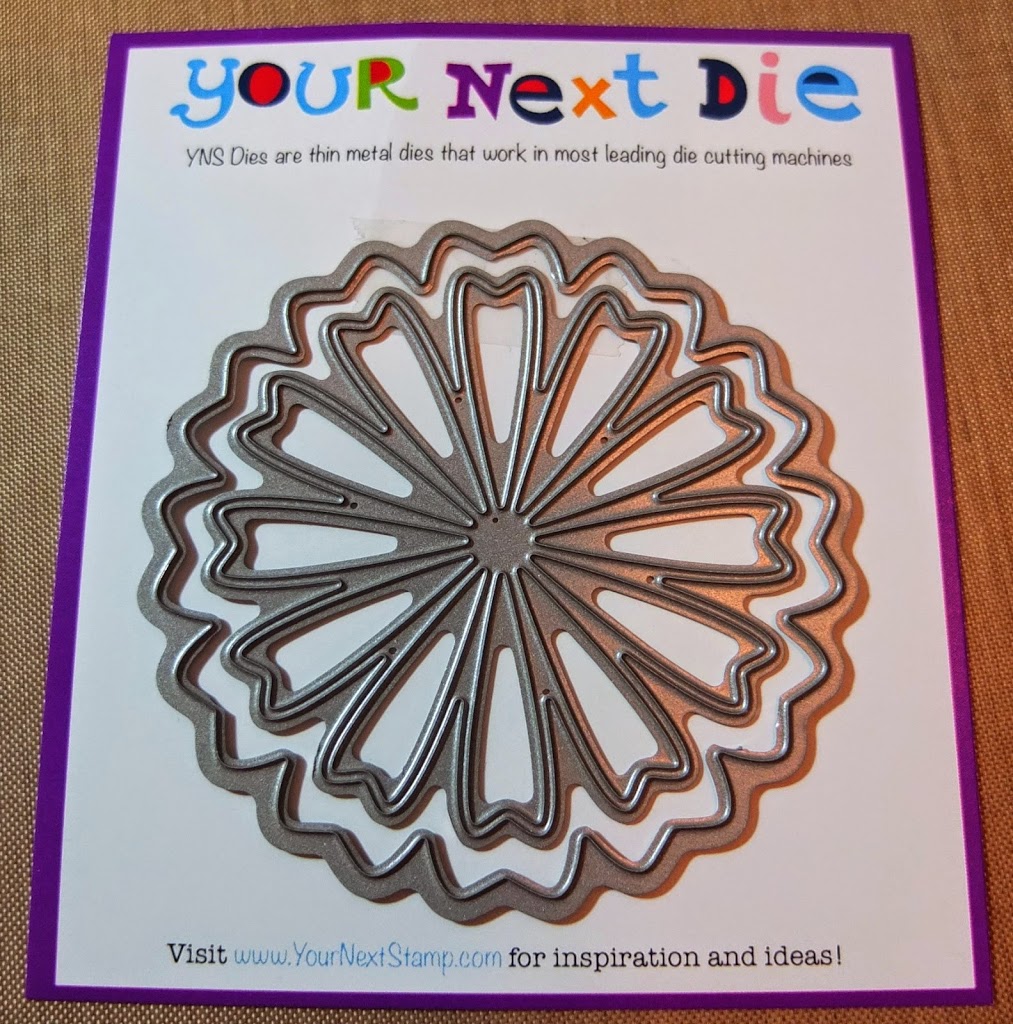
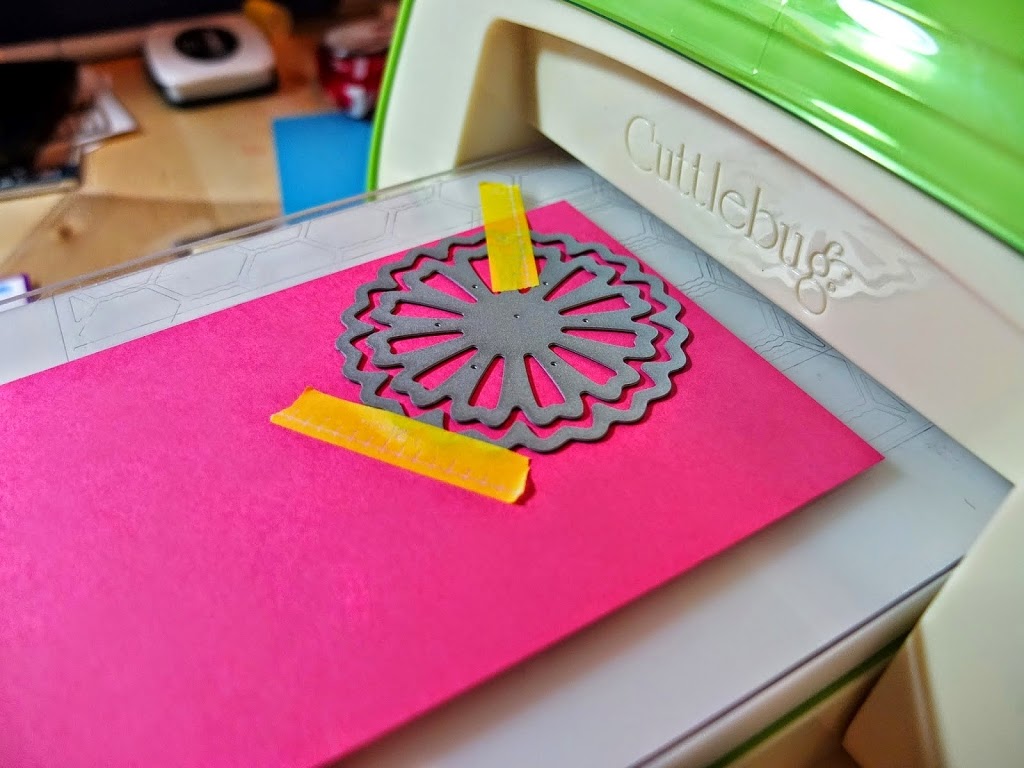
I decided I was going to use the larger of the two dies from the Half Circle Flip Die Set to create this Flip-it card!!  As my sentiment and image I want to work with will work best with this size!  I’ve also used the awesome Circles with Stitching and Piercing Marks Die Set!  As these circles work so well together with the Half Circle Flip Die Set!

Lay down card base and find the center of the left half of the card base, which is 2 1/8″.

2

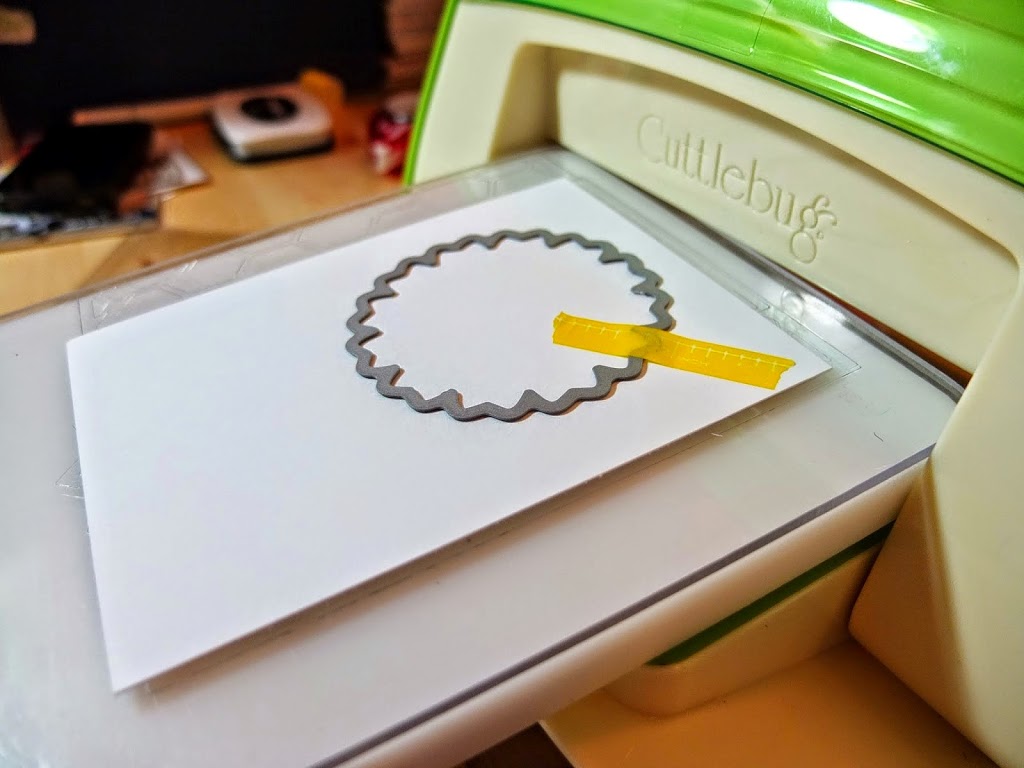
Place the card base and die in your die cutting machine.  Place the die just over the marks you created, with the circle facing to the left.  Position the die evenly from top to bottom as well, unless you want the circle position more to the top or bottom.  I am trying to make it as centered as possible.   Feel free to use a little painter’s tape or post-it note to keep the die in place. I have magnetic platforms, so I normally don’t use them unless I think I need to.

3

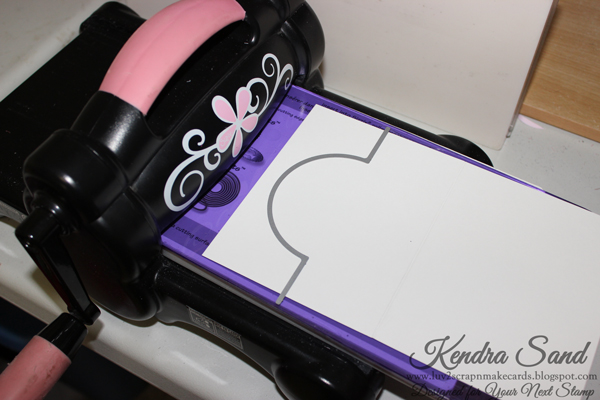
You are then ready to run in through your machine.  So exciting!!

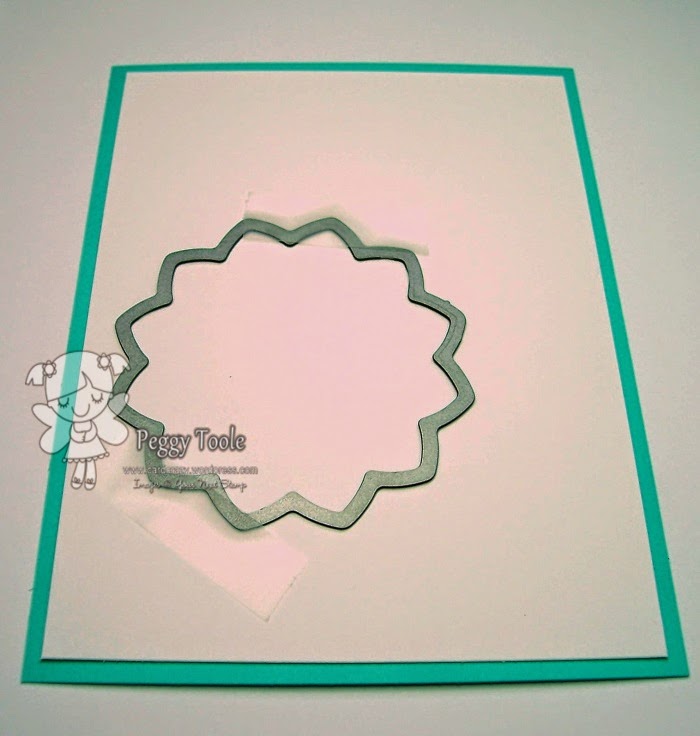
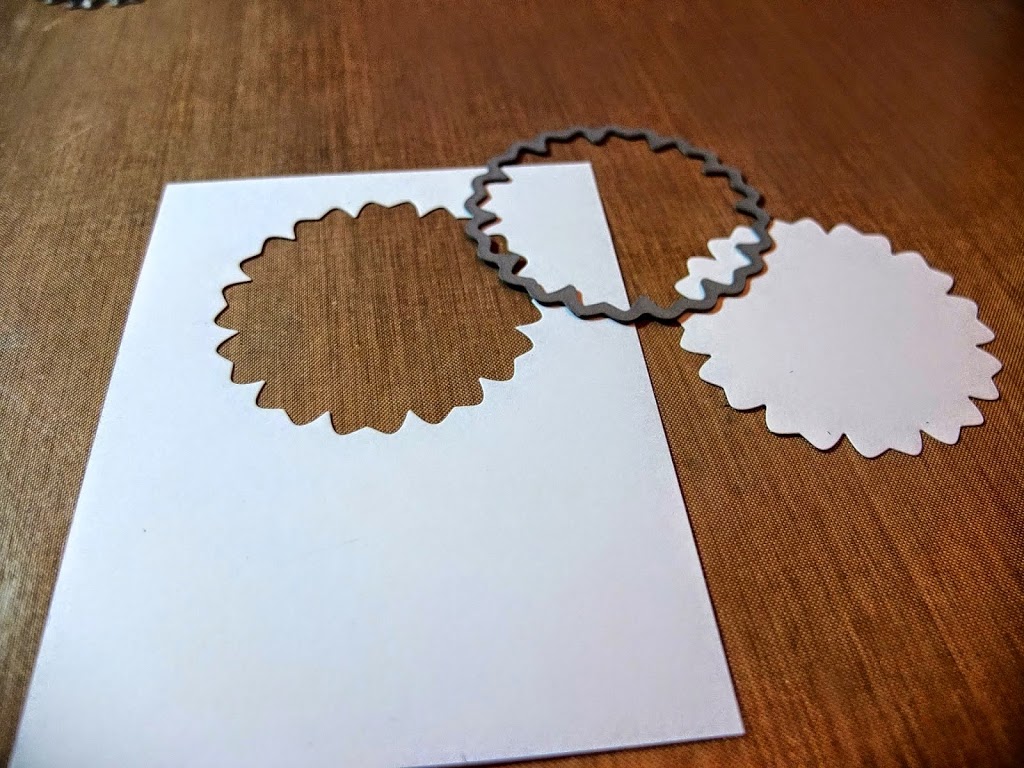
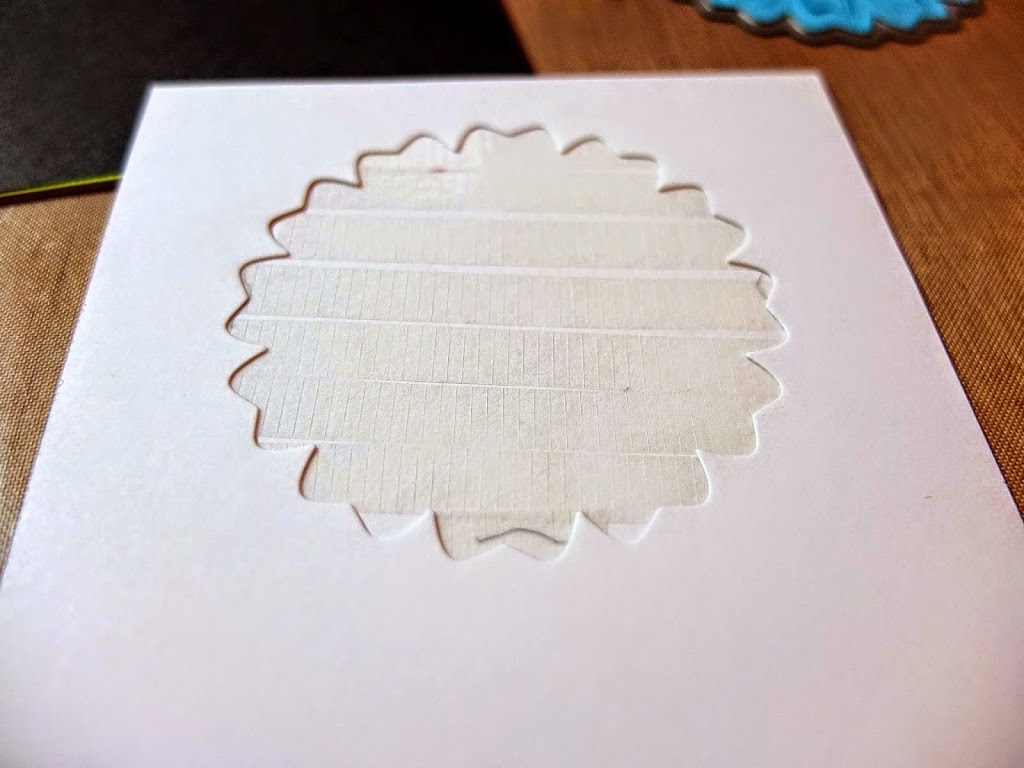
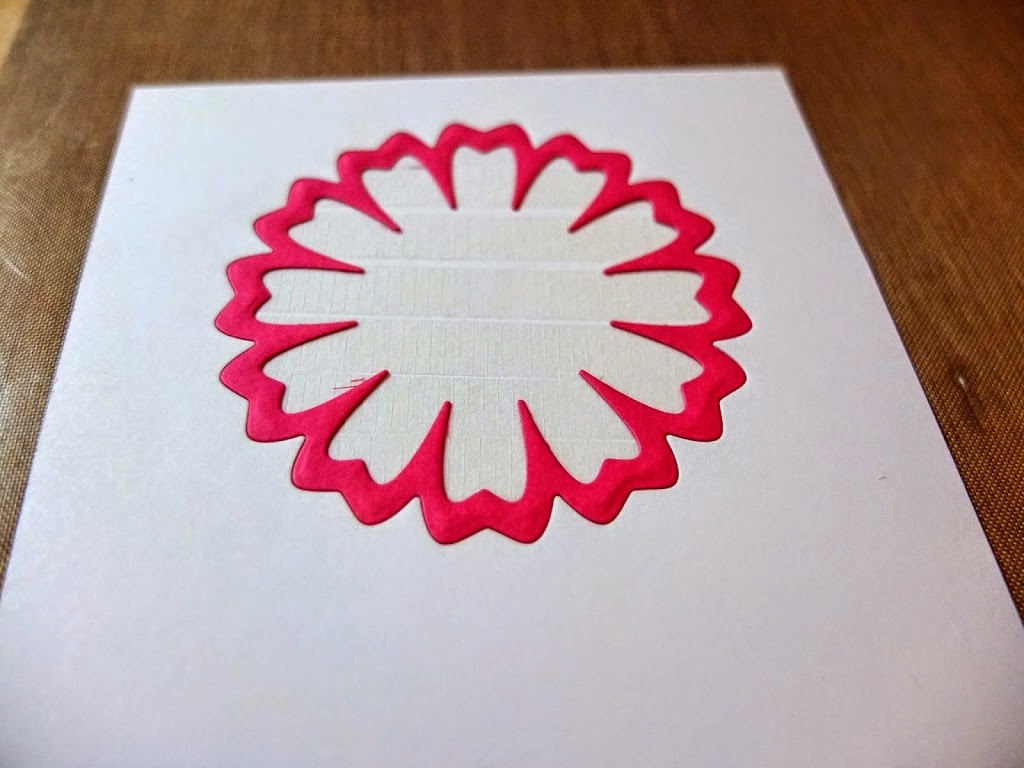
It will look like this:

4

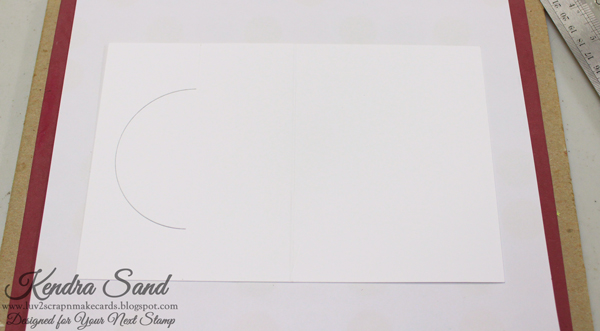
Now fold along the center score line, just like it was a normal card.

5

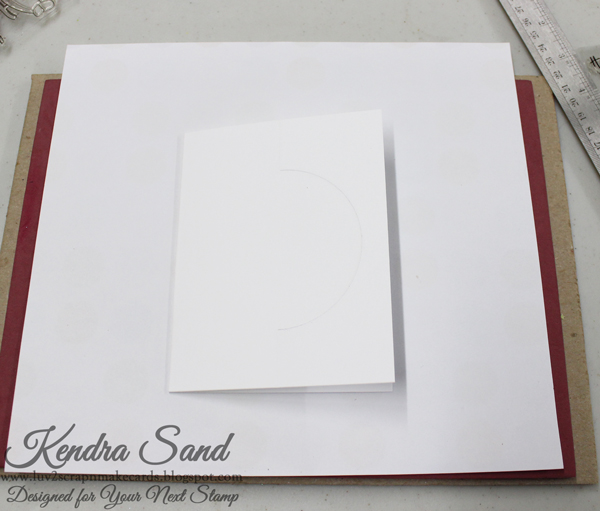
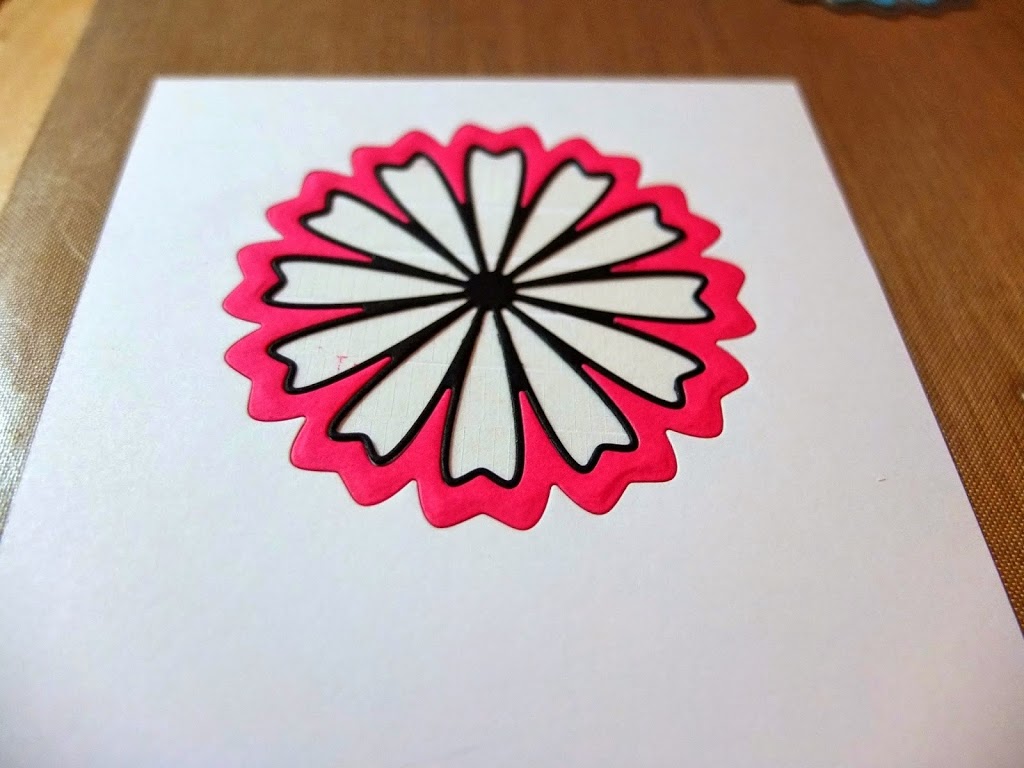
Lastly carefully fold the right  most section over to the left along the score lines the die created!  Should look like this:

6

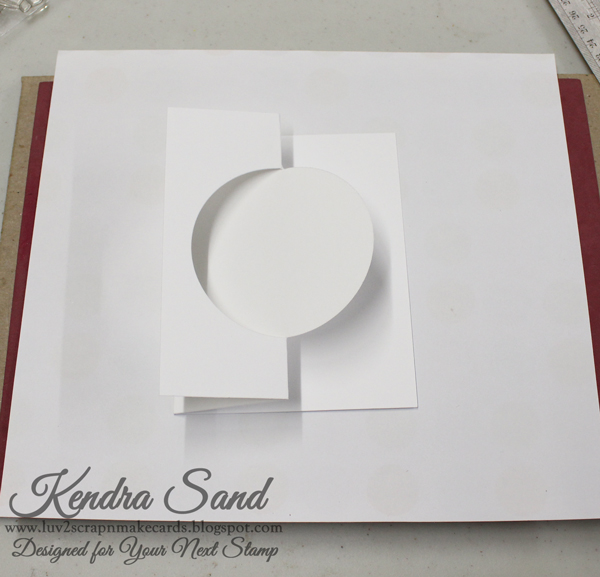
YAY!!  You just created a Flip-It Card base!  How exciting and so much fun!

The Half Circle Flip Die Set really is great for making creating this card design so fun and easy!!

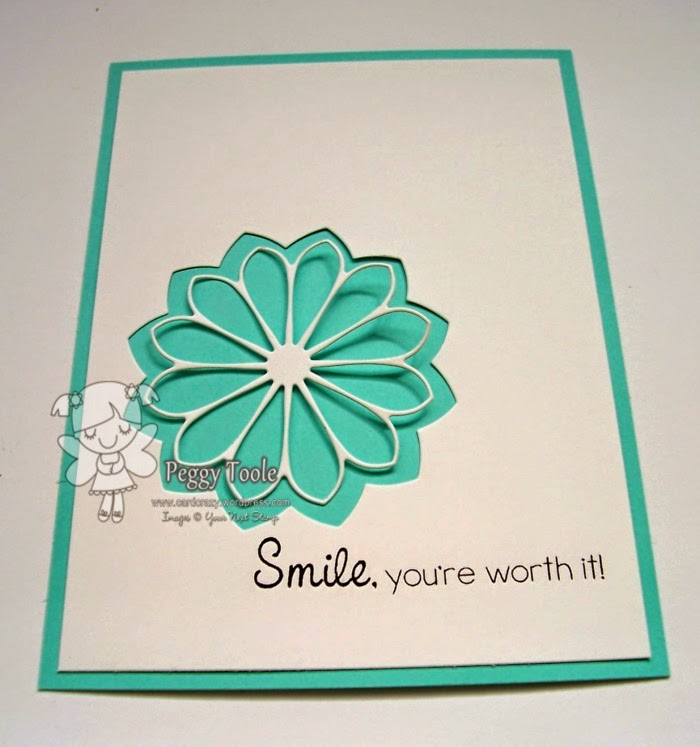
You are now able to embellish the card to your liking!!

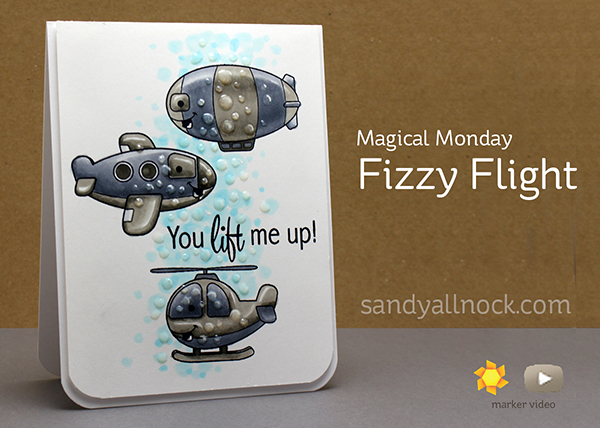
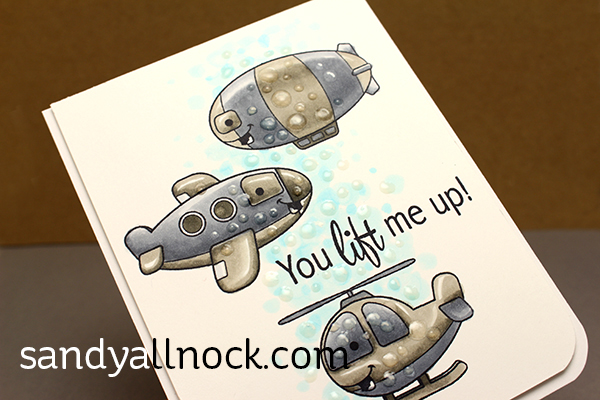
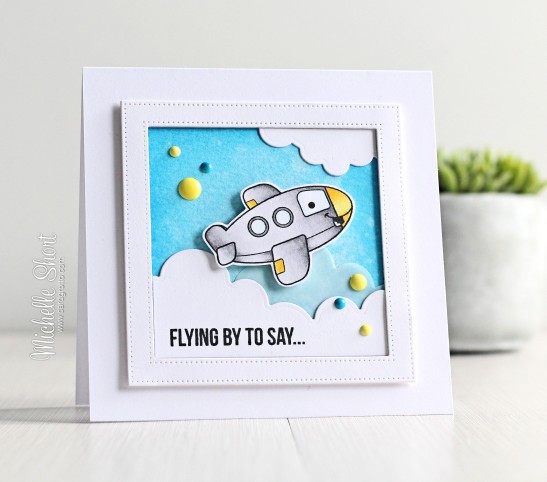
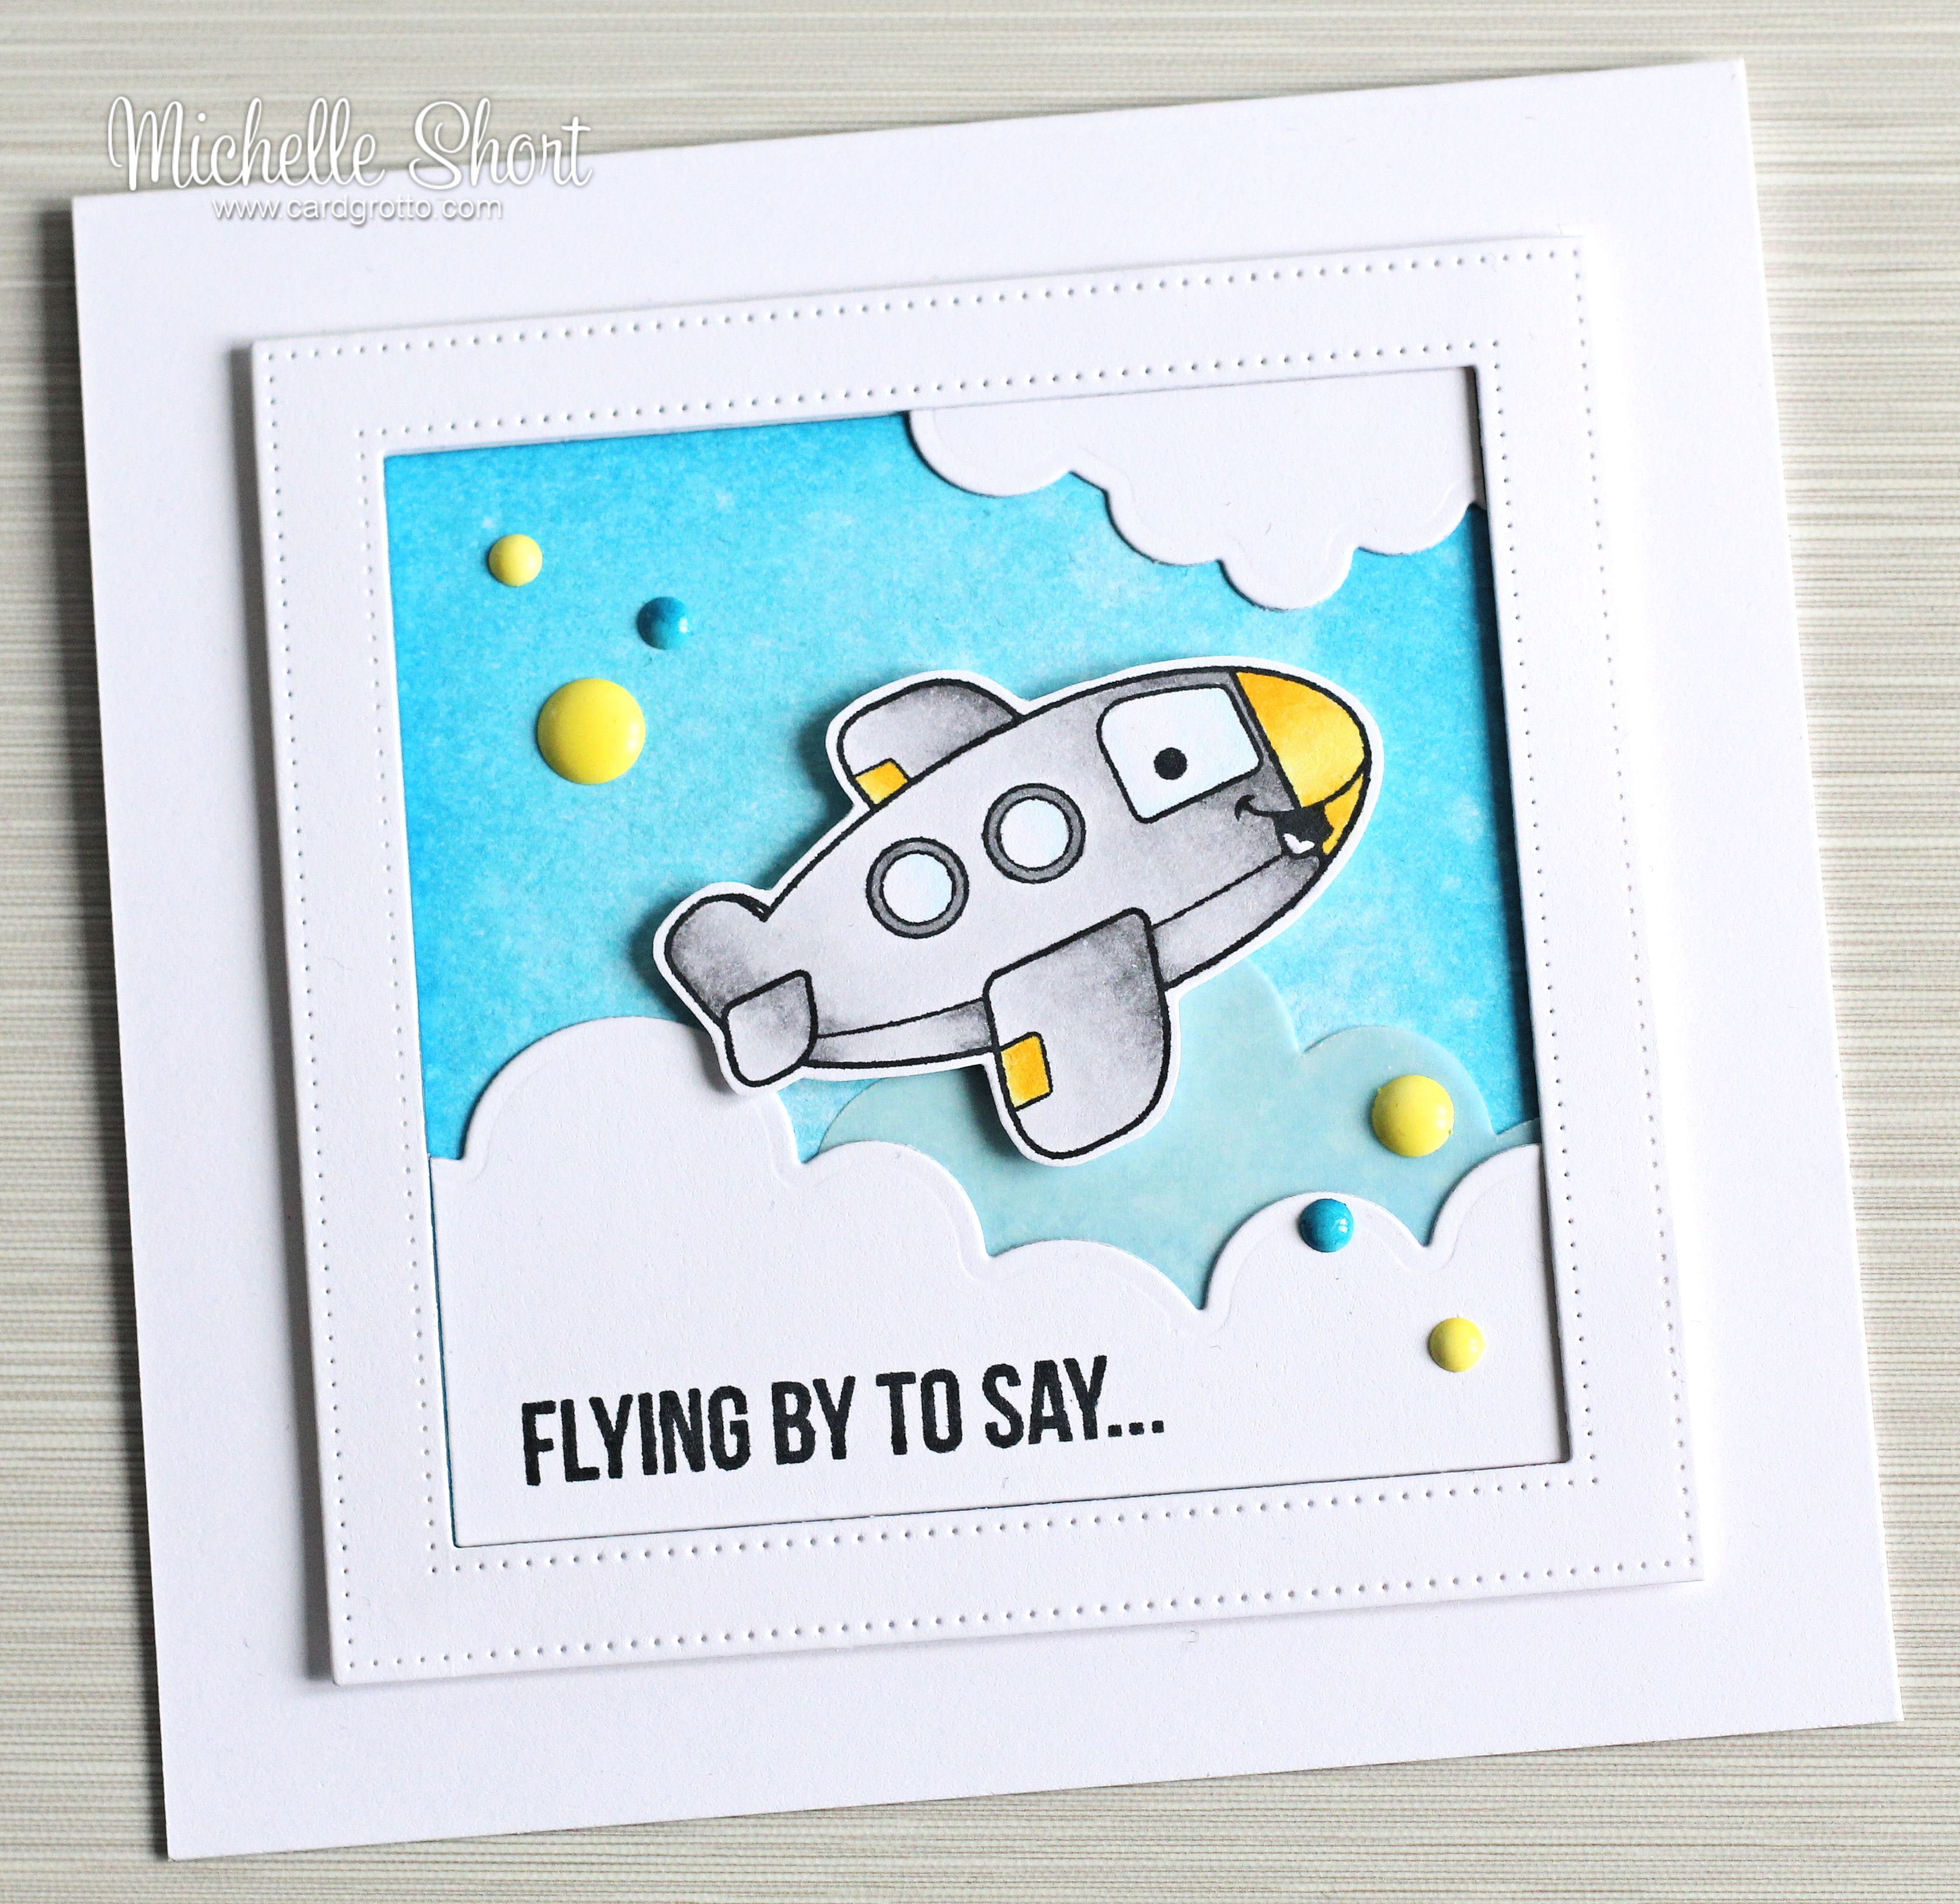
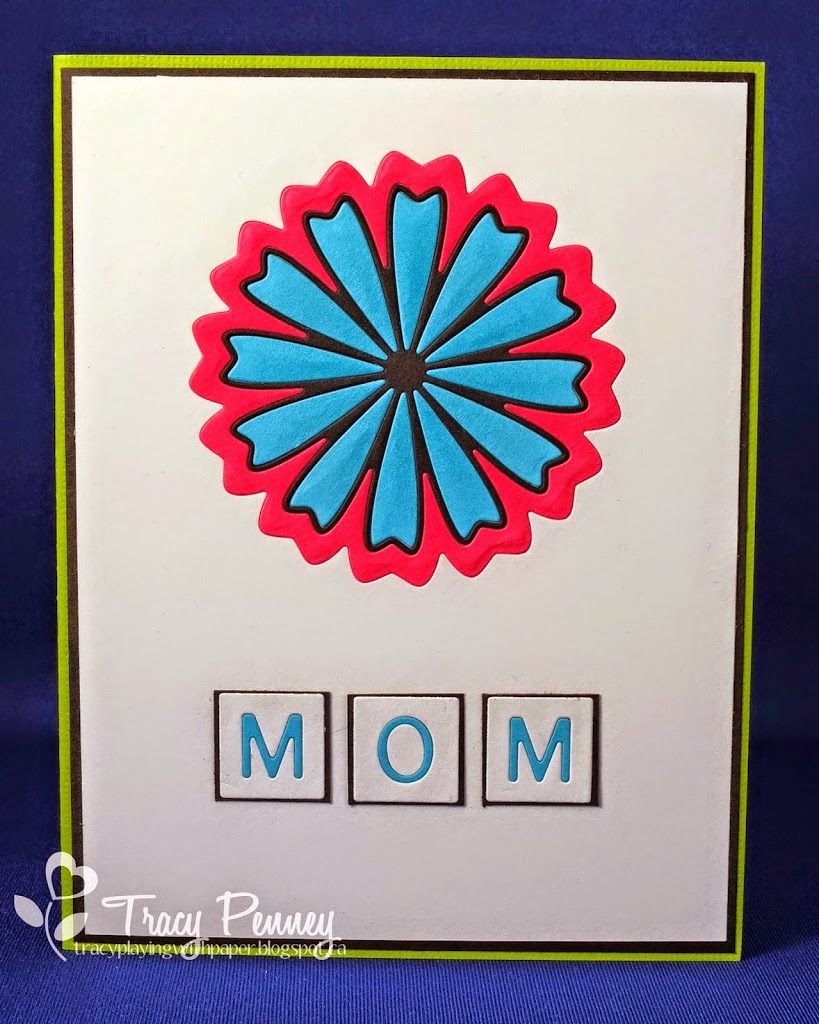
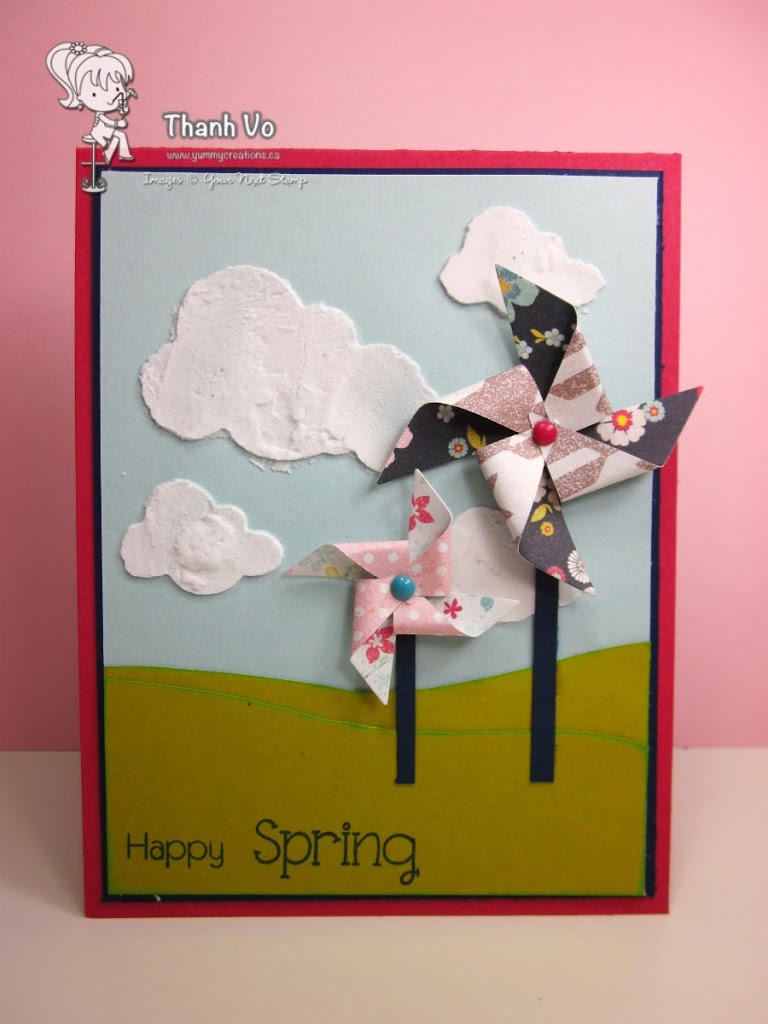
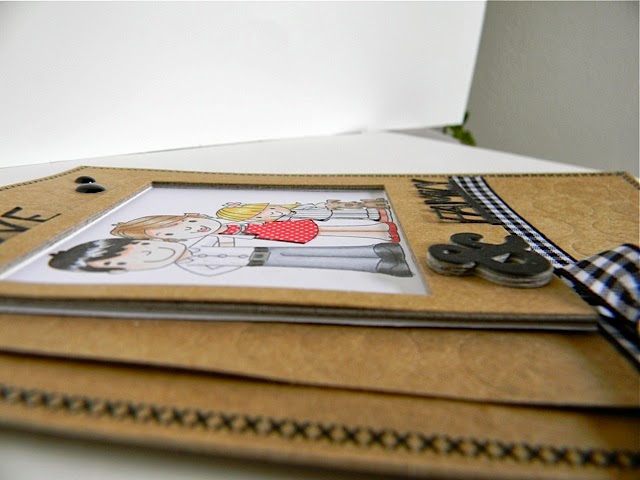
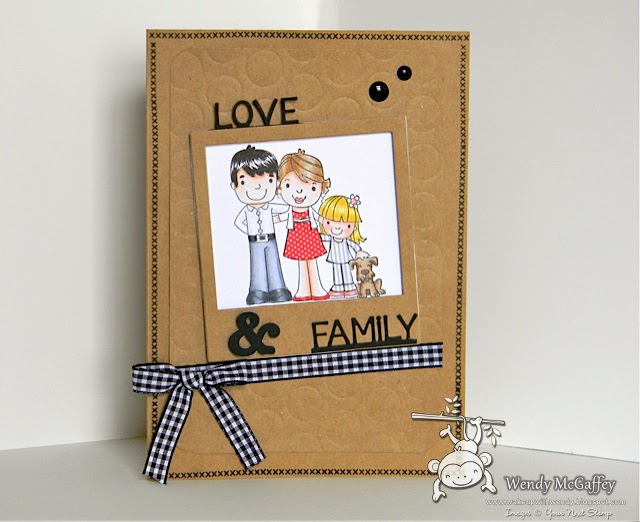
Here is my finished card:

flip-itplane

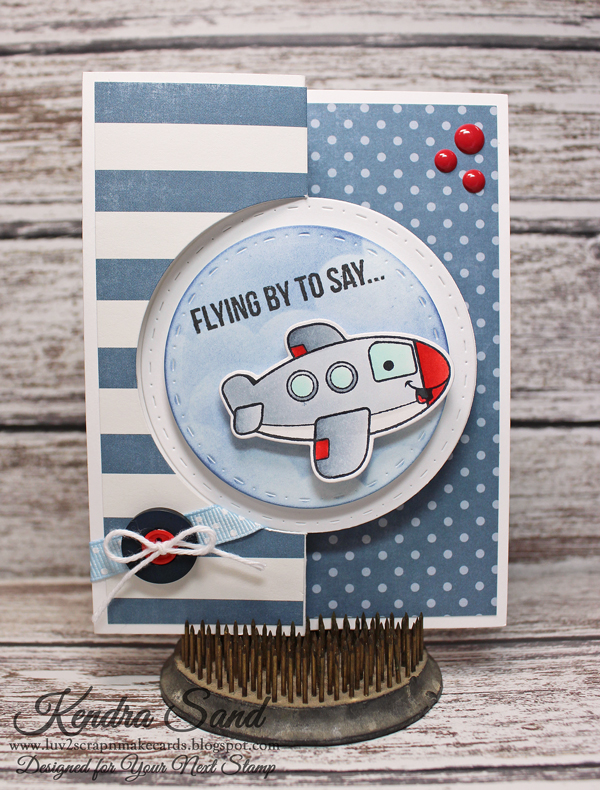
How fun!!  I used the adorable Just Plane Amazing stamp set for the sentiment and plane!!  As well as the coordinating Just Plane Amazing Die Set to die cut the plane, in which I then used pop-dots to adhere to the circle.

To get the striped piece of paper, I simple ran the die through my die cutting machine on the pattern paper, I then trimmed three of the edges slightly (but did not trim anything on the right side)!

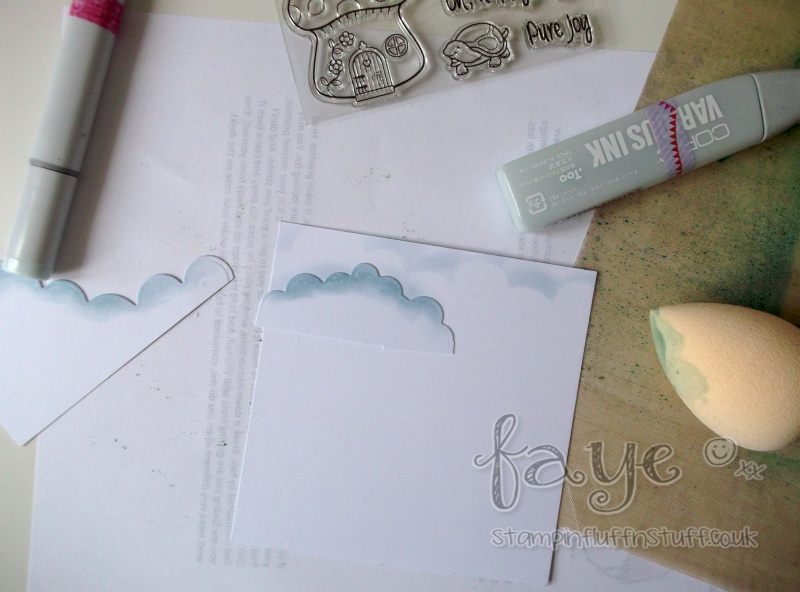
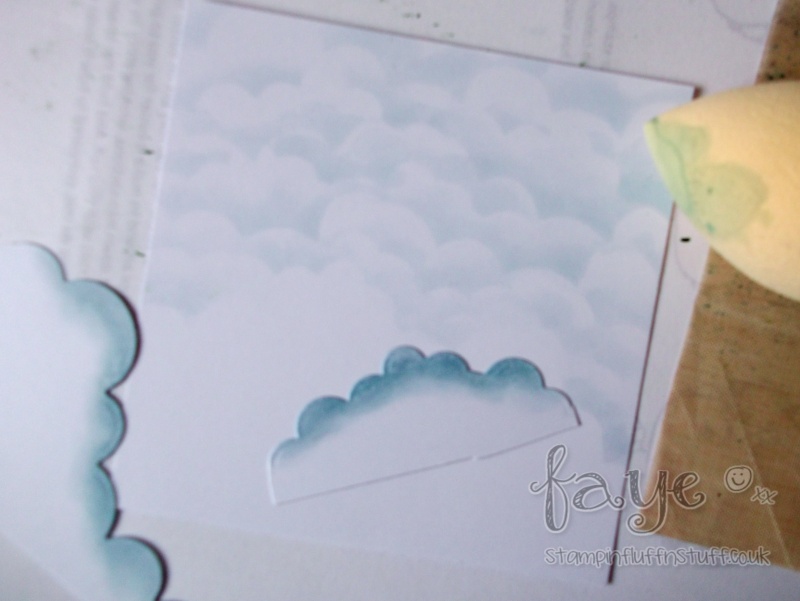
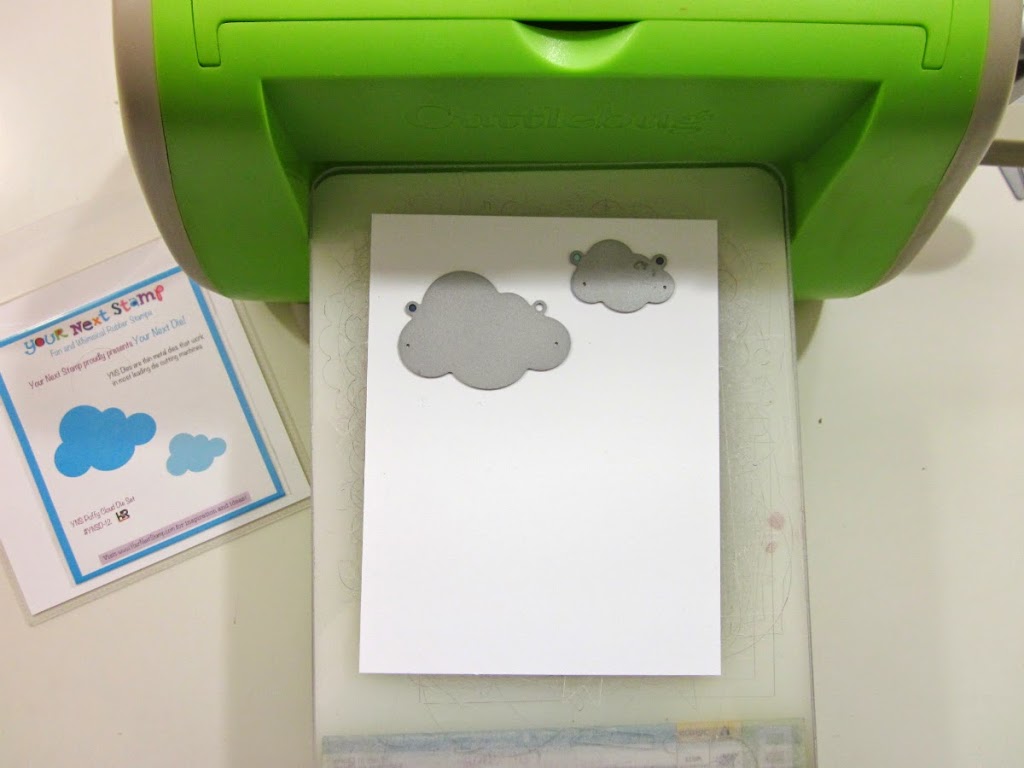
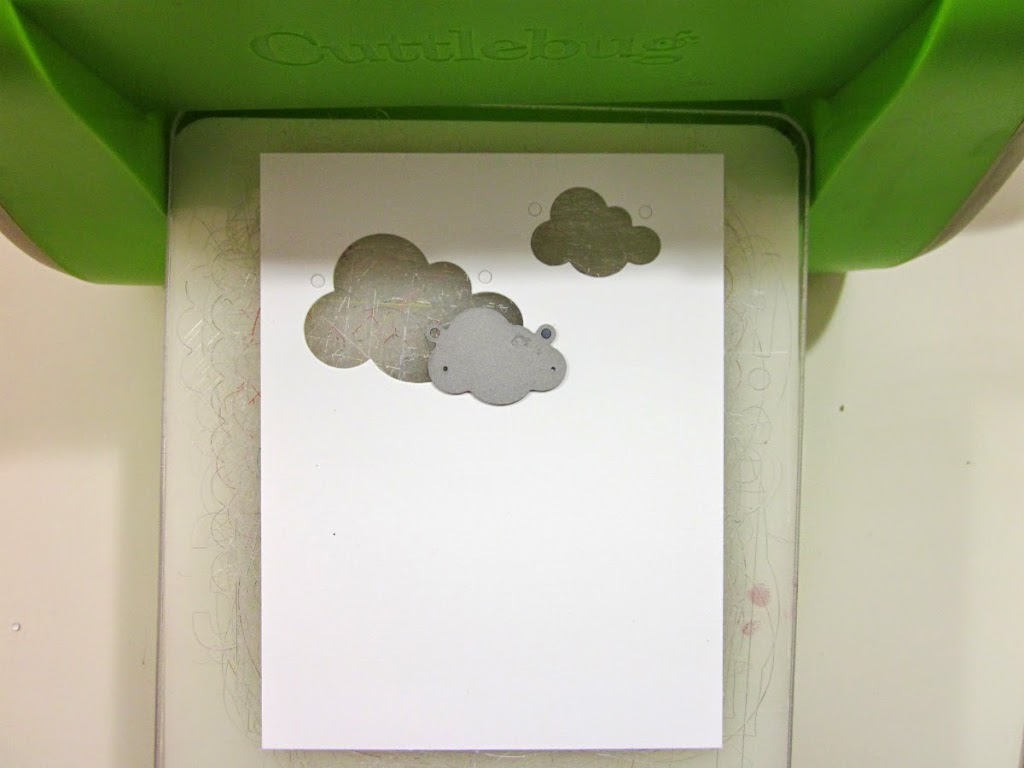
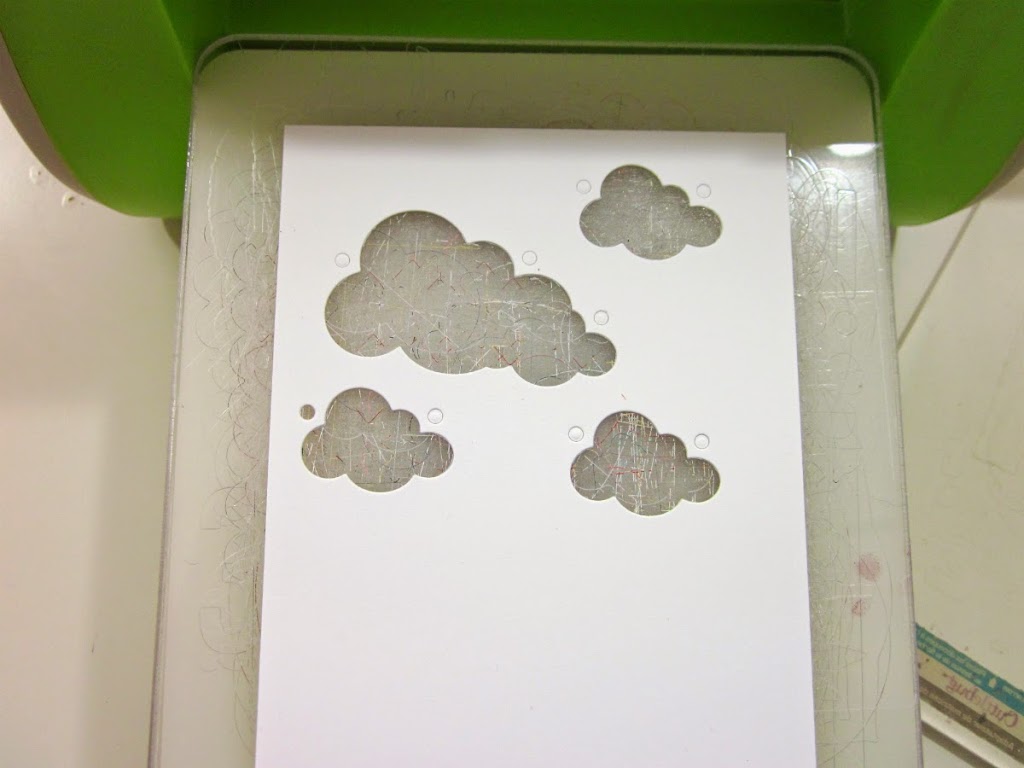
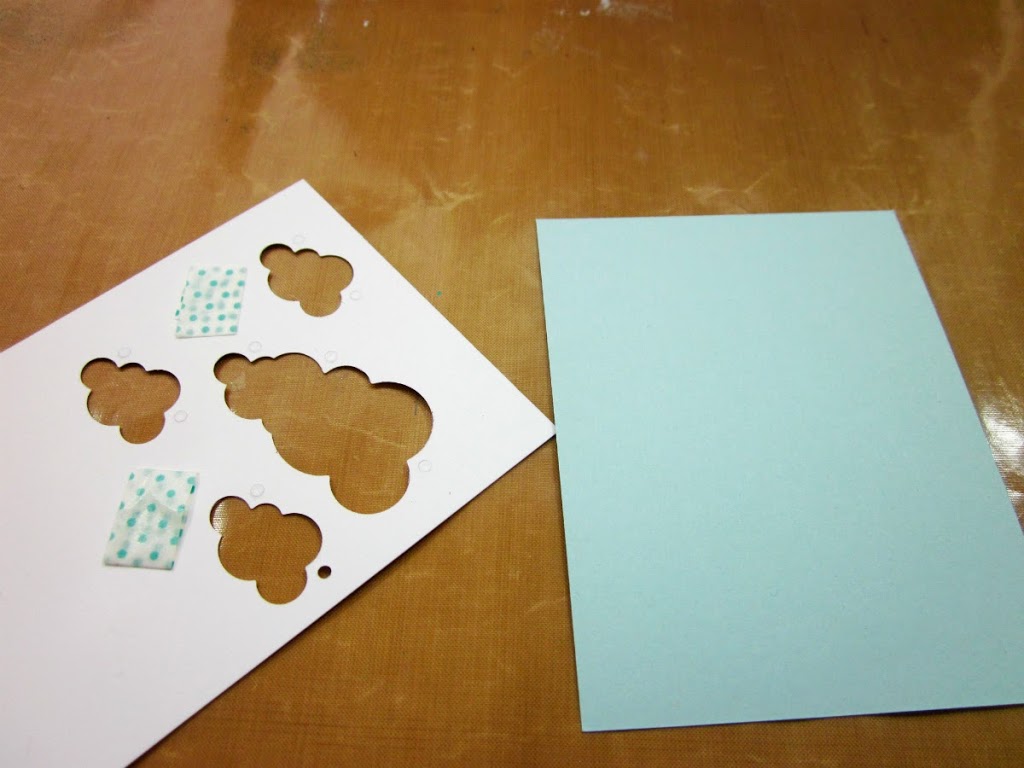
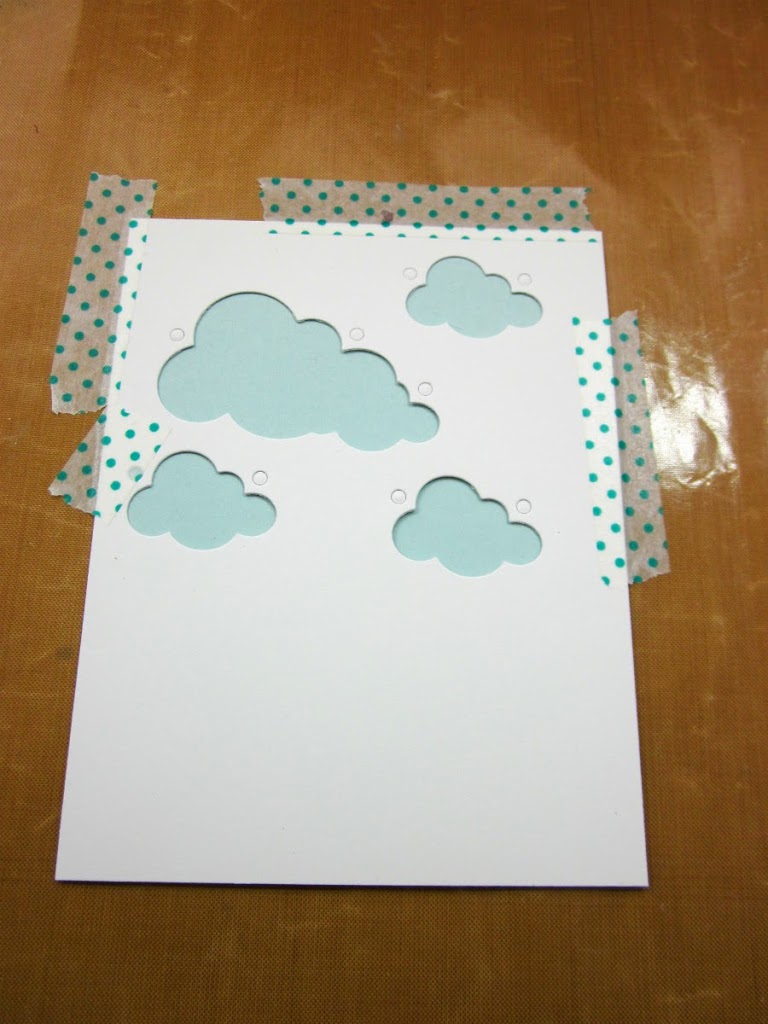
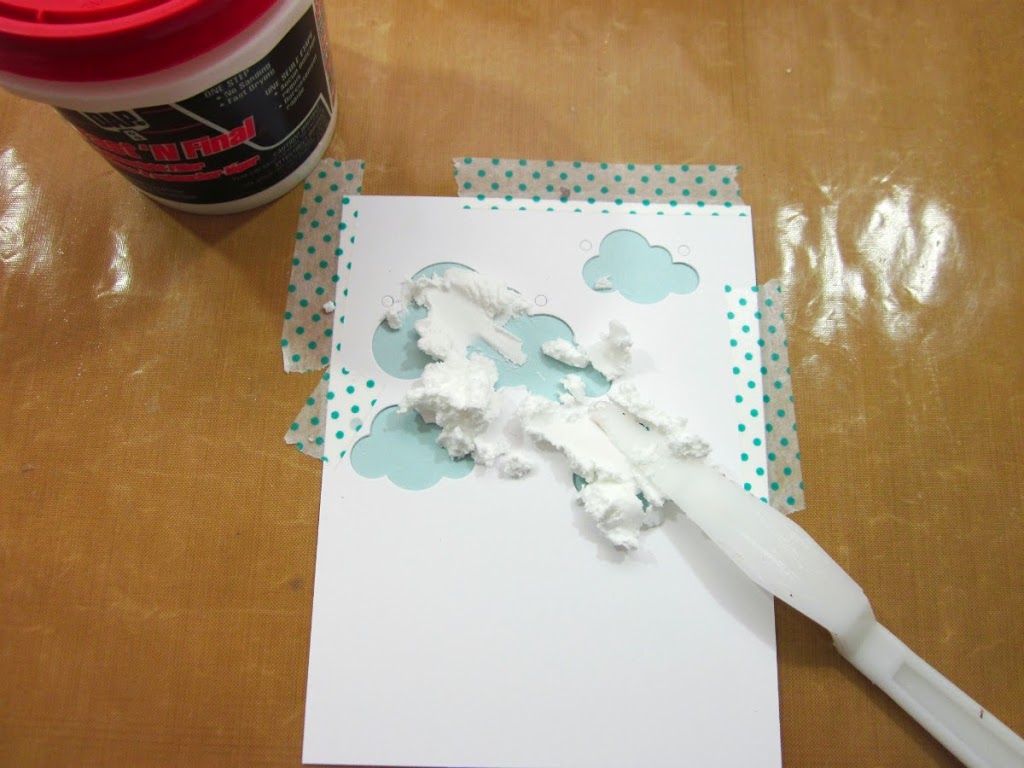
Here’s a glance at my in process work of creating the clouds on my die cut!

7

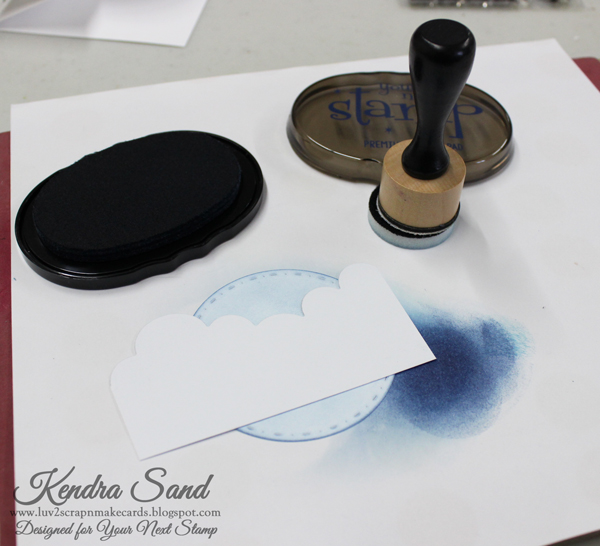
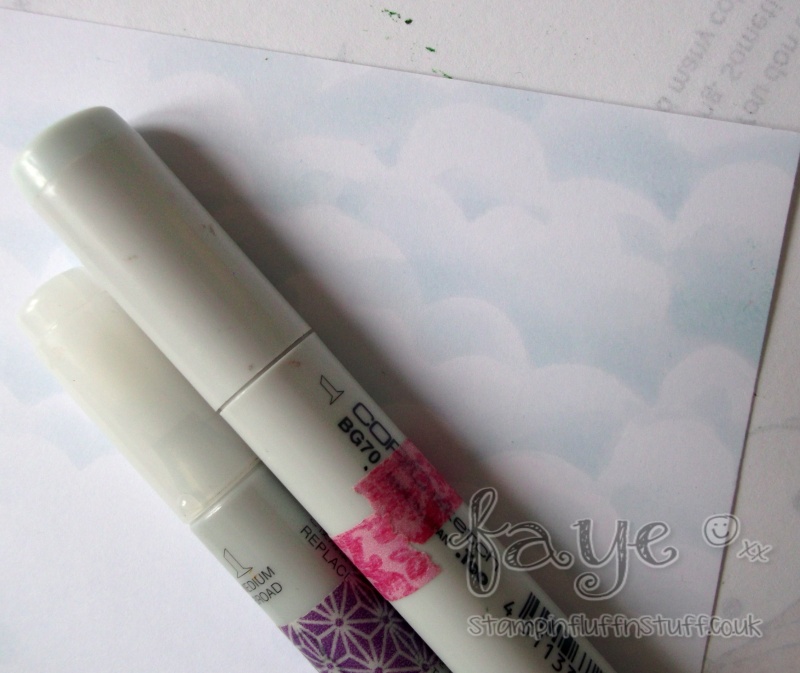
I used the Puffy Cloud Border Die Set and die cut one of the clouds to use as a mask.   I then used the Blueberry Breeze to add ink to the circle in circular motions.  I moved the mask a few times.  I really like how it turned out!!
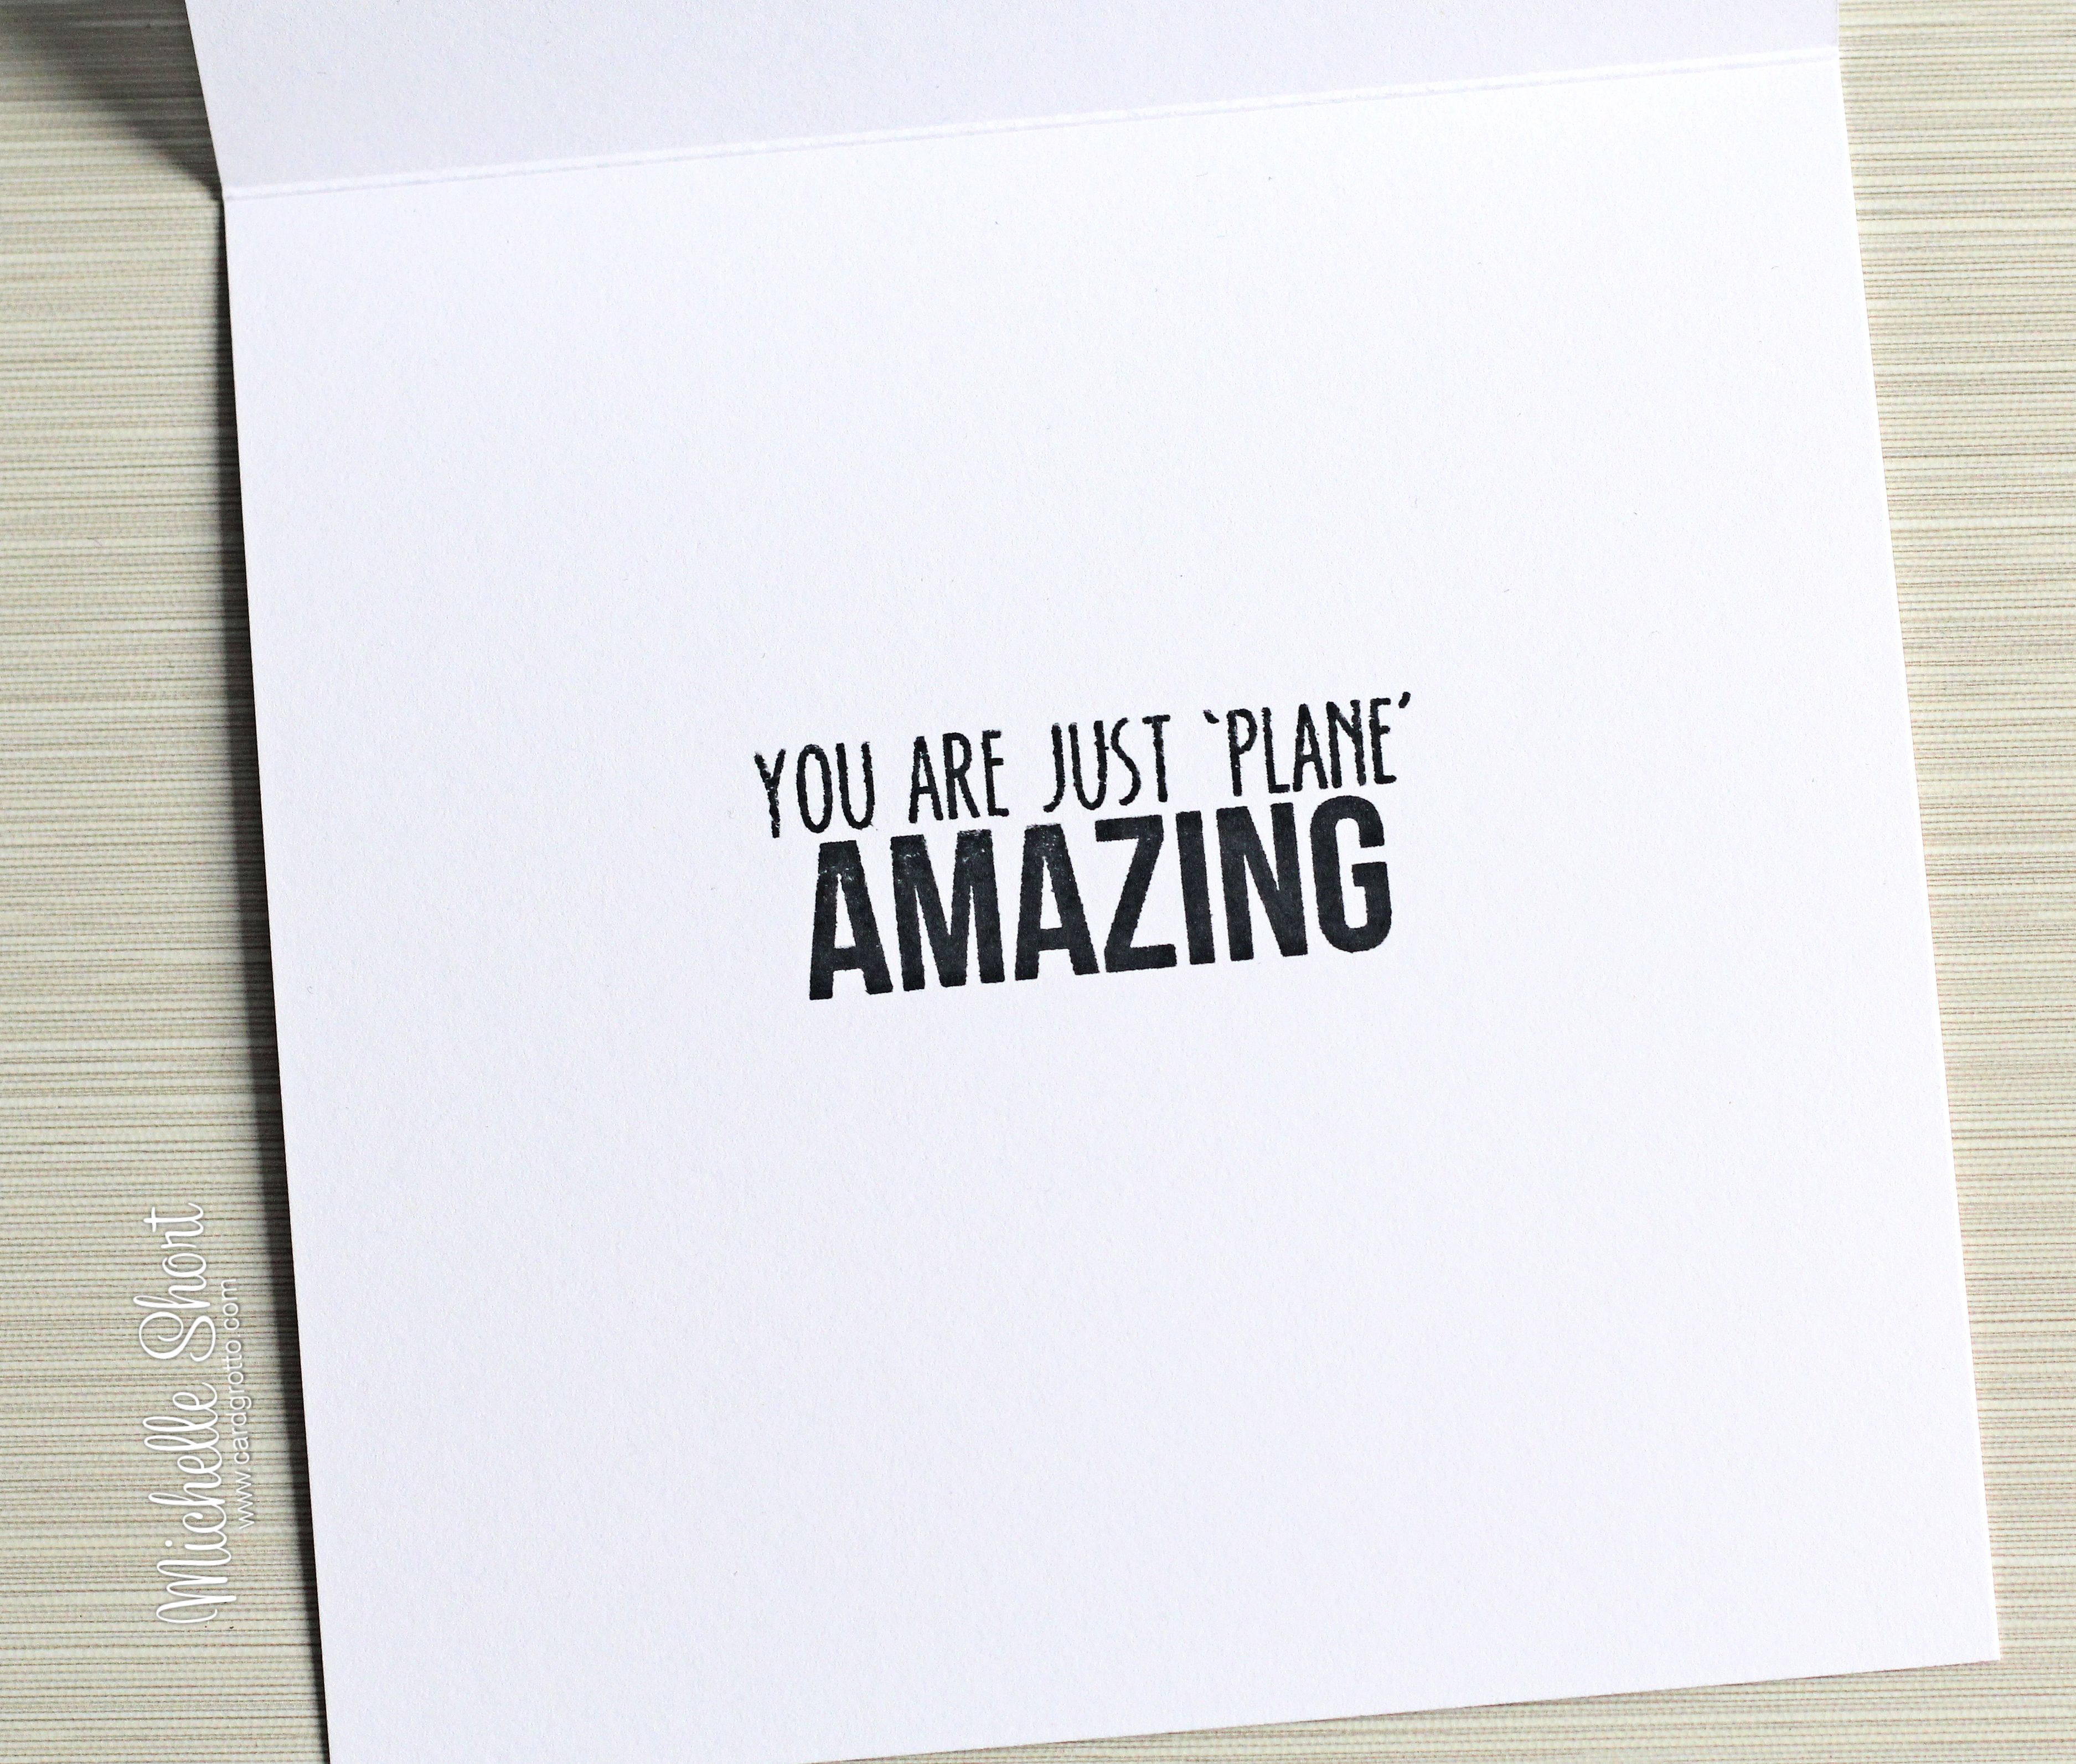
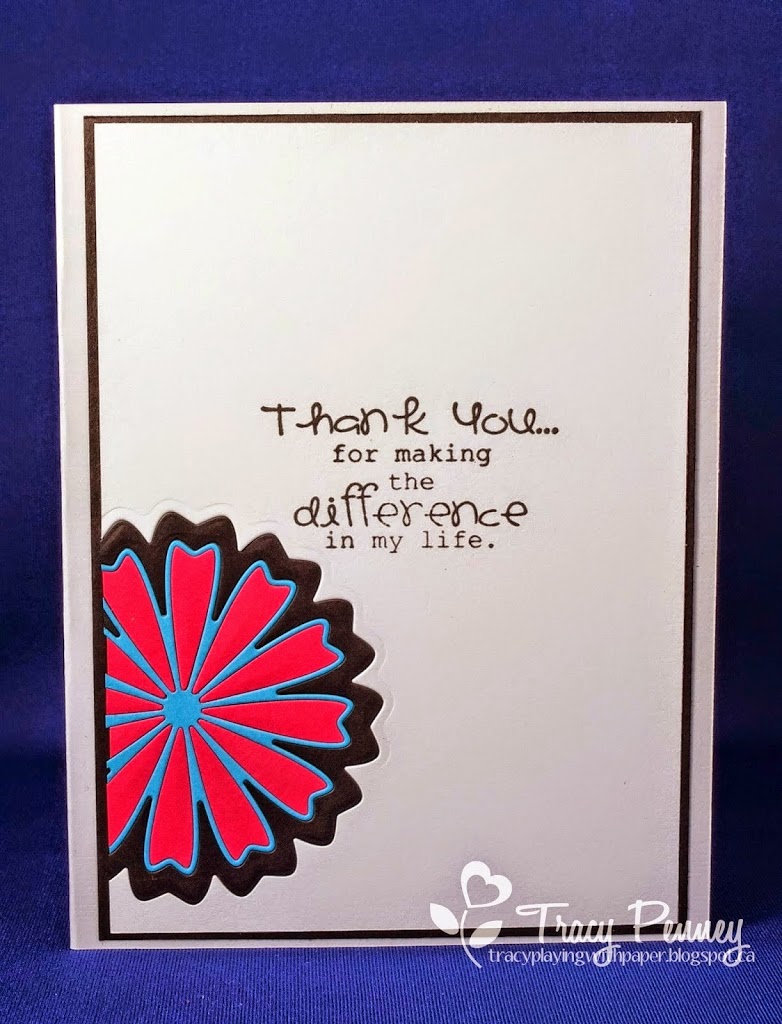
Opened up:

flip-itplane2

On the inside I stamped two clouds also from the Just Plane Amazing stamp set and also added the large “Happy” in Holly Berry Red Ink and “birthday” in Black Olive Ink from the awesome Happy Everything stamp set!!

What a fun design!!

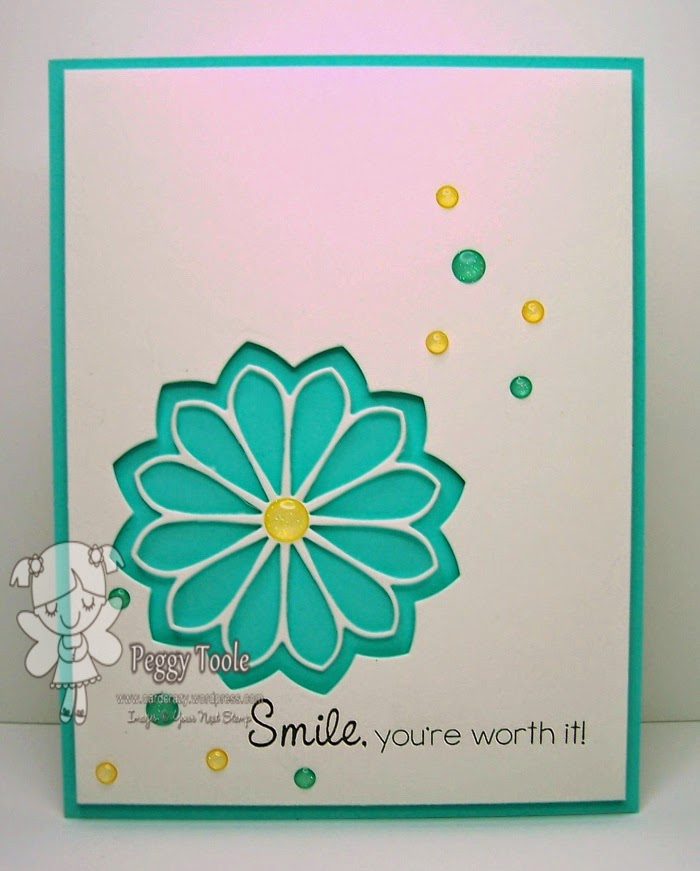
I finished off this card by adding some lovely Gumdrops!!  I just love those embellishments!!

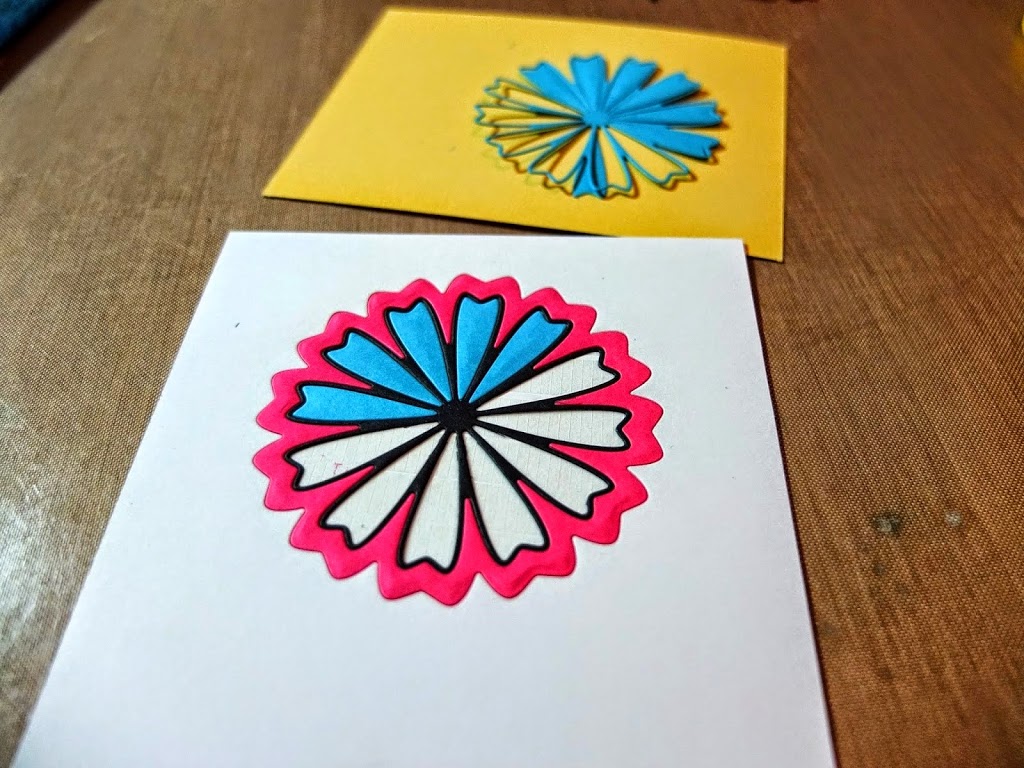
I created this card when the die was first released:

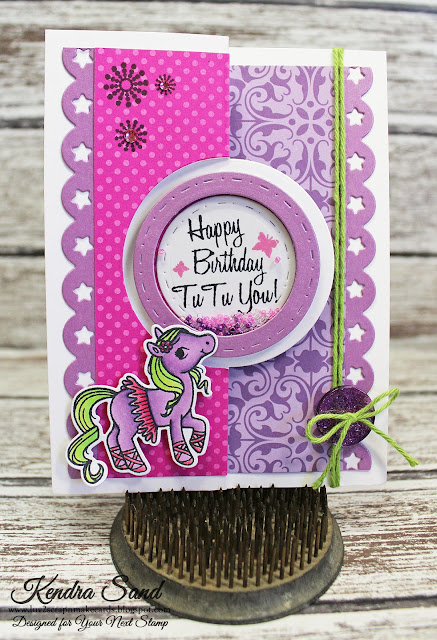
This card used the smaller of the two dies from the Half Circle Flip Die Set!

I hope I have helped you see how fun and easy it is to use this die!!  You’ll love it!!

Happy Crafting!!!

FacebookPinterestTwitterEmail

Clouds with Special Guest Faye Wynn-Jones

 Hi Everyone, it’s Faye Wynn-Jones here and I am delighted to be posting at Your Next Stamp today.

 I thought I’d share a little cheat I mess around with from time to time…

It all started with clouds. I love clouds. But, they are something I have to really think about colouring to get right. And sometimes, I just want quick clouds! I also like looking at techniques that have been done with other mediums and working out how I can achieve the same thing with my Copic supplies.

So, clouds. What do we need?


one

Cardstock trimmed down to the size you want to cover (mine measures 11cm square)

Craft Mat

Make Up Sponge

Suitably sky coloured Copic Re-Inker (I used BG70)

Copic Marker in the same colour as above

Die Cut Clouds (mine are done on scrap card)

two

Place a small amount of Re-Inker on the craft mat and dab the make up sponge onto it, to pick it up. You do need to work fast here, as the ink dries fairly quickly on the sponge. I also only place a small amount of ink at a time on the Craft Mat, for the same reason.

Starting at the top of your square of card, place your die cut where you want it and dab the make up sponge along the edge of the die cut. The first time you do it, you will have more ink on your sponge, so press gently! You will need to apply more pressure as the ink starts to dry.

three

Work your way down your piece of cardstock, moving the die cut clouds around and switching between the two sizes. I left a rough, small circle area clear, in the bottom left of my card to stamp my toadstool in. I was happy to do this by eye, but you could stamp the toadstool first and mask it. 

four

When I have finished dabbing my clouds on, I go back into some of the cloud creases and add a little extra colour with my Marker. I dot the colour in with a fairly light touch, and return to add more if I want to increase the colour even more.

five

Now it’s time to stamp and colour the toadstool. I used the following Markers…

Toadstool Stalk; E41, E42, E43, W3, W5

Ground; E41, E31, E33, E43, W3, W5

Wood; E31, E33, W3, W5

Window Panes; BG70, B91

White; C0, C1, C3

Yellow; Y13, Y17

Grey; C3, C5, C7 

Red; R14, R24, R29, E09

six

And finally, the card. I die cut a cloud for the corner, (attached with foam pads) and some grass, which I coloured with YG01, YG03, YG17, YG63 and YG67. I stamped a sentiment and some little hearts and doodled a border. 

All done!

Thanks so much for stopping by… Have a great day.

Faye xx

FacebookPinterestTwitterEmail

Fizzy Flight with Special Guest Sandy Allnock

Hi Everyone!

We are getting the week off to an inspiring start with a special coloring post featuring the work of Sandy Allnock!

selfiefull

Sandy is an artist with amazing coloring skills, who also teaches.  Her creations and tutorials can be found on her blog – Sandy Allnock,  You Tube channel  and through her classes, which are offered both online and in person

Sandy worked some of her coloring magic using the stamp set Just Plane Amazing and created a card she has named “Fizzy Flight”.   We are thrilled that she also created a video to give you more insight in how to go about creating your own fizzy flight bubble effect.

SandyAllnockMagicalMondayFizzyPlanes


SandyAllnockFizzyPlanes

______

Thanks for stopping by today!

-Julie and the YNS Team

FacebookPinterestTwitterEmail

Flying By Video with Michelle Short

This month we have a special guest who is sharing a card making tutorial video with us.   Say “hi” to Michelle Short.  

Michelle’s You Tube channel The Card Grotto features tutorials, reviews, hauls and card making videos.

michelle

Blog:  The Card Grotto      You Tube Channel

Michelle prepared a special video showing how to create this wonderful card featuring the stamp set Just Plane Amazing.   Check out the video HERE.

Michelle Short- Plane Amazing

YNS Supplies:  Just Plane Amazing stamp set | Puffy Cloud Border Die Set

Michelle Short - Plane Amazing Close Up


Michelle Short - Plane Amazing Inside

A huge thanks to Michelle for showing us how to create such a “plane amazing” card!

-Julie and the YNS Team

FacebookPinterestTwitterEmail

Sewing on a Card Tutorial with Special Guest Kathy Tanner

G’day, friends! I hope that you had a great weekend. We have a very special guest joining us on the blog today all the way from Australia! Kathy Tanner sure has a treat for you today with her post about sewing on cards. I just adore her sweet flowers that she sewed on her cards. I’ll let her take it away:

*********

🙂 Hi!

I am very excited to be a Guest Designer for Your Next Stamp this month. I love their cute and quirky designs, they just make me smile. They are celebrating their 6th Birthday and I get to join in the fun! Yay!

I got 2 super cute sets to create with, Jessica with her Kitty and Phoebe with her Wagon. I love them both!!!

I made the Jessica with her Kitty card for my daughter’s birthday and you can probably tell that she is a “purple-loving girl”.  She loves it when I do a bit of stitching on cards too and I thought Jessica would look great walking through a field of flowers.

It’s so nice to do some sewing on a card, it really adds an extra little something in my opinion and I think the receiver can see the love that’s gone into the making of it.

I decided I would try giving Phoebe some flowers too. I just did the stems slightly differently and used brighter colours this time.

So I thought I would try to show you how I made the flowers on these cards.  If you’re like me, you’ve tried lots of different crafts before getting totally obsessed with card makingl!  Cross-stitch was one of my previous loves and I have LOTS of embroidery cotton sitting around.

I’ve used 1 strand of green for the stems and 2 strands of a colour to make the flowers.
I’ve also used an embroidery needle, some white card and a small foam mat.

You could get very precise and measure the stems so they are all even, all the same height, etc, but I haven’t bothered to do that with these cards –  it is all done by freehand.

I pierce 2 holes with my needle for the stem, thread it with 1 strand of green cotton and start from the back coming to the front and tape the end to the back of the card. Complete a simple straight stitch.  You could do it without pushing the needle into the card on the foam mat, but I find the card gets bent that way.

Then take the needle out and thread with 2 strands of colours for the flower.  Now you are going to sew a French Knot.  You might already know how to make one, as they are used in some cross-stitch and embroidery work.  They are easy when you know how.

You come from the back of your work again.  Come up through the hole which is the top of the stem you made. Leave a little thread at back and tape down.

Pull thread through to the front.

Hold the thread tightly in your left hand and wrap the thread over and around the needle.
I did 3 wraps for the flowers in the middle and 2 wraps for the outside flowers.  The more wraps you do, the bigger the flowers are.

Still holding the thread tightly in your left hand, you turn the needle down and into the same hole that it came up from.  Pull slightly on the thread in your left hand to tighten the “wraps” a little.

Slowly push the needle through to the back of the card, while holding your left thumb on the thread and keeping it taut, keep pulling the thread all the way through and you should have a beautiful little French Knot Flower.

I just use double sided tape to adhere all the threads to the back of the card.

As I use a fairly large needle, it leaves quite a largish hole in the card.  The top hole is covered by the French Knot, but I like to cover up the lower hole by using patterned paper as “grass”.

For the Jessica and her Kitty card I had the 3 flower stems coming from the same starting hole.  But with the second card, I did all the flowers separately.

I hope you’ll give embroidery on your cards a try!

Thanks for joining me today on the YNS Blog and you can learn more about me on my blog at Stamping Still. For more YNS inspiration, you can head over to the YNS Pinterest page.

Kathy

FacebookPinterestTwitterEmail

Getting the most from our dies ~ Part 7

Hey everyone!  Peggy here for the final installment of our series on getting the most out of our dies, we really hope you have enjoyed it as much as we have!

This week I am using the negative space from the dies to create a quick and simple card that is easy to mass produce and can be used for many different occasions just by changing up the die or sentiment used.

First I gathered all the supplies I wanted to use.  For this card I used the Flower Fun Three die set, Whatnot Sentiments Two and Sparkly white and Teal Gumdrops.  I coloured the Sparkly White Gumdrops with a yellow Copic marker to change the colour.

The next thing I did was figure out where I wanted my window to be and used removable tape to keep the die in place while cutting.  
I then cut out the inner flower and saved the first, solid flower, for another project and stamped the sentiment.
Finally I finished off the card and embellished it with the Sparkly Gumdrops.

There you go a quick and simple card using the negative space, just think of all the possibilities!  Have a great day and happy stamping!

FacebookPinterestTwitterEmail

Tracy’s Inlaid Die Tutorial!

Hello it’s Tracy here. I am the YNS April Guest Designer and I would like to share small tutorial on how to get more from your dies. For this project I am going to show you how to add an inlaid die cut on your card using the new Flower Fun One Die Set.
To start you want to measure and cut your cardstock which will be your top layer holding your inlaid die cut. My card base is an A2 size (4.25 by 5.5) so my top layer is approximately a quarter of an inch smaller.
Working first with the outside die frame, position it on your the top layer of your cardstock and run this through your die cut machine.

 For this cut you are going to be using the negative space.
Select a few coordinating cardstock colours and using both dies together run them through your die cut machine. I chose to 3 colours (pink, black and blue), so you will repeat this cut for each colour. Use both dies together for each cut so you can use the left over pieces later.
Using a scrap of paper add adhesive to cover enough space for your die. Adhere this behind to your top layer so the adhesive is showing through your negative space.
Just like a puzzle, start to assemble the die cut pieces inside of your negative space. Start with the largest outside frame and working in to the small inside petals.
Here is the finished card. I added the Letter Board Die to create the “mom” title on my card.
Now you can use some of the left over die cut pieces to create another flower design to decorate the inside of your card.
I hope you are inspired to play around with some of your dies to create an inlaid design on your cards. Thanks for stopping by and happy crafting. 

Tracy
FacebookPinterestTwitterEmail

Getting the Most of Our Dies Tutorial – Part 6

Hello and happy Monday, YNS fans! This is Thanh and I hope you had a great weekend with your families and friends! Just a quick reminder that there’s currently an Easter promotion at the YNS Store right now and you can get 25% off your entire purchase.
I hope that you’ve been enjoying our Series of playing with YNS dies so far. Today I’m going to show you a great way to use your dies as stencils. Looking around at projects in blogland, stencils are hot right now! As someone who was unsure of stencils, I figured I would save a few dollars and create my own to see how I enjoyed the medium. I’ll show you exactly what I’ve done in the past:
Gather up your favourite die(s) and cut away your favourite shapes. In this case, I wanted to make a spring scene and wanted puffy clouds as my background. To create a stencil, I will use the negative space instead of the usual positive space (the cut out cloud). 

I continued to build my stencil by creating multiple clouds in the sky. I put the small puffy cloud overlapping the large one because I wanted to build a bigger cloud.

The next step is to ensure that your stencil is adhered to your background as well as to a craft mat or something that you’re not worried about getting dirty. I simply used washi tape so that I could easily peel it back without fuss.

As I mentioned above, I wasn’t sure about the stenciling hype and the embossing paste medium so I have not purchased embossing paste yet! What I use is called spackle and it’s what you’d use to fill holes in your wall! This particular brand is called “Fast ‘N Final – Lightweight filler.” I saw the original tutorial by Maggie here.

Grab a palette knife and spread the spackle evenly across the stencil. 
After a few minutes of leaving it to try, I slowly peeled the stencil away from the background. Make sure you do this slowly!
Here is the finished embossing paste clouds… I left my clouds uneven so that they were puffier. Below is my completed project using YNS Pinwheel dies as well as the Happy Day Sentiments. Keeping it really CAS.
If this technique is new to you, I hope that I’ve inspired you to use your dies and make stencils from them! If you give it a try, please link up. Any questions, please drop them below and I’ll get back to you. Thanks for stopping in today. 
Thanh
FacebookPinterestTwitterEmail

Creating Chipboard Shapes using YNS Dies by Wendy!

Good Morning fellow crafters…. Wendy here today with a tutorial on using your YNS dies in a different way…it is always fun to find new ways to use our crafty supplies… to think outside of the box…so with a little help from my “YNS friends” I have this idea for you all to try…making chipboard shapes from plain old cardboard…it could be a cereal box or piece of cardboard from a package of cardstock paper you have laying around..

to get started I found what cardboard I was going to use…

then I cut out my shapes  3 times each… I used  Insta Love Polaroid Die , Whatnot Back to School and Journal Card  …and after gluing them together I cut out one last piece of colored cardstock …in this case Black…to go with my card

Now just glue them together and you have a nice thick piece of chipboard to add lots of cool dimension to your project

I colored up the stamp Family Photo and also used  Black Gumdrops found HERE in the store

Hope this has inspired you to try new ways to use your YNS Dies!!!

Thanks for stopping by!

Wendy

FacebookPinterestTwitterEmail

Tips and Tricks with YNS – Paper Piecing

Hello!  Welcome to our Tips and Tricks with Digis post!  I wanted to show you how I paper piece using digis.  First I adhere my designer paper to a standard size piece of cardstock with re-positionable tape then print my image.  Yes, I used painter’s tape – use what you got, right?!  😉

Then I colored this sweet image, Cuddles, using copics E00, E31 and E33.  I cut out the dp heart, leaving his little feet so that the colored feet can be adhered to them for more realistic dimension.
Here you can see that I fussy cut the sweet bunny and added his little feet over the dp.  Again, it gives the image a more realistic feel.
Here it is all adhered together.  Isn’t he ADORBS!??  LOL…
For a little more dimension, I used my W3 copic to shade around his hand and the outer edges.
And here’s my finished card!  A few die-namics and sweet sentiment complete my card.  One more tip ~ I like to use the same designer paper that I pieced with somewhere else on my card.  It makes for a nice, cohesive look.  
Detail shot…

Thanks for stopping by!

Angel

FacebookPinterestTwitterEmail

© 2024 Your Next Stamp. All Rights Reserved.