Hello Your Next Stamp Fans!!
Kendra here, from Luv 2 Scrap N’ Make Cards to share a tutorial with you!
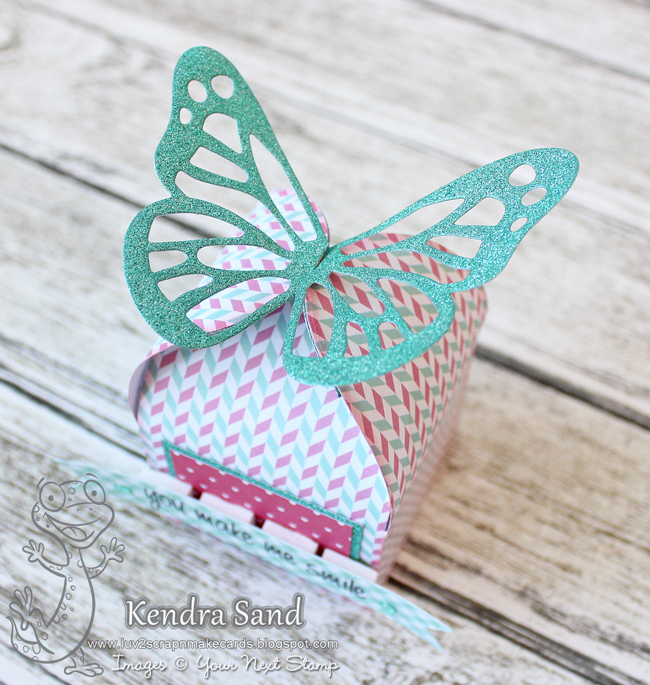
I am featuring the awesome Butterfly Gift Box Die!!
I absolutely LOVE creating 3D projects, they make such special gifts! And are so fun to fill with special little treasures!!
I am going to share with you today, how to create these cute little boxes!
Grab a few supplies:

Die Cutting Machine
Paper (Hugs and Kisses)
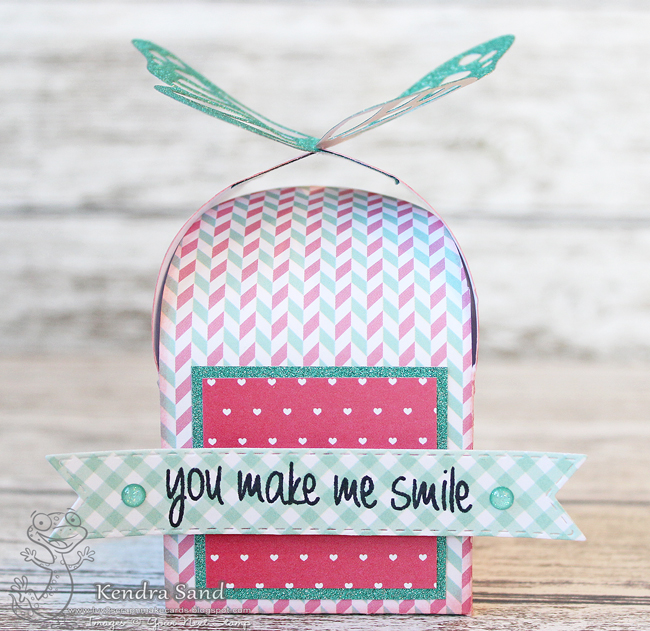
Stamps (Garden Phoebe for sentiment)
Ink (Cherry Blossom and Black Olive)
I decided to use a piece of pattern paper to create my box, which is from the Hugs and Kisses paper pad. Grab two pieces of paper and run them each through a die cut machine using the box die.
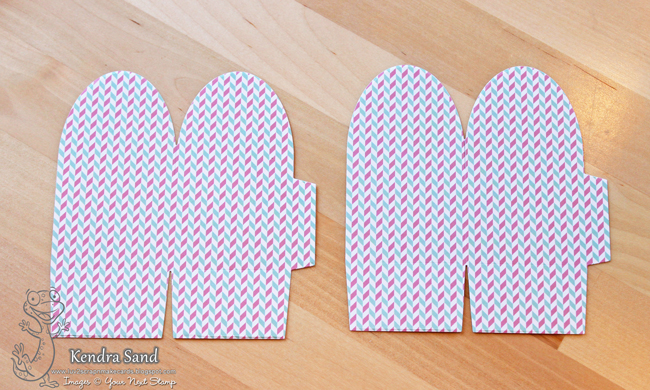
Fold on appropriate scored lines.
It should look something like this:
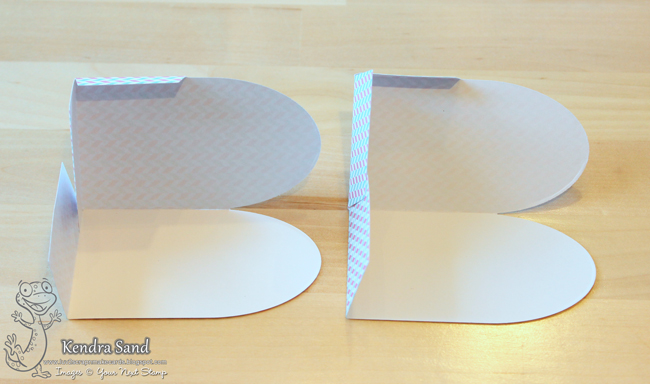
Now begin assembling the box! But before I started, I decided to ink the edges with Cherry Blossom ink first!
Attach the two die-cut box pieces together, by adding adhesive to the pattern side of the end tabs.
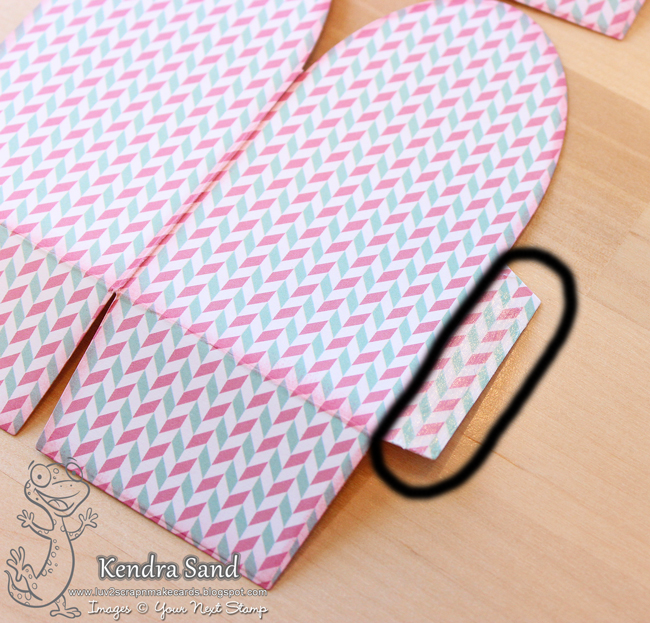
I circled the flap in the photo above to show where the tape goes, as it may be hard to tell in the photo. Each end tab needs adhesive added to it to put the box together.
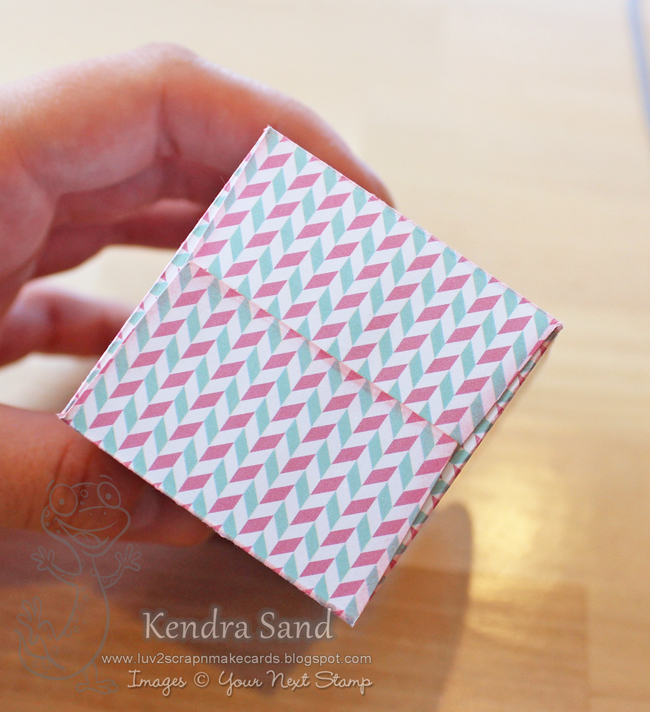
Then connect one adhesive tab to the other die cut piece, to look like this…
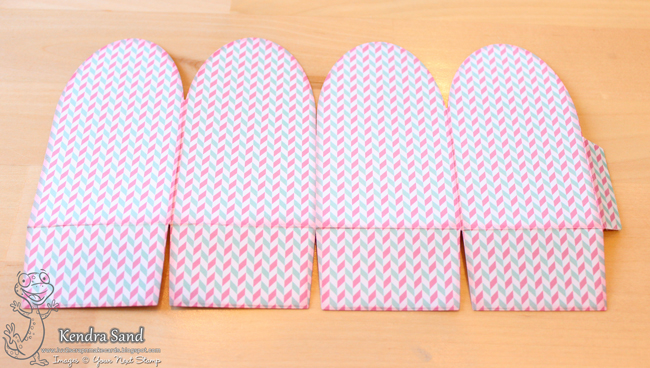
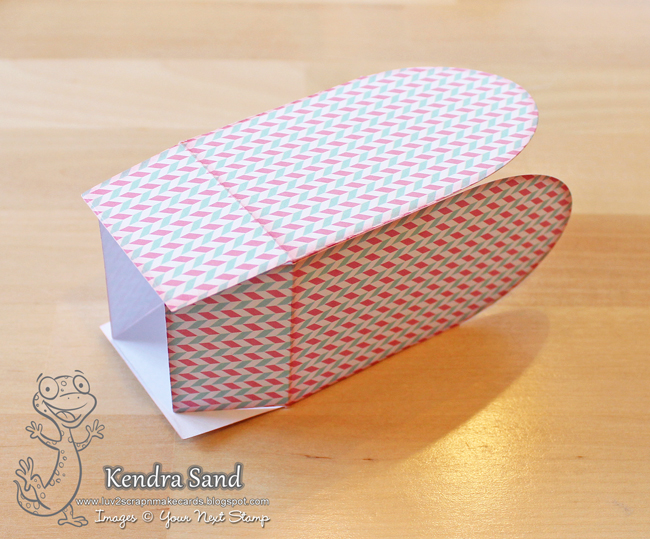
Then fold around the box and add the other flap to the inside, to complete the box…
Now to enclose the bottom!!
For the bottom, add adhesive to the pattern side of two of the flaps across from each other and then to the non-pattern side of the opposite two!
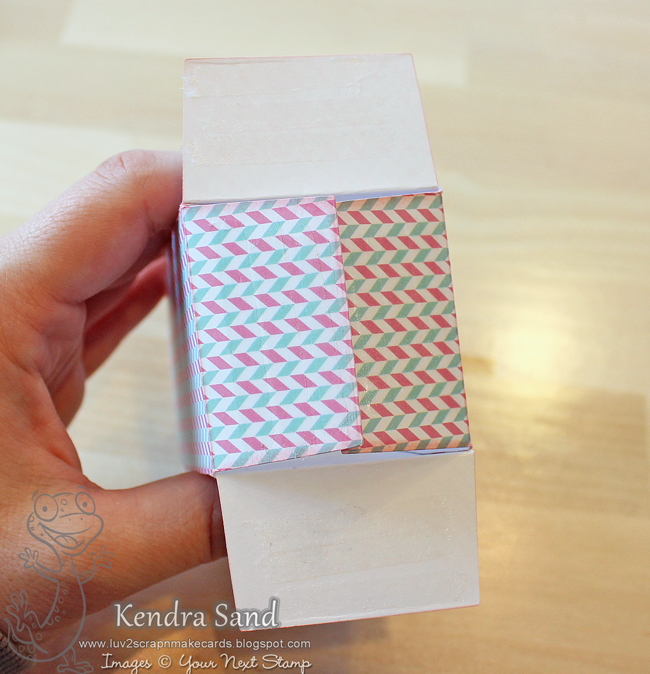
As the photo shows, the adhesive pattern side is down already and the box is in a square shape. Adhere them to each other where they overlap and then fold the other two down.
Set the box on your table and reach inside to push the flaps together more, if you like.
Oh so fun!!
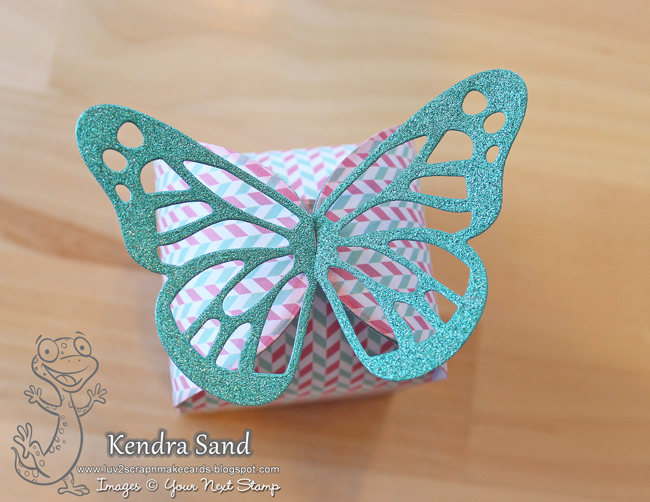
Now to die cut the butterfly!!! Like the other box I created previously, I decided to grab some glittery paper!! As I love glitter!!
Die cut each butterfly piece once!
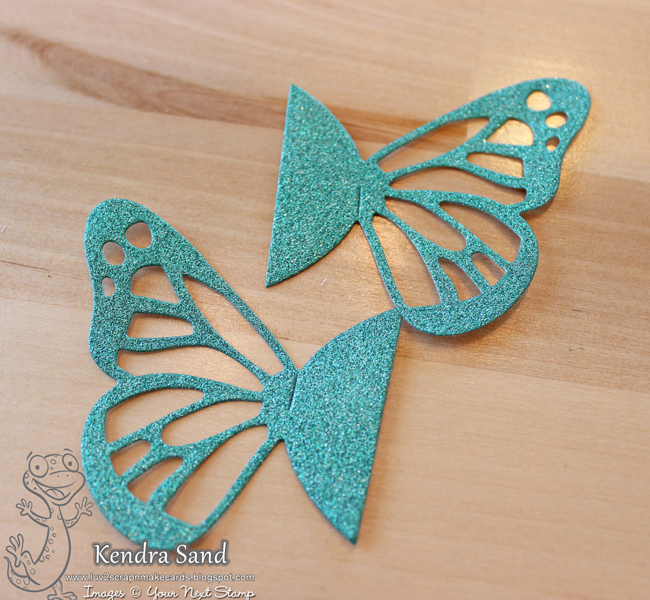
Use your scissors to slightly cut the slit open on each butterfly.
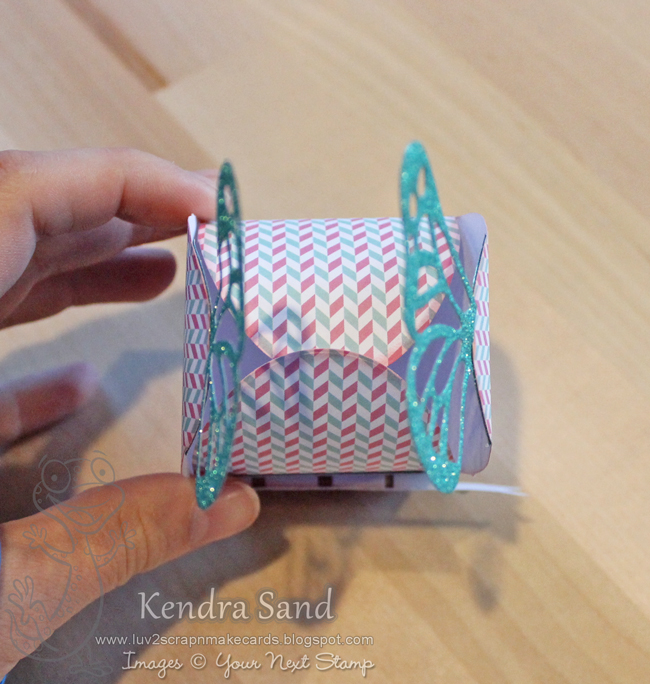
Add glue to the glittery side (the pretty side) of the rounded part of the die-cut butterfly. Adhere it to the inside of the box flap, lining it up so the slit is just above the top of the flap.

Do the same to the second wing, attaching it to the flap across from the flap the first butterfly is adhered to.
Hold the box so the front is facing you. Then carefully run the back and front flaps (the ones without butterflies) in your fingers to give them a slight rounded bend, being careful not to crease the paper.


Very sweet! Love these papers, and the box looks very easy to put together. Thanks for the step by step!
This is SO CUTE Kendra, a great job!
Kendra, this gift box is delightful and just in time for Easter. Thanks for sharing this project.