It’s time for another installment of our mini-series… Getting Organized!
Hi all! This is Maureen and welcome to Part 5 of the YNS Getting Organized mini series. I’m afraid I can’t show you my whole craft room because it’s a disaster area, so I’m just showing pics of a few things that I have organized in my room. I took a lot of organizing tips from Jennifer McGuire so some of these storage solutions might look familiar if you read her blog.
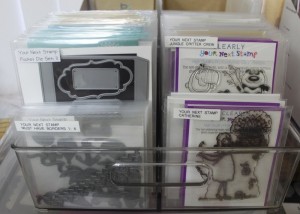
First up are my YNS dies and clear stamps. I store them in a clear bin that I got from Amazon:
I keep them in clear pockets: the larger size are from Avery Elle and the smaller sizes are from Office Depot and a cheap version I got from Amazon. These cheapo ones have a sticky strip on the back to stick the flap on to close them, but I don’t use it – I just tuck the flap inside the pocket.
I just recently got a Label Maker to label my stuff and you can see one of those labels up close here:
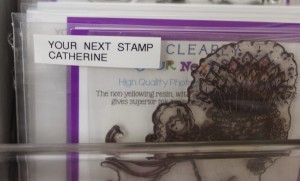
You can also see from the picture above that I keep the inner packaging that comes with the stamps and dies and put those in the pockets too. Even though I put the company name on the label, it’s really easy to see as a glance which stamps are which by the packaging.
Before I got my label maker, I made my own labels out of self-adhesive mailing sheets run through my printer. You can see one of those here:
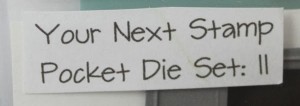
The number tells me how many dies are in the set so I can tell if any are missing.
Next up I want to share how I store my Tim Holtz Distress Inks:
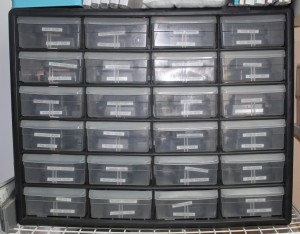
I originally got this tool box from Target, but you can find it at Amazon. It perfectly fits all 48 colors of Distress Inks, refills and the blending sponges. Each pad was labeled and then they are stored 2 to each drawer.
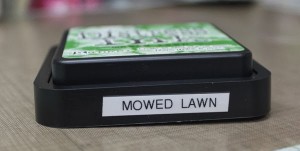
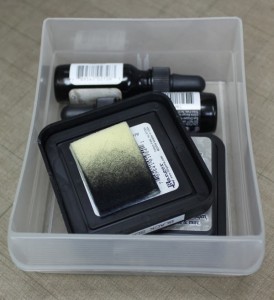
Here’s a shot inside the last drawer where you can see how nicely everything fits. Each pad has a tiny piece of velcro on the bottom to hold its dedicated blending sponge.
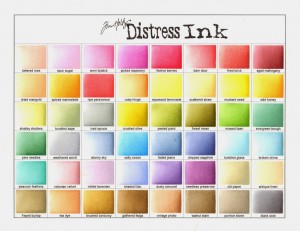
And because I love making color charts, I thought I’d share my Distress Ink chart:
Finally, I want to share how I store my Copics. I shared this on my blog a looooong time ago and now here’s an updated picture:
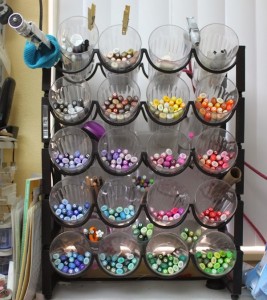
BTW – that funny thing sticking out of the top left is my mini tripod. It’s where I put my camera to film videos for YNS. To the left of the racks are all my colors charts – Copics, colored inkpads, Inktense pencils and Prismacolor colored pencils. The blue package to the right of the racks is baby wipes – I use them to clean my stamps and work surface.
Since that other post, I added 2 more wine racks to keep up with my Copic buying habits and I also store some other things in the cups like my white gel pens, an extra sprayer for my airbrush and anti-static bag for heat embossing. In between some of the cups I slipped in little tubes (left over from Prima Daisies) to hold Spica glitter pens, my craft knives, extra Copics and my Stamp-A-Majig. Here’s a closer shot of the tube with my Spicas:
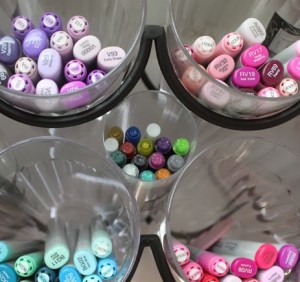
The tube just fits right in there and isn’t held onto the racks with anything!
I hope these little organizing tips help and thanks for stopping by! ~Maureen



Thanks for sharing your great tips.
Crafty hugs,
D~
DesignsByDragonfly.blogspot
Fabulous and fun organizing tips! TFS! xx
Yeah! I love seeing how people organize their space! The velcro for the blending sponge for the distress ink is brilliant! I am definitely inspired to figure out a clear stamp storage! Thanks for the ideas! Happy crafting!